Import și export de plan de zbor
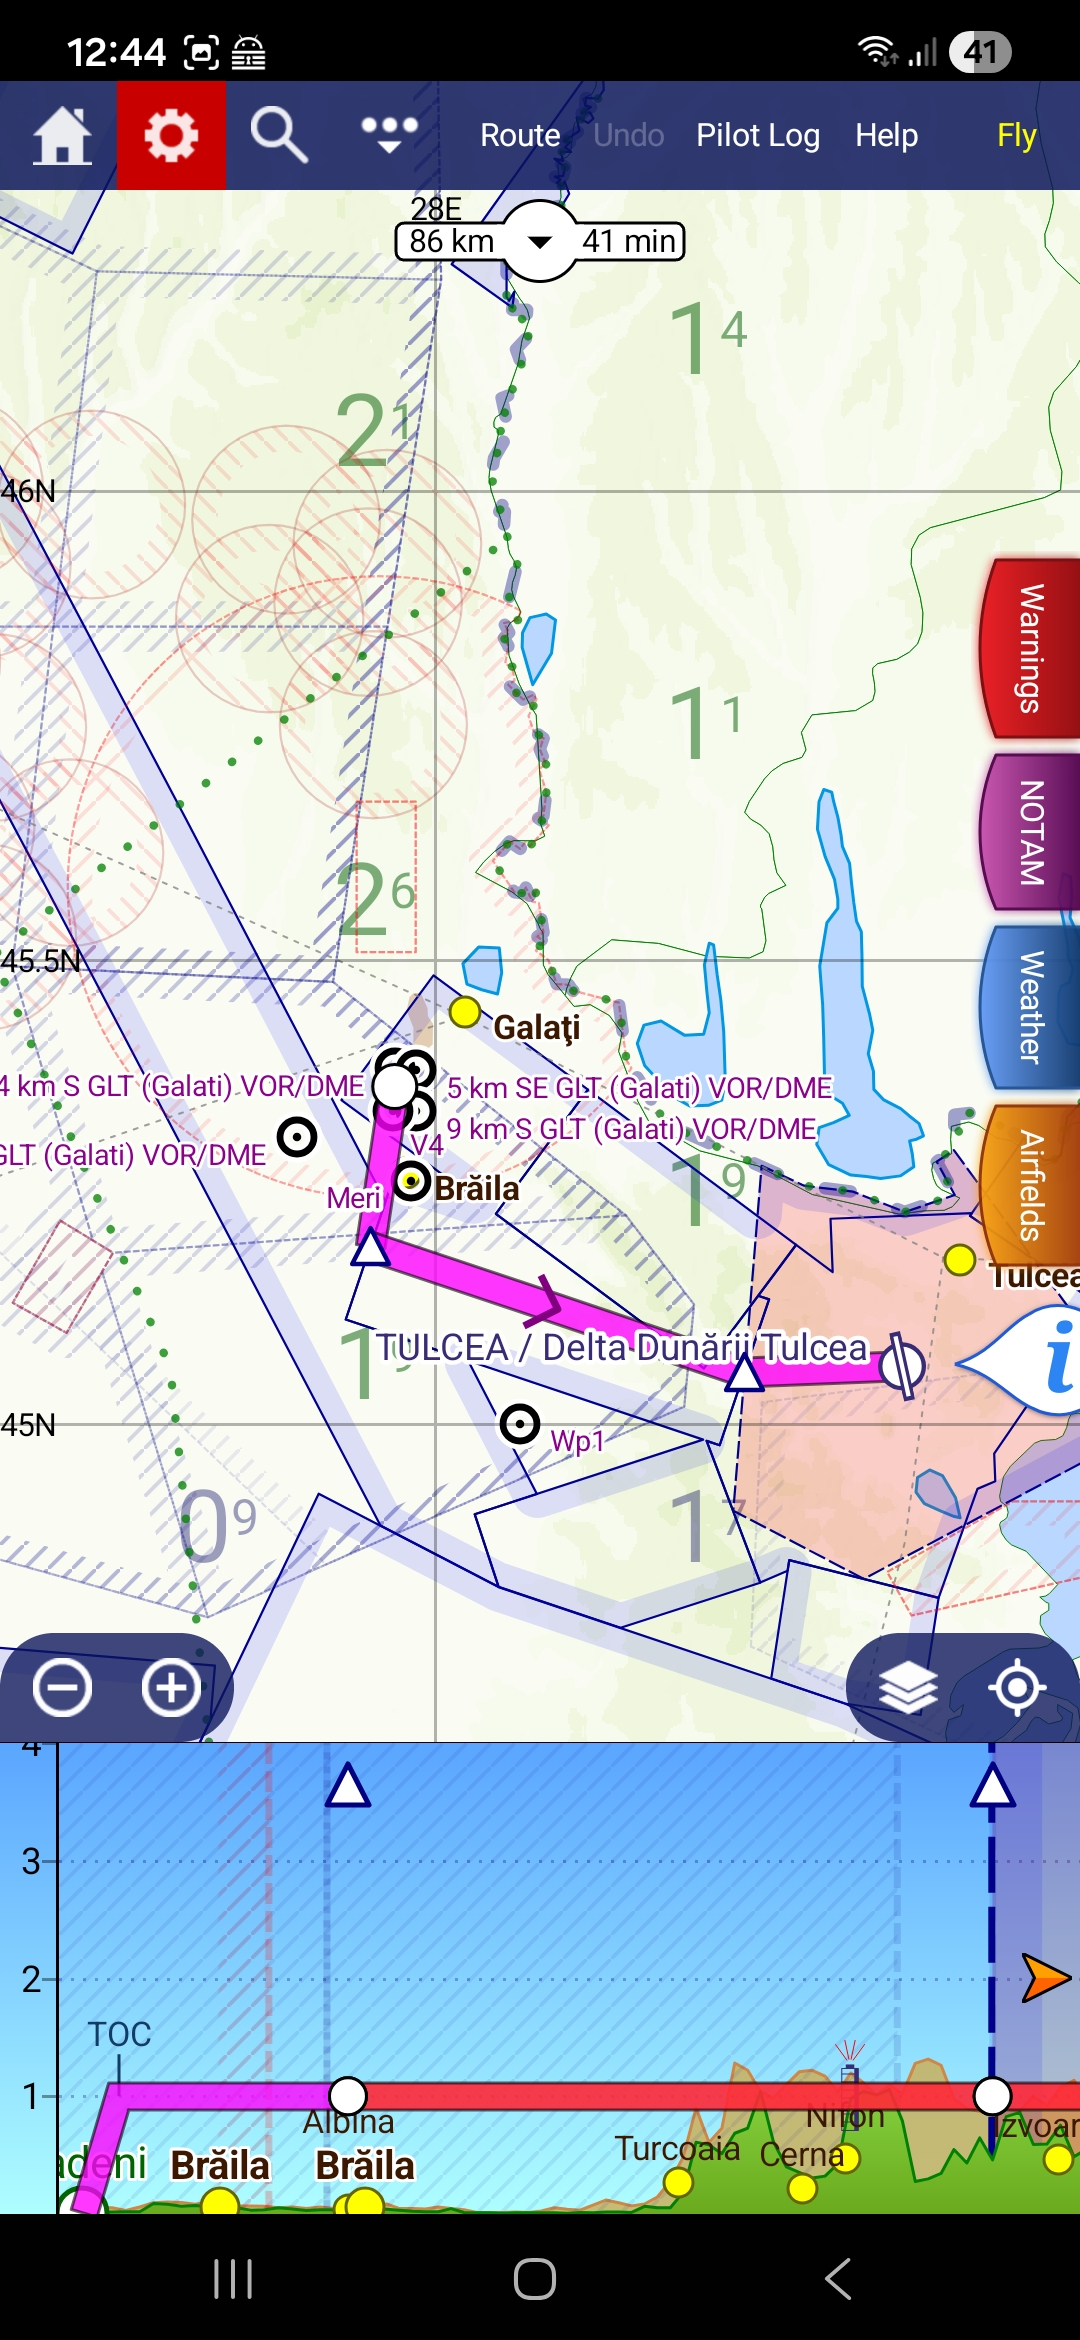
Ro Flight schimbă rute cu alte programe de planificare a zborului, folosind formatul deschis de rută GPX. Capturile de ecran de pe această pagină folosesc SkyDemon ca exemplu lucrat, dar aceeași procedură merge cu orice program care citește sau scrie rute GPX — fișierul este standard, nu al unui anumit producător.
Pagina acoperă ambele sensuri: Secțiunea A aduce în Ro Flight o rută construită în altă parte și o depune; Secțiunea B construiește planul în Ro Flight și scoate ruta înapoi, către un program extern.
Secțiunea A — Aduci o rută și o depui
Construiește ruta în programul tău extern, apoi trimite-o către Ro Flight. Ro Flight pregătește un plan de zbor nou din acea rută; tu completezi câmpurile operaționale (ore, performanțe) și îl depui exact cum ai face-o cu un plan construit de mână.
A1 — Planifici ruta în programul extern
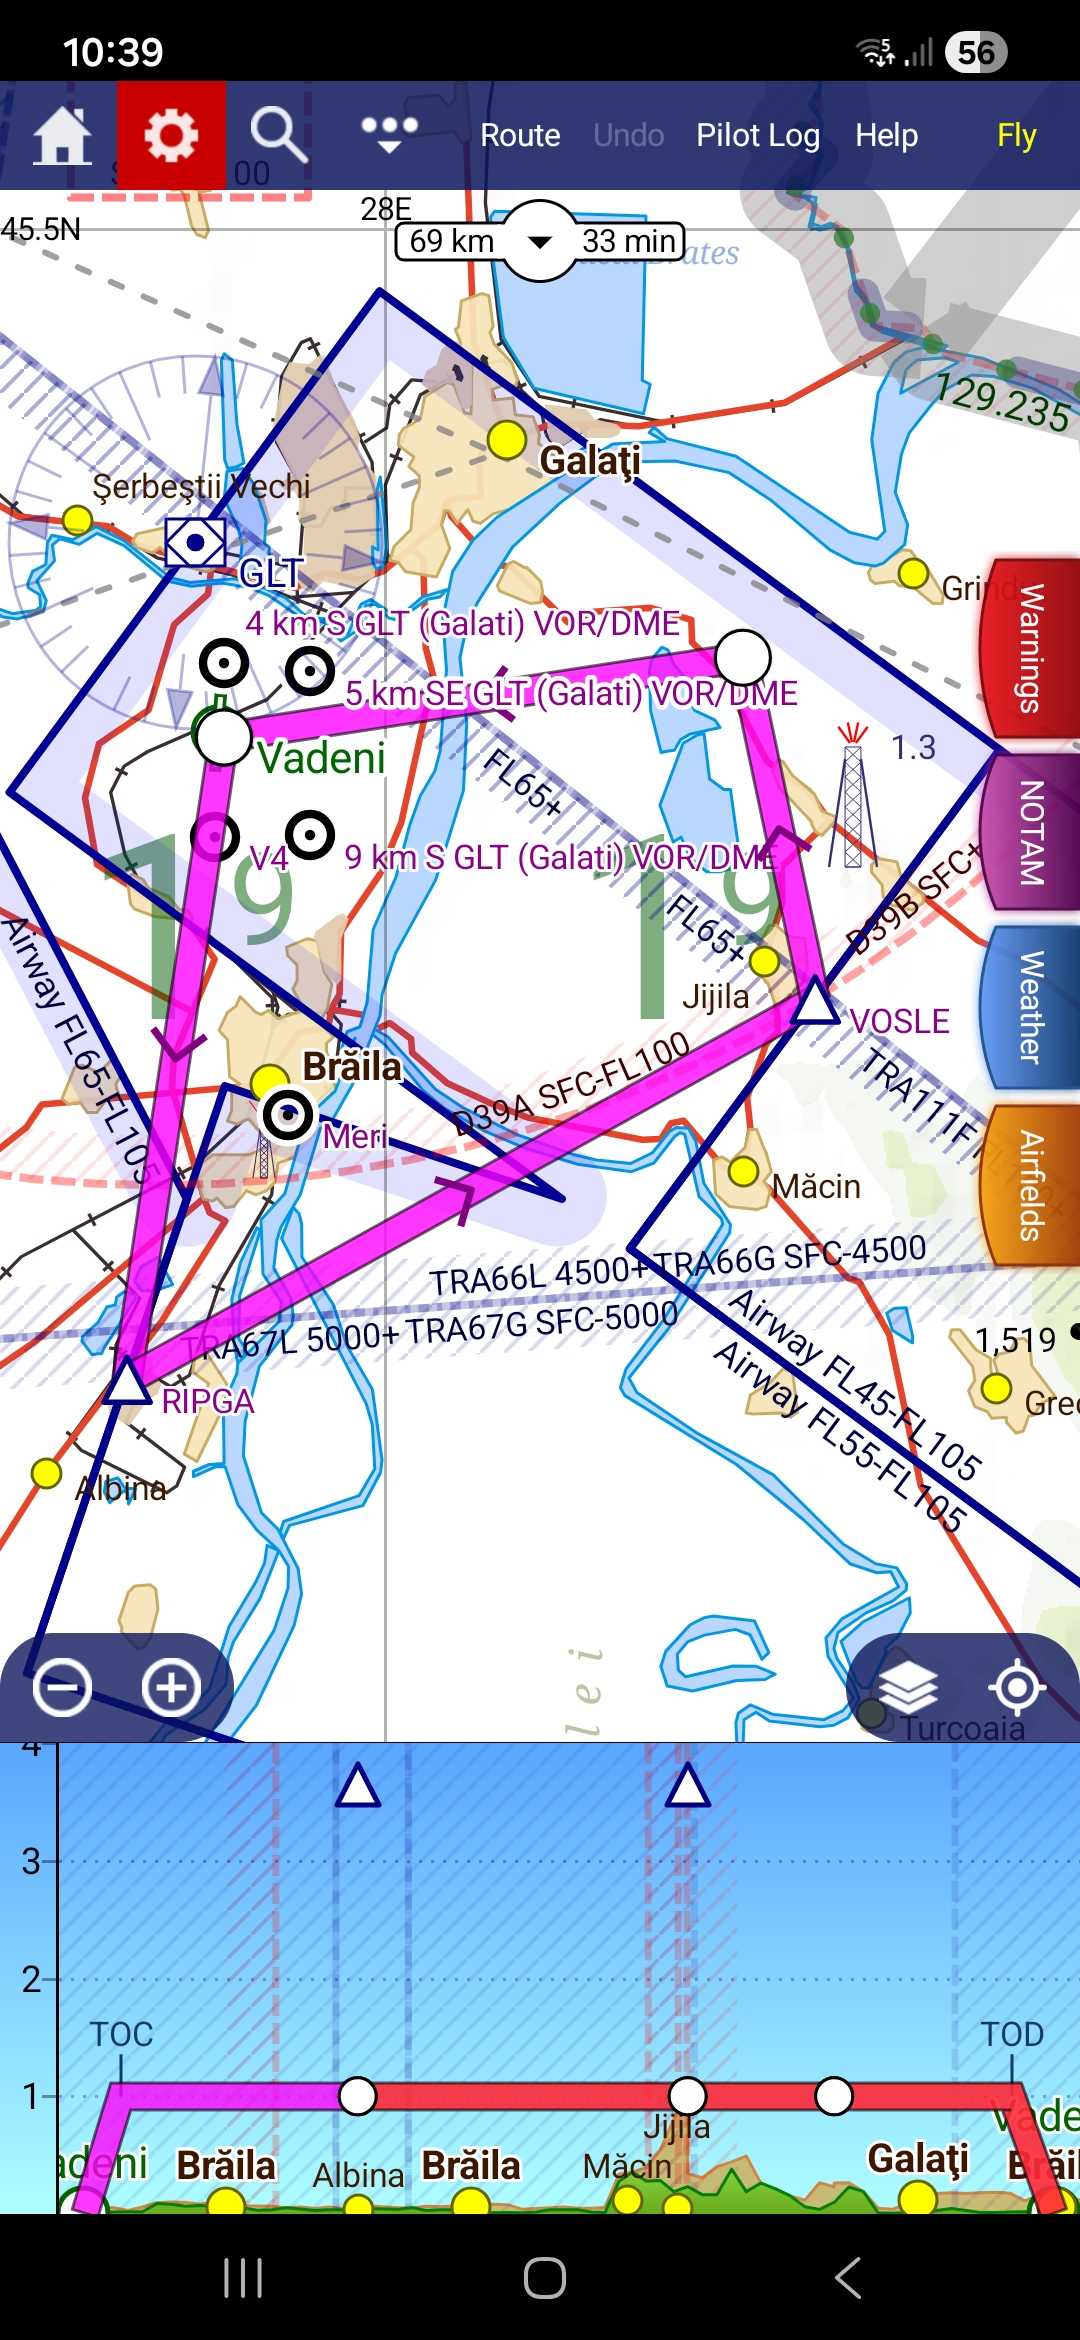
Construiește-ți ruta cum o faci de obicei — plecarea, eventualele puncte de raport intermediare sau puncte proprii de virare și destinația. În SkyDemon, aceasta este ruta arătată pe hartă.
A2 — Trimiți ruta mai departe
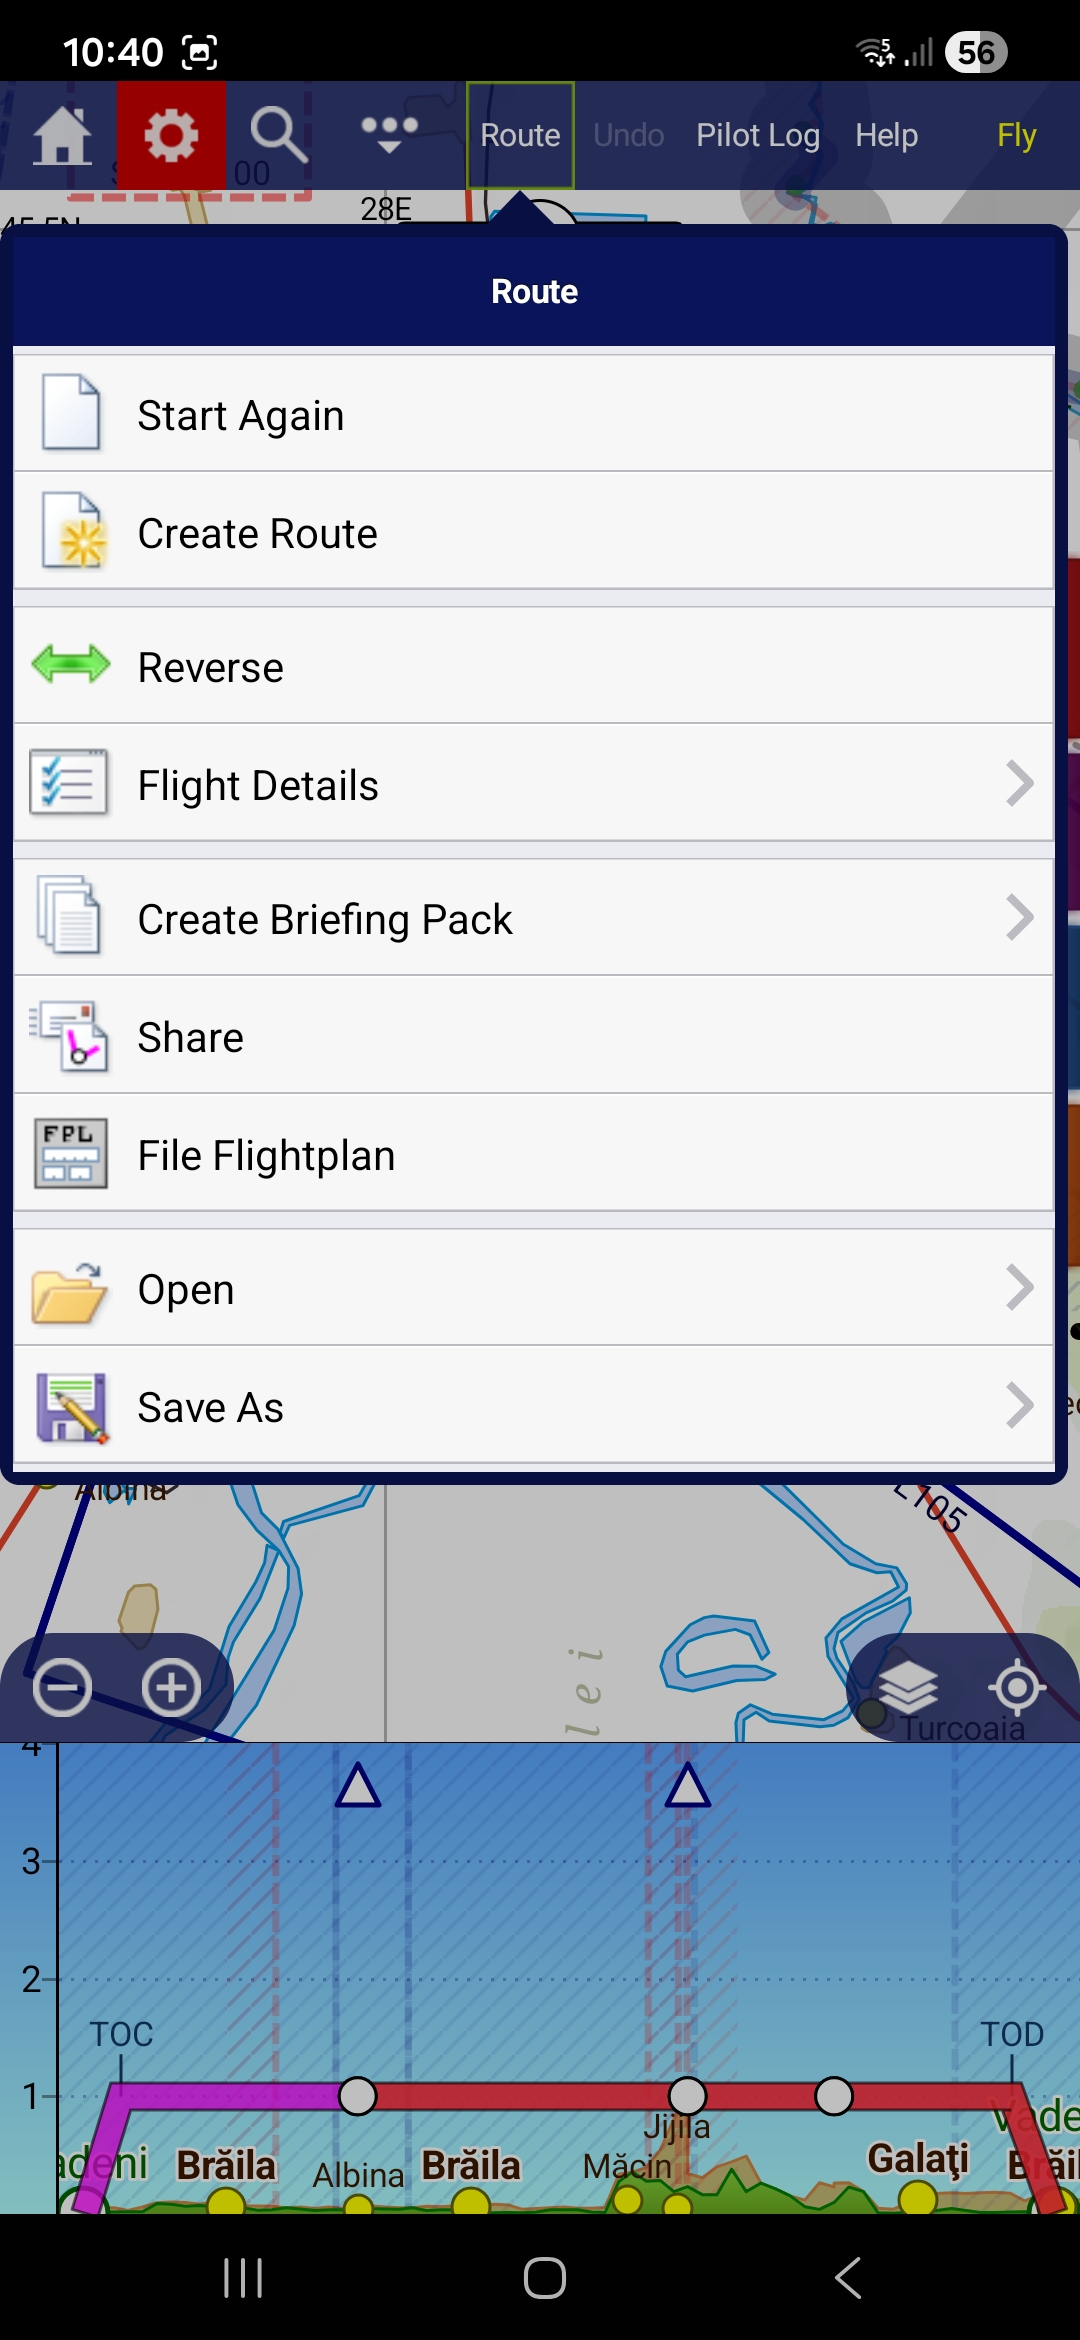
În SkyDemon, deschide meniul Route și apasă Share. SkyDemon împachetează ruta în mai multe formate (împreună cu dosarul lui de briefing) și dă tot setul meniului de partajare al dispozitivului. Nu trebuie să alegi un format — Ro Flight recunoaște și păstrează singur ruta GPX și ignoră restul.
A3 — O trimiți către Ro Flight
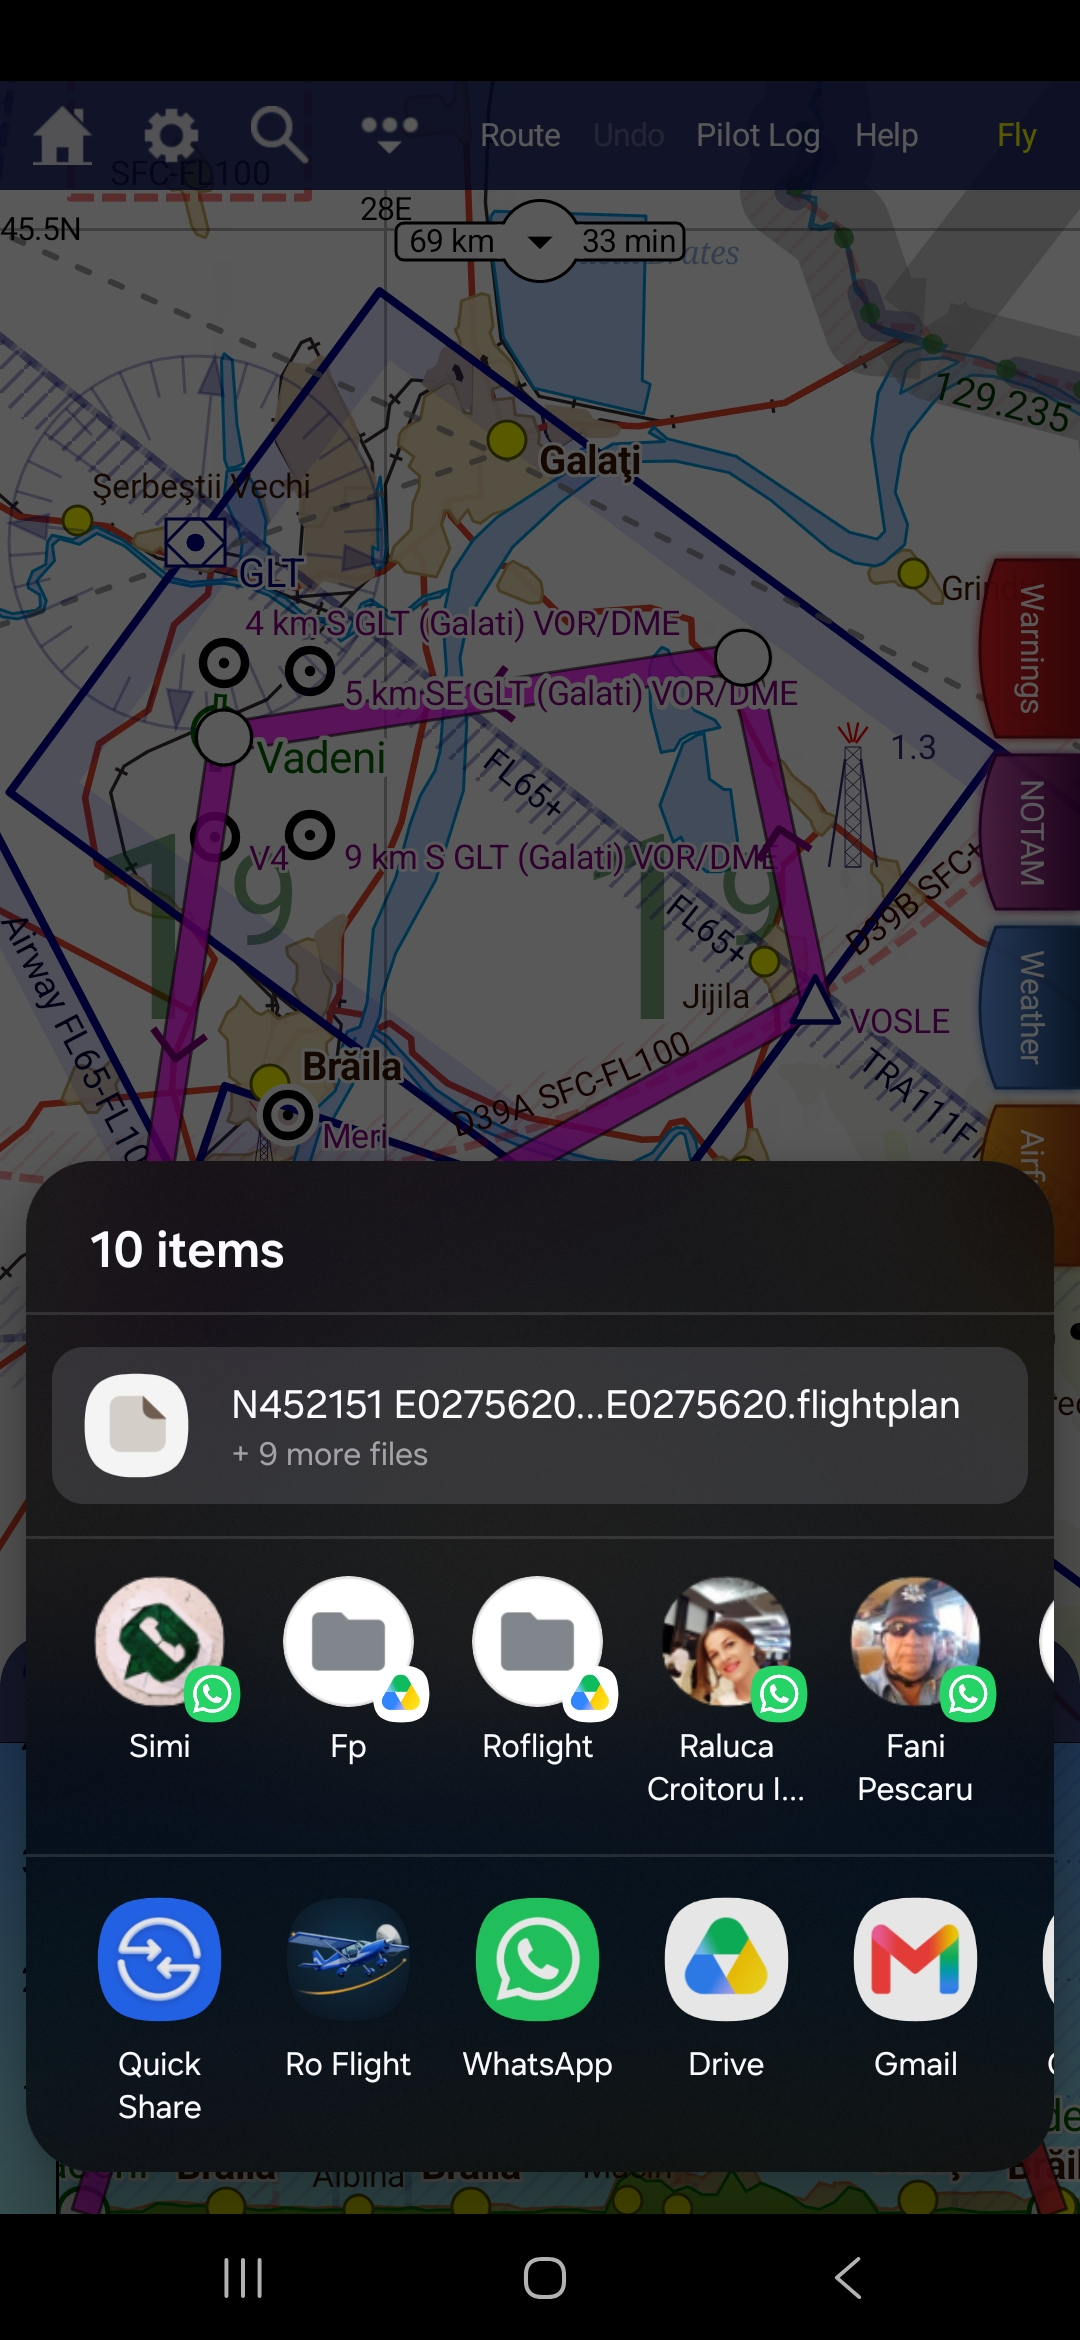
În meniul de partajare, alege Ro Flight. Aplicația se deschide cu ruta încărcată.
Dacă ai exportat ruta într-un fișier (de exemplu în Drive sau în Files), o poți aduce din interiorul Ro Flight, cu selectorul de fișiere — rezultatul este același.
A4 — Te uiți peste ruta adusă
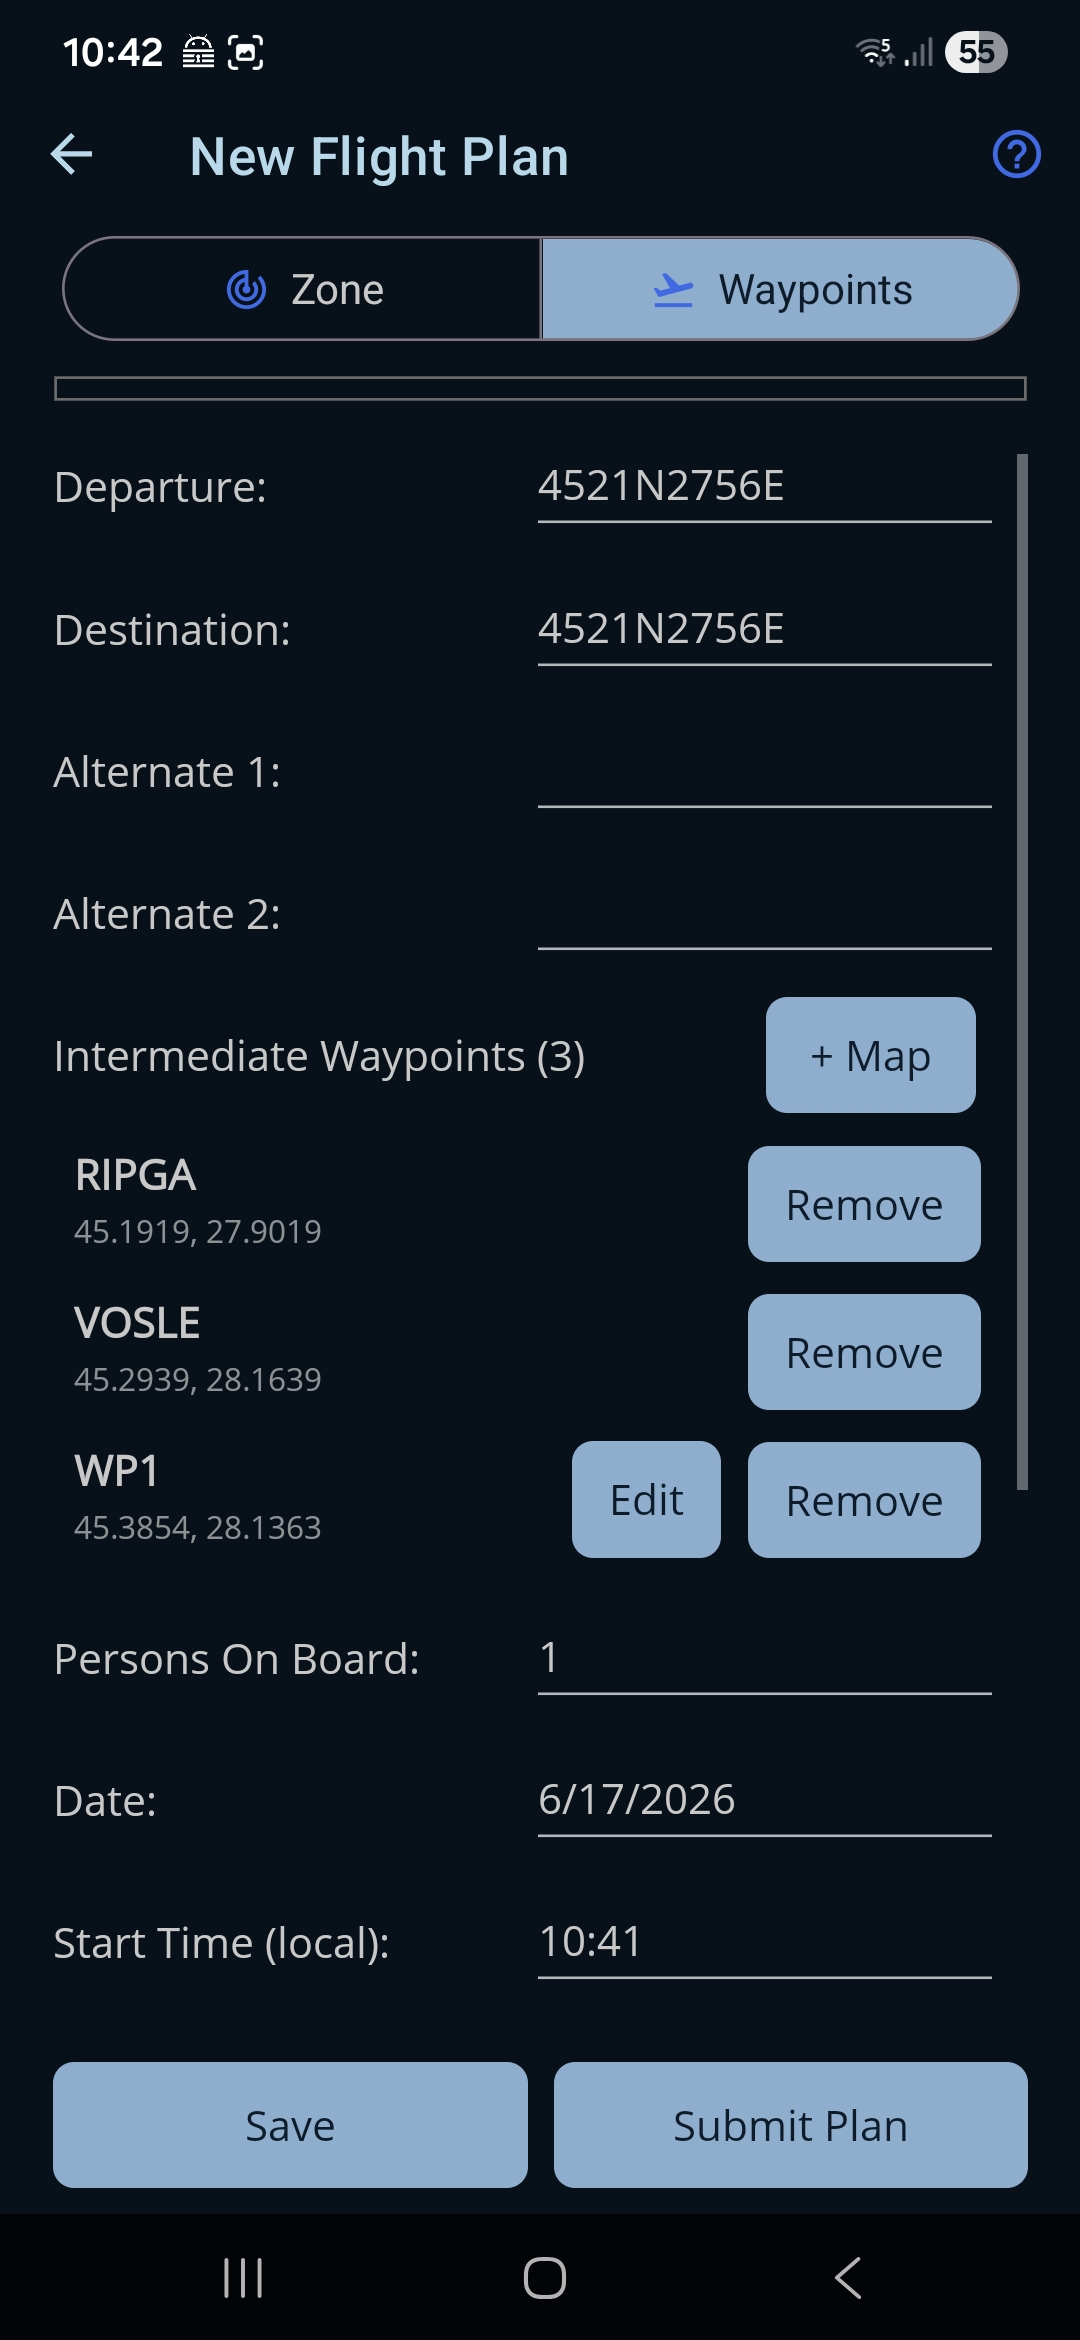
Ro Flight deschide formularul New Flight Plan în modul Waypoint, cu ruta completată: plecarea, destinația și punctele intermediare, în ordinea zborului. Punctele cu cod (aerodromuri ICAO, puncte de raport publicate și mijloace de navigație) sunt duse la numele lor, acolo unde Ro Flight recunoaște codul; punctele pe care nu le poate potrivi — puncte proprii de virare și aerodromuri din afara bazei lui de date — sunt păstrate după coordonate și pot fi depuse fără nicio problemă.
Verifică dacă plecarea și destinația arată cum vrei tu și dacă lista de puncte este completă. Poți face Edit sau Remove pe orice punct, ori poți apăsa + Map ca să mai adaugi, înainte de depunere.
A5 — Te uiți peste rută, pe hartă
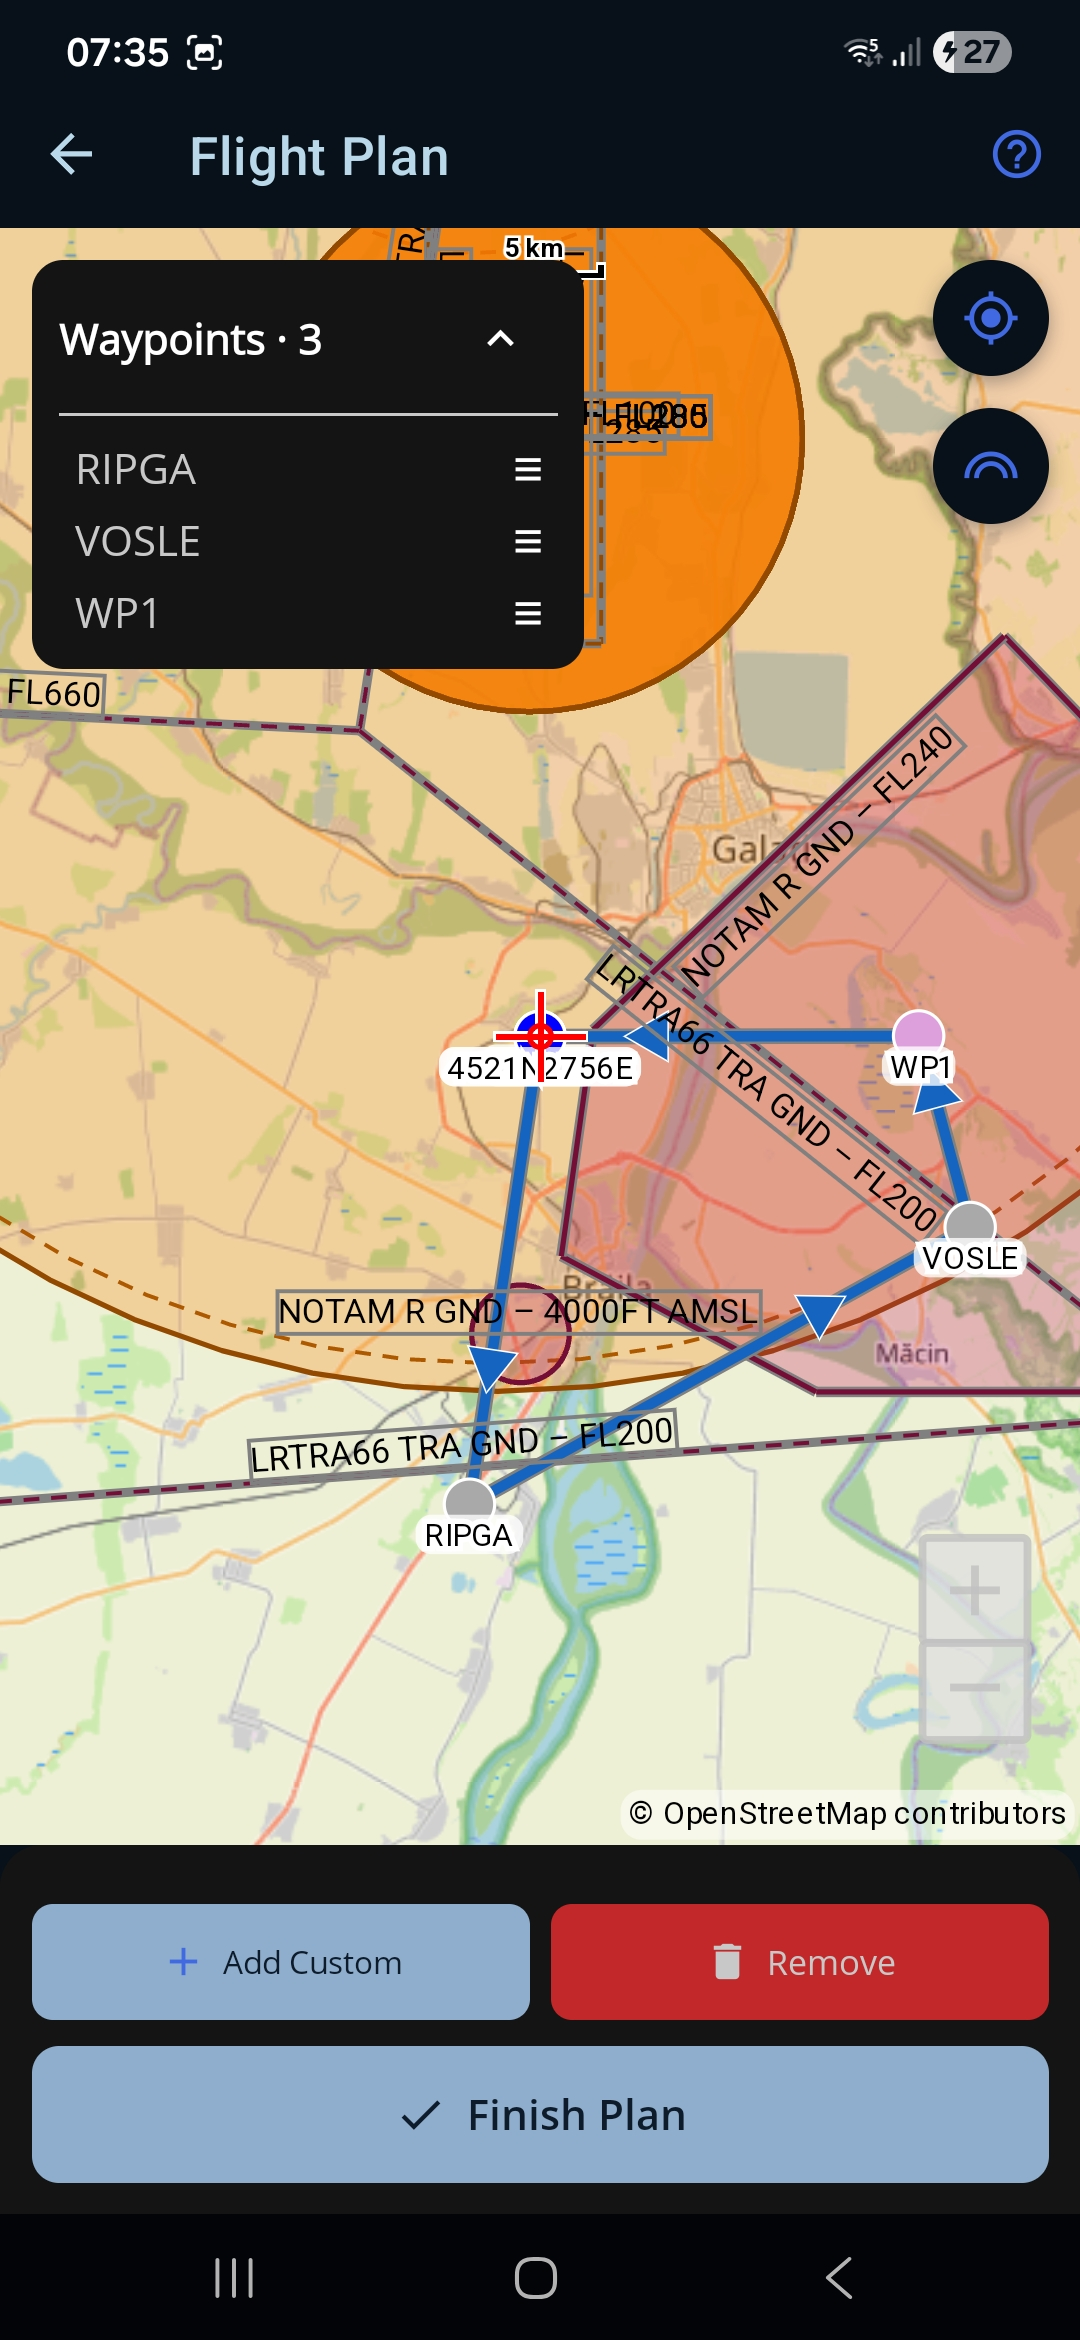
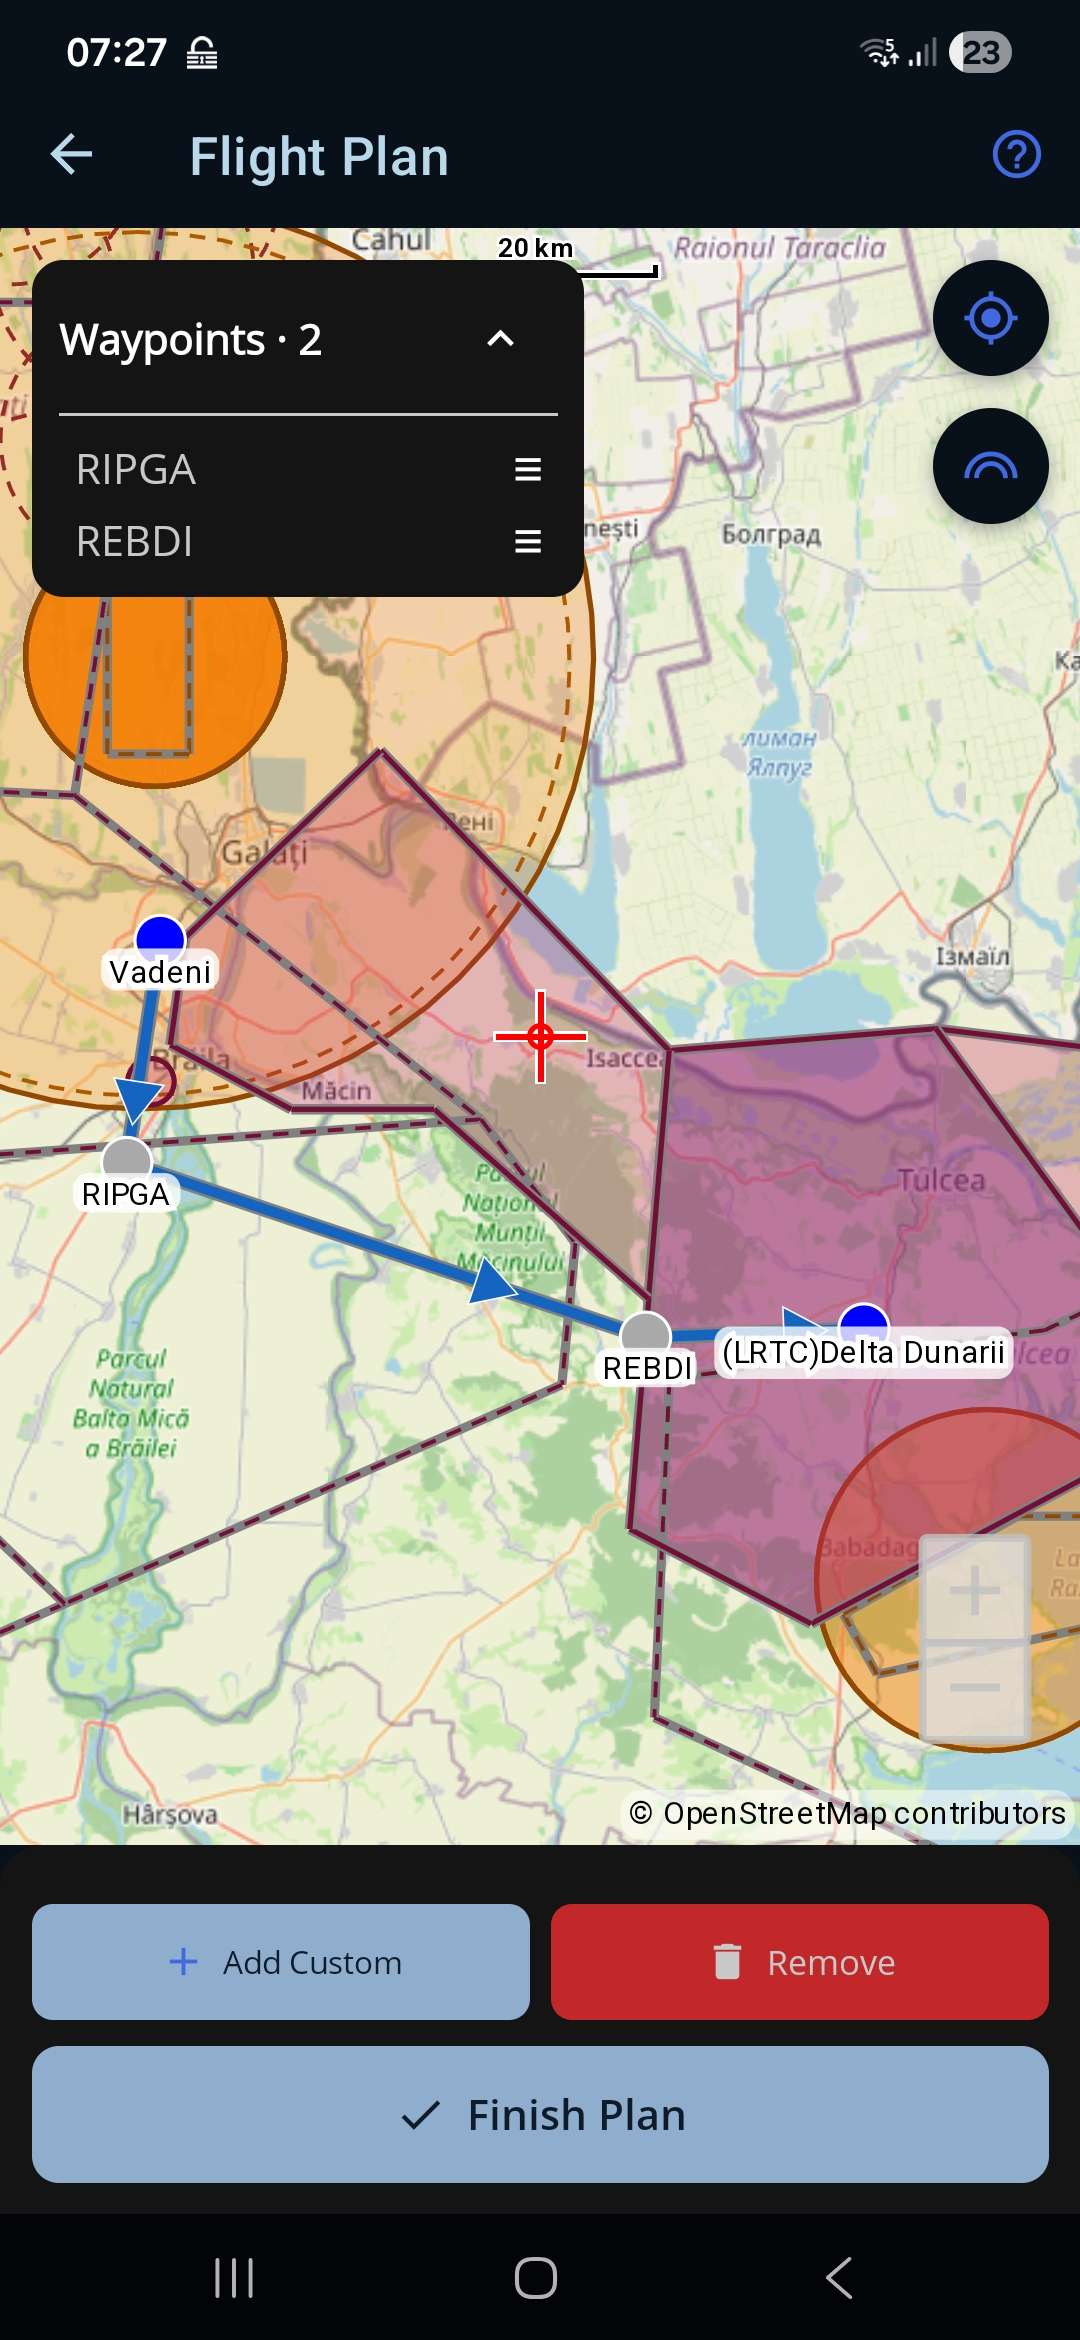
Deschide harta (+ Map) ca să confirmi geometria rutei — ordinea segmentelor și poziția fiecărui punct. Ajustează aici orice punct, dacă e nevoie, apoi apasă Finish Plan ca să te întorci în formular.
A6 — Stabilești ora de plecare
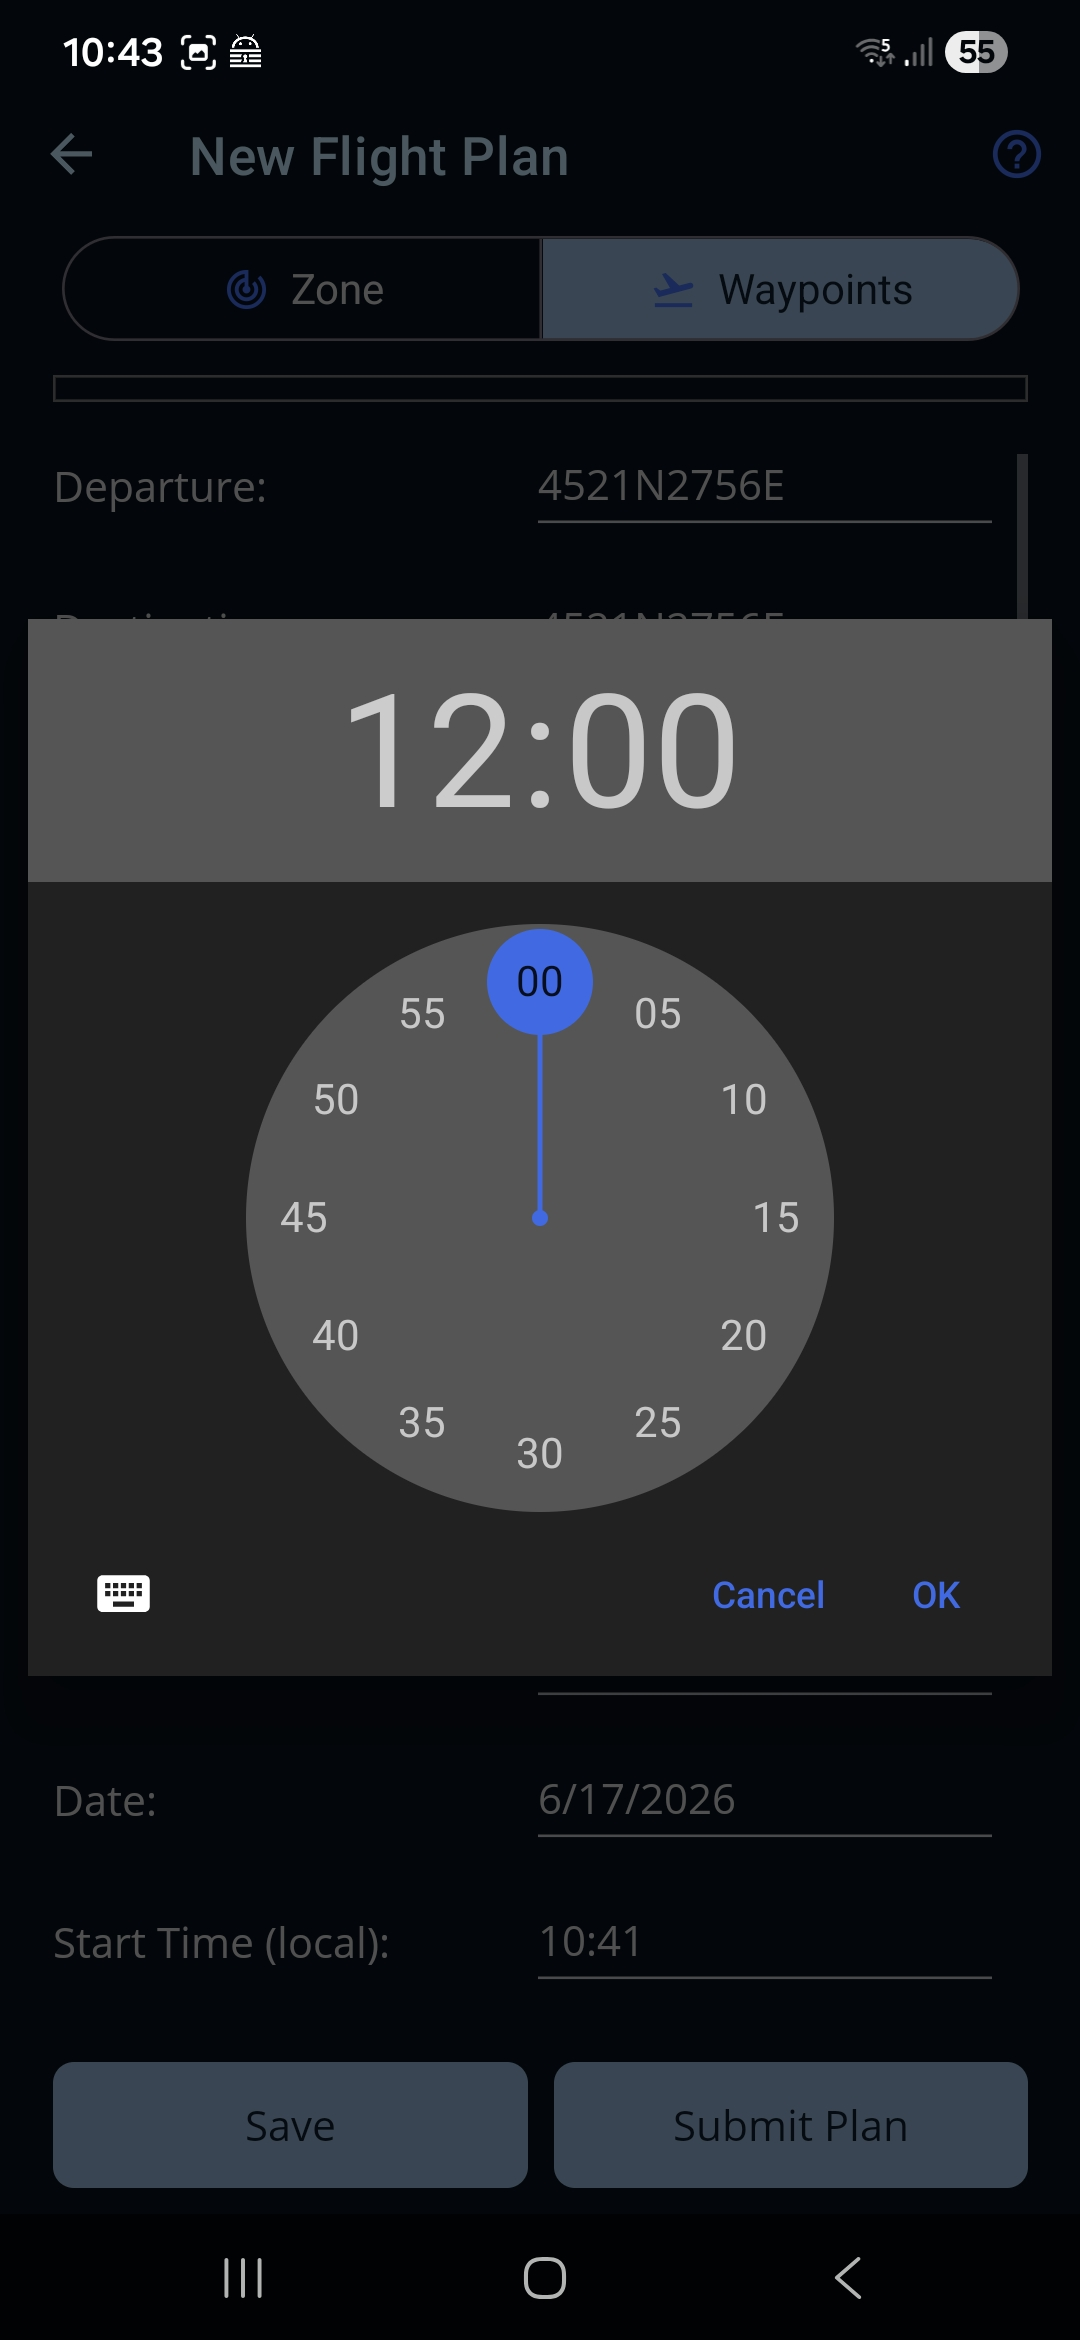
O rută nu duce cu ea niciun orar, așa că orele operaționale le pui tu. Scrie Date și Start Time (local) — ora estimată de plecare de la locul de staționare. Ro Flight o transformă în EOBT (UTC), folosită în planul depus.
A7 — Completezi câmpurile de performanță
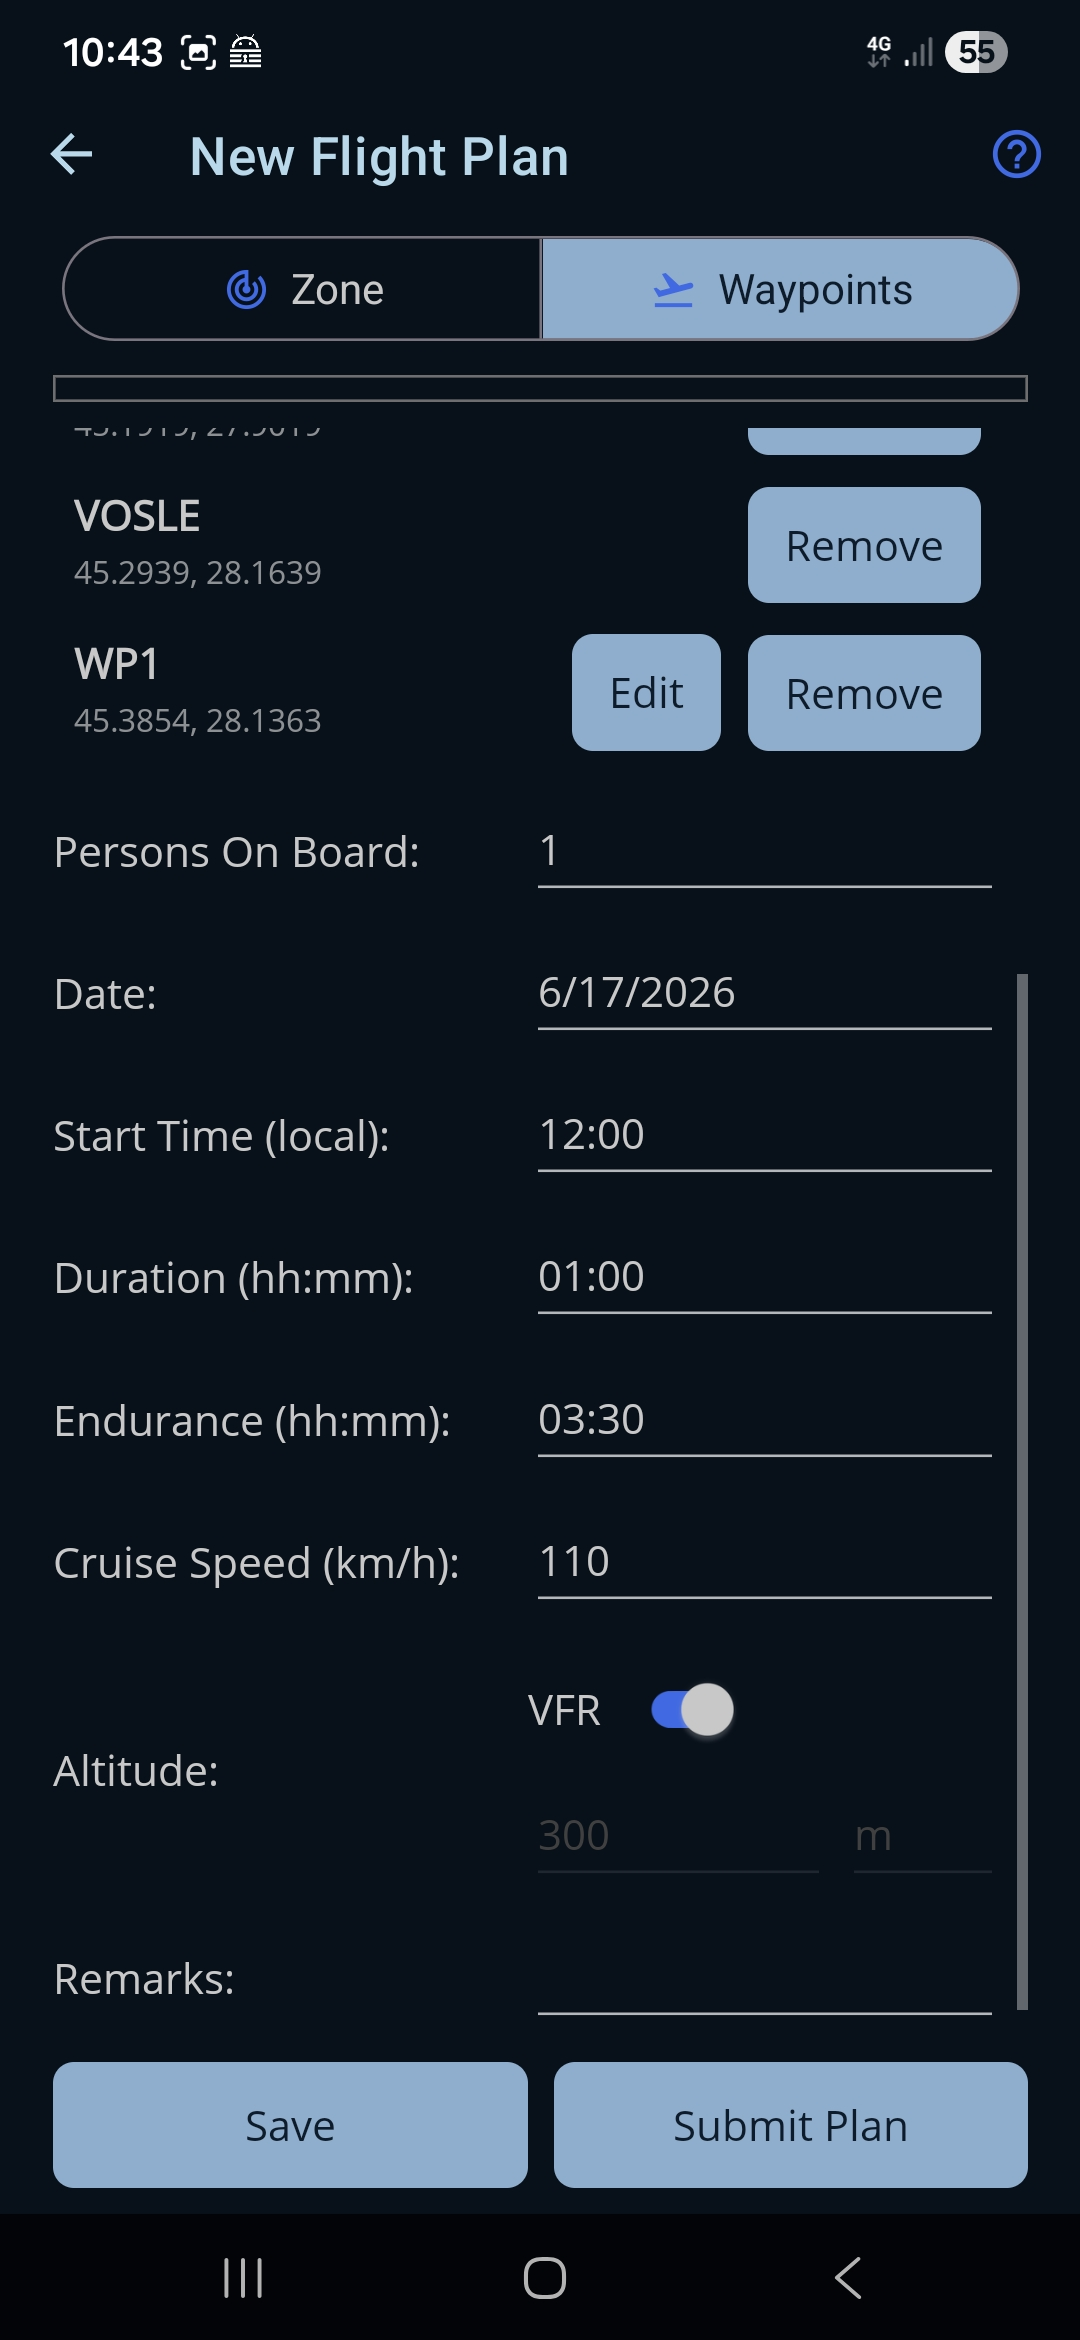
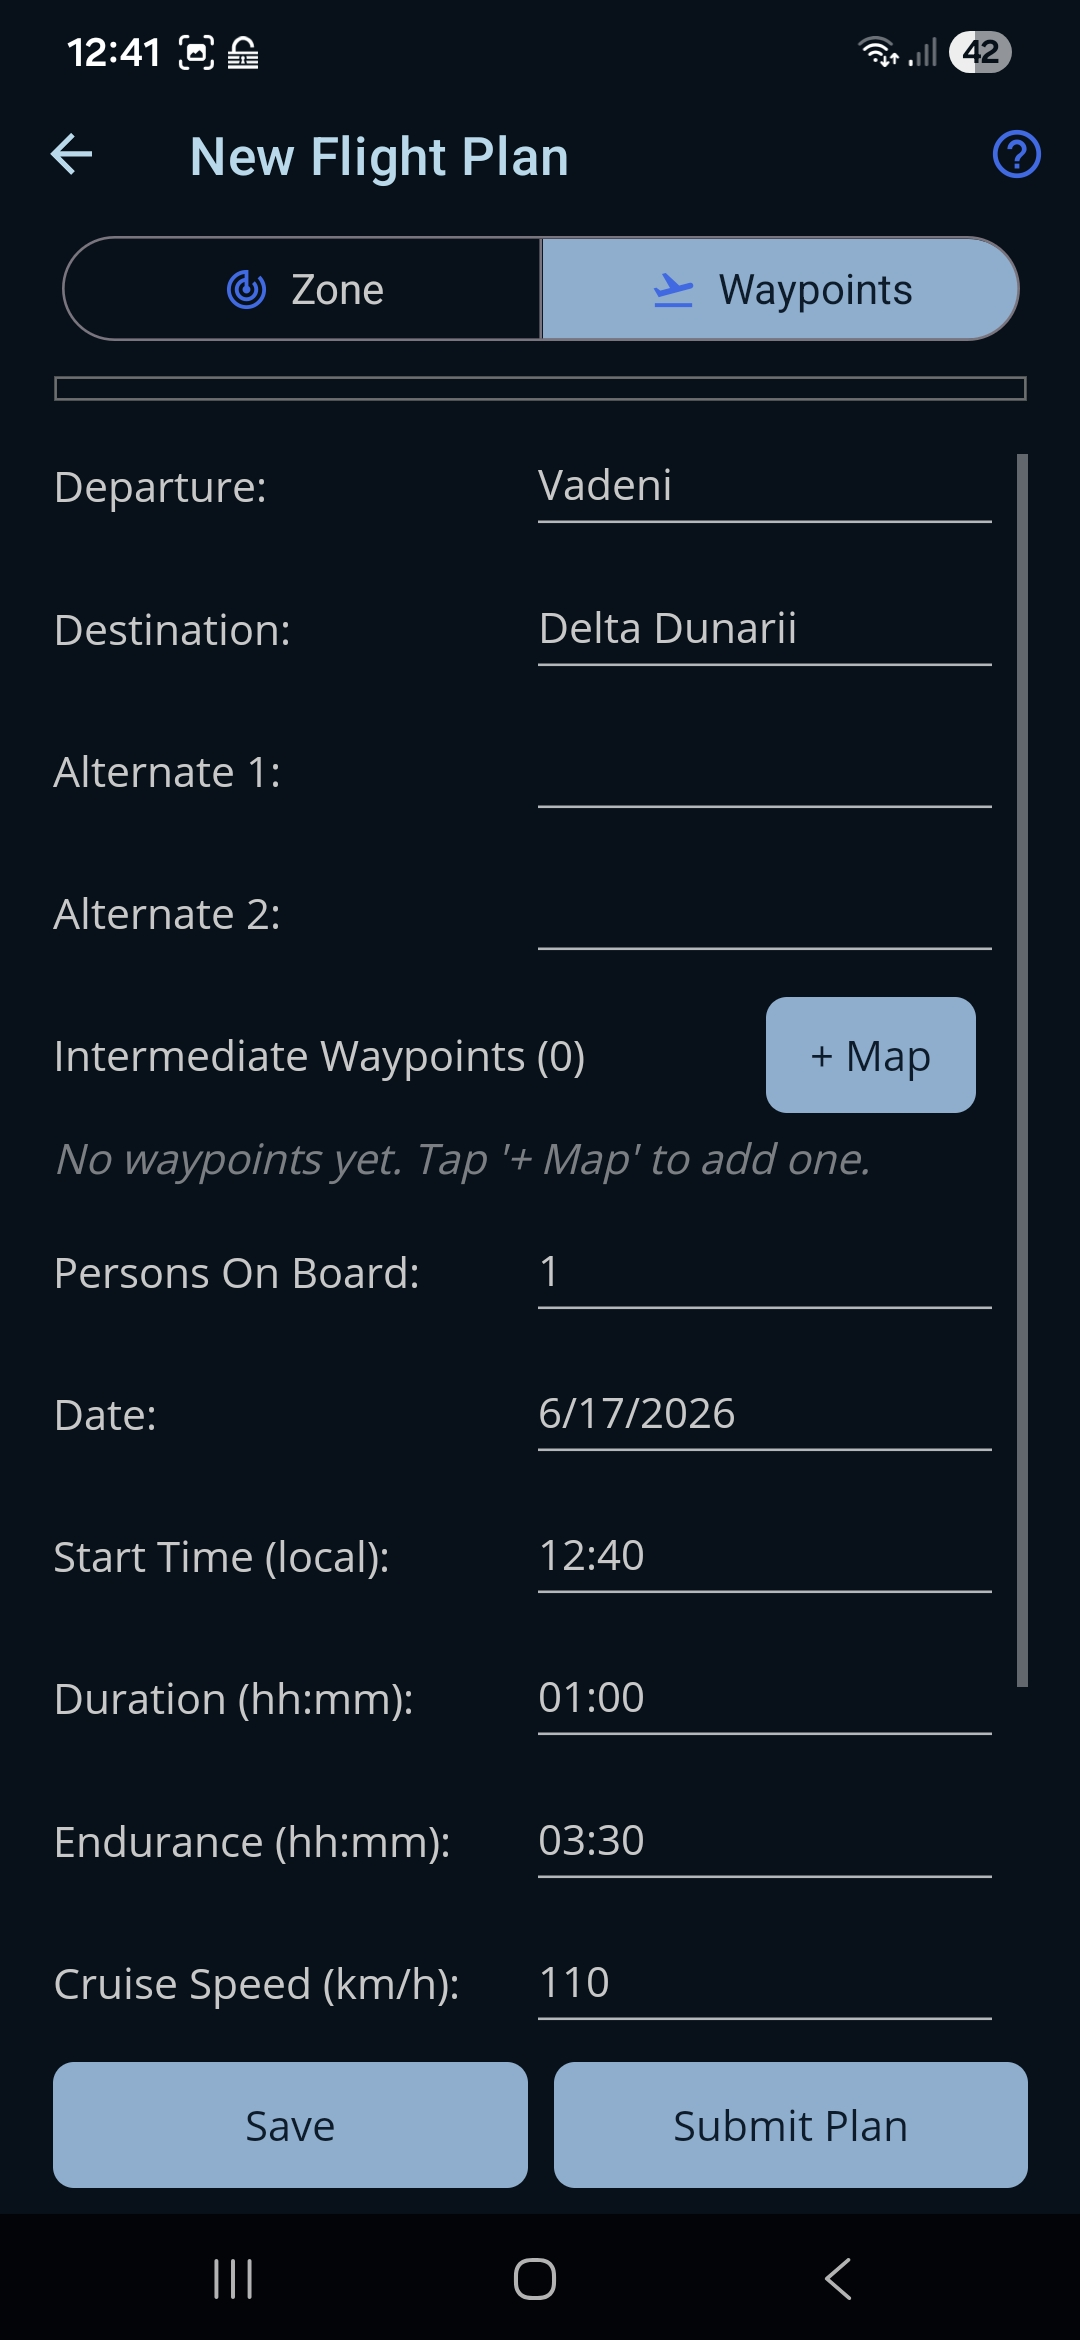
Completează restul datelor operaționale: Persons On Board, Duration planificată, Endurance (autonomia de combustibil) și Cruise Speed. Lasă VFR pornit pentru un zbor VFR obișnuit și scrie și altitudinea de croazieră la care ai de gând să zbori — cele două sunt setări independente, iar o notificare pe vfr.caa.ro cere o altitudine, indiferent dacă zborul este VFR sau nu. Dacă oprești VFR, în planul de zbor ICAO se depune un nivel anume.
O rută GPX duce cu ea un nivel planificat pentru fiecare punct, dar nicio altitudine de croazieră pentru zborul întreg, așa că un plan adus din import ajunge de obicei cu căsuța de altitudine goală — completeaz-o aici, dacă s-ar putea să depui la AACR.
A8 — Depui planul
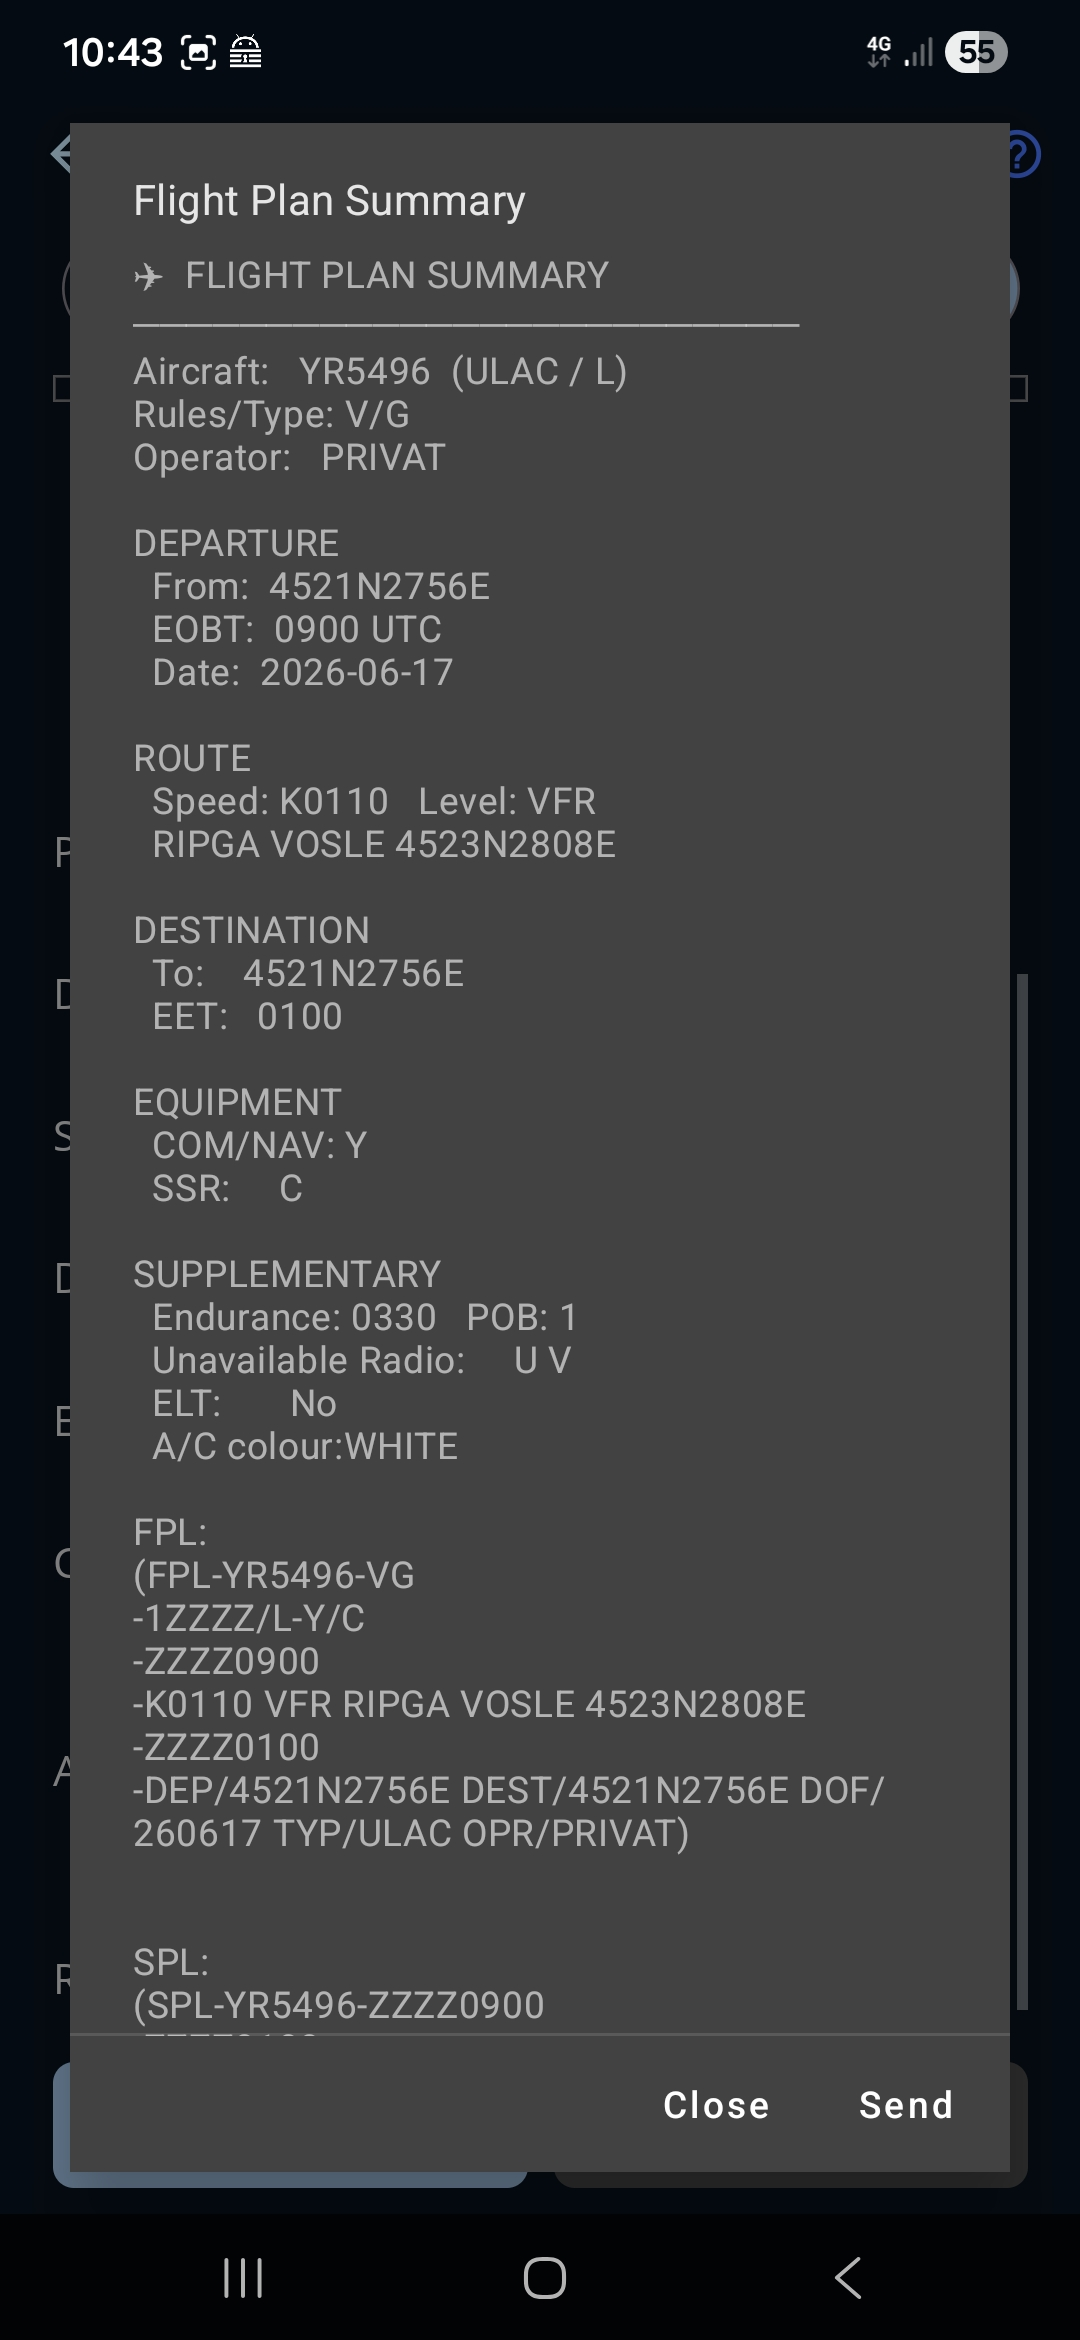
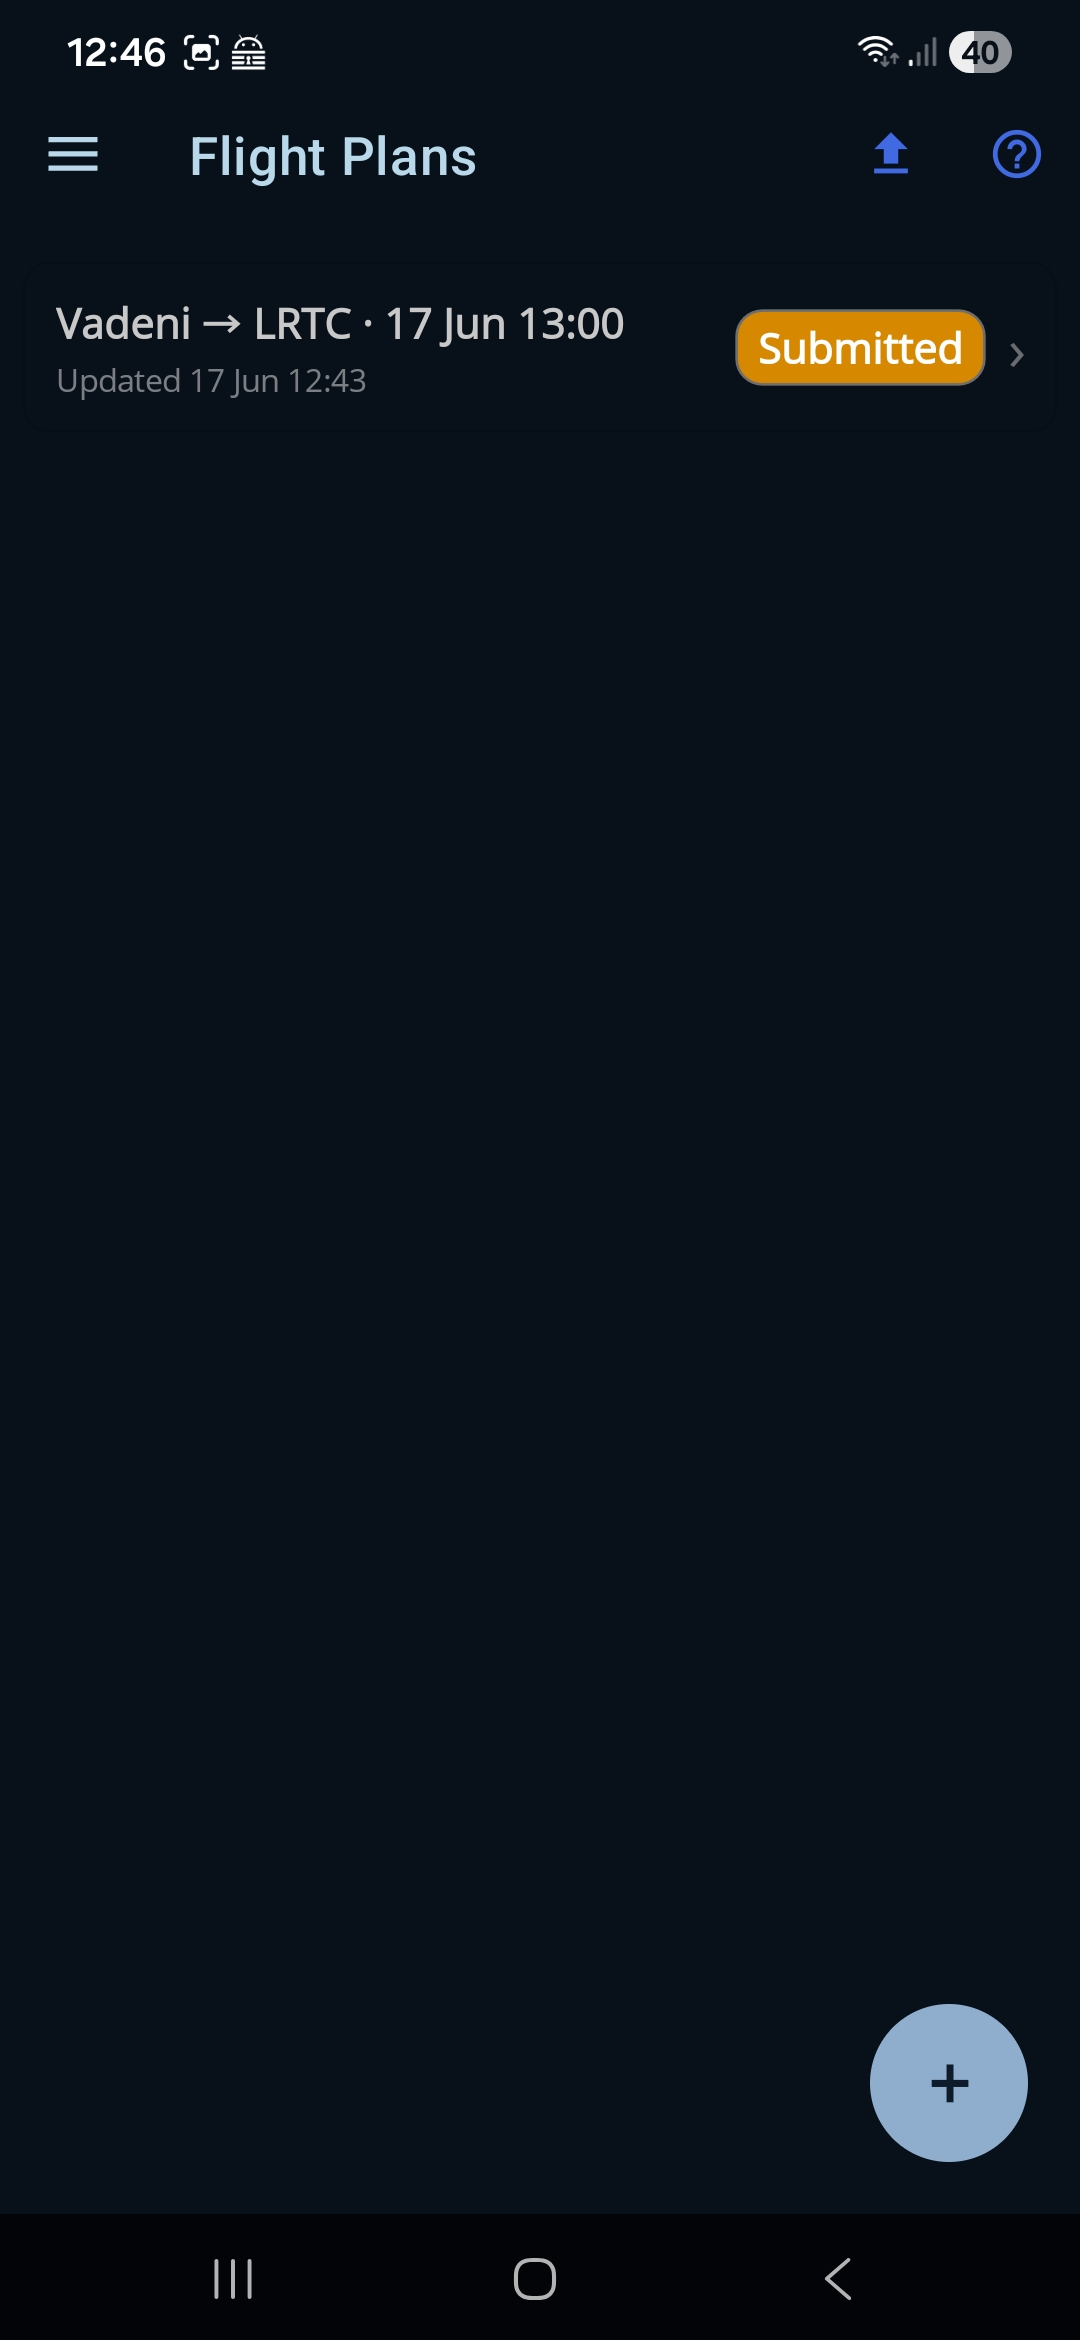
Apasă Submit Plan și alege autoritatea — ROMATSA pentru un plan de zbor ICAO sau AACR — vfr.caa.ro, dacă tot zborul rămâne în spațiu aerian clasa G. Ro Flight asamblează mesajul acelei autorități și ți-l arată într-o fereastră de confirmare. Uită-te peste rezumat — aeronava, ruta, EOBT, autonomia — și apasă Send ca să îl depui. Dacă a mers, starea planului trece în Submitted.
După ce aterizezi, nu uita să deschizi planul și să apeși Inform Landing, ca să îl închizi la aceeași autoritate — vezi pagina Flight Plan Detail.
Secțiunea B — Construiești un plan în Ro Flight și îl exporți
Poți lucra și invers: construiești ruta în Ro Flight, o depui și exporți ruta ca GPX, ca să o folosești în SkyDemon sau în orice alt program care lucrează cu GPX — de exemplu ca să o zbori pe alt dispozitiv.
Nu ești obligat să ieși din aplicație ca să zbori ruta: Ro Flight are propria hartă care se mișcă odată cu tine, iar butonul Go Fly din pagina de detalii a planului o deschide. Vezi pagina Go Fly. Exportul este pentru când vrei ruta în alt program.
B1 — Construiești planul
Creează un plan nou din lista Flight Plans și completează Flight Plan Form în modul Waypoint — plecarea, destinația și câmpurile operaționale. Vezi pagina Flight Plan Form.
B2 — Pui punctele pe hartă
Apasă + Map ca să adaugi și să aranjezi punctele intermediare, apoi Finish Plan. Vezi pagina Route Map.
B3 — Depui planul
Depune planul cu Submit Plan și alege autoritatea. (Poți exporta orice plan care are o plecare, inclusiv o ciornă salvată, așa că depunerea nu este obligatorie înainte — dar de obicei depui, apoi exporți aceeași rută ca să o zbori.)
B4 — Deschizi meniul de export
Deschide planul din lista Flight Plans, ca să ajungi la pagina lui de detalii, apoi apasă iconița de partajare / export din bara de sus.
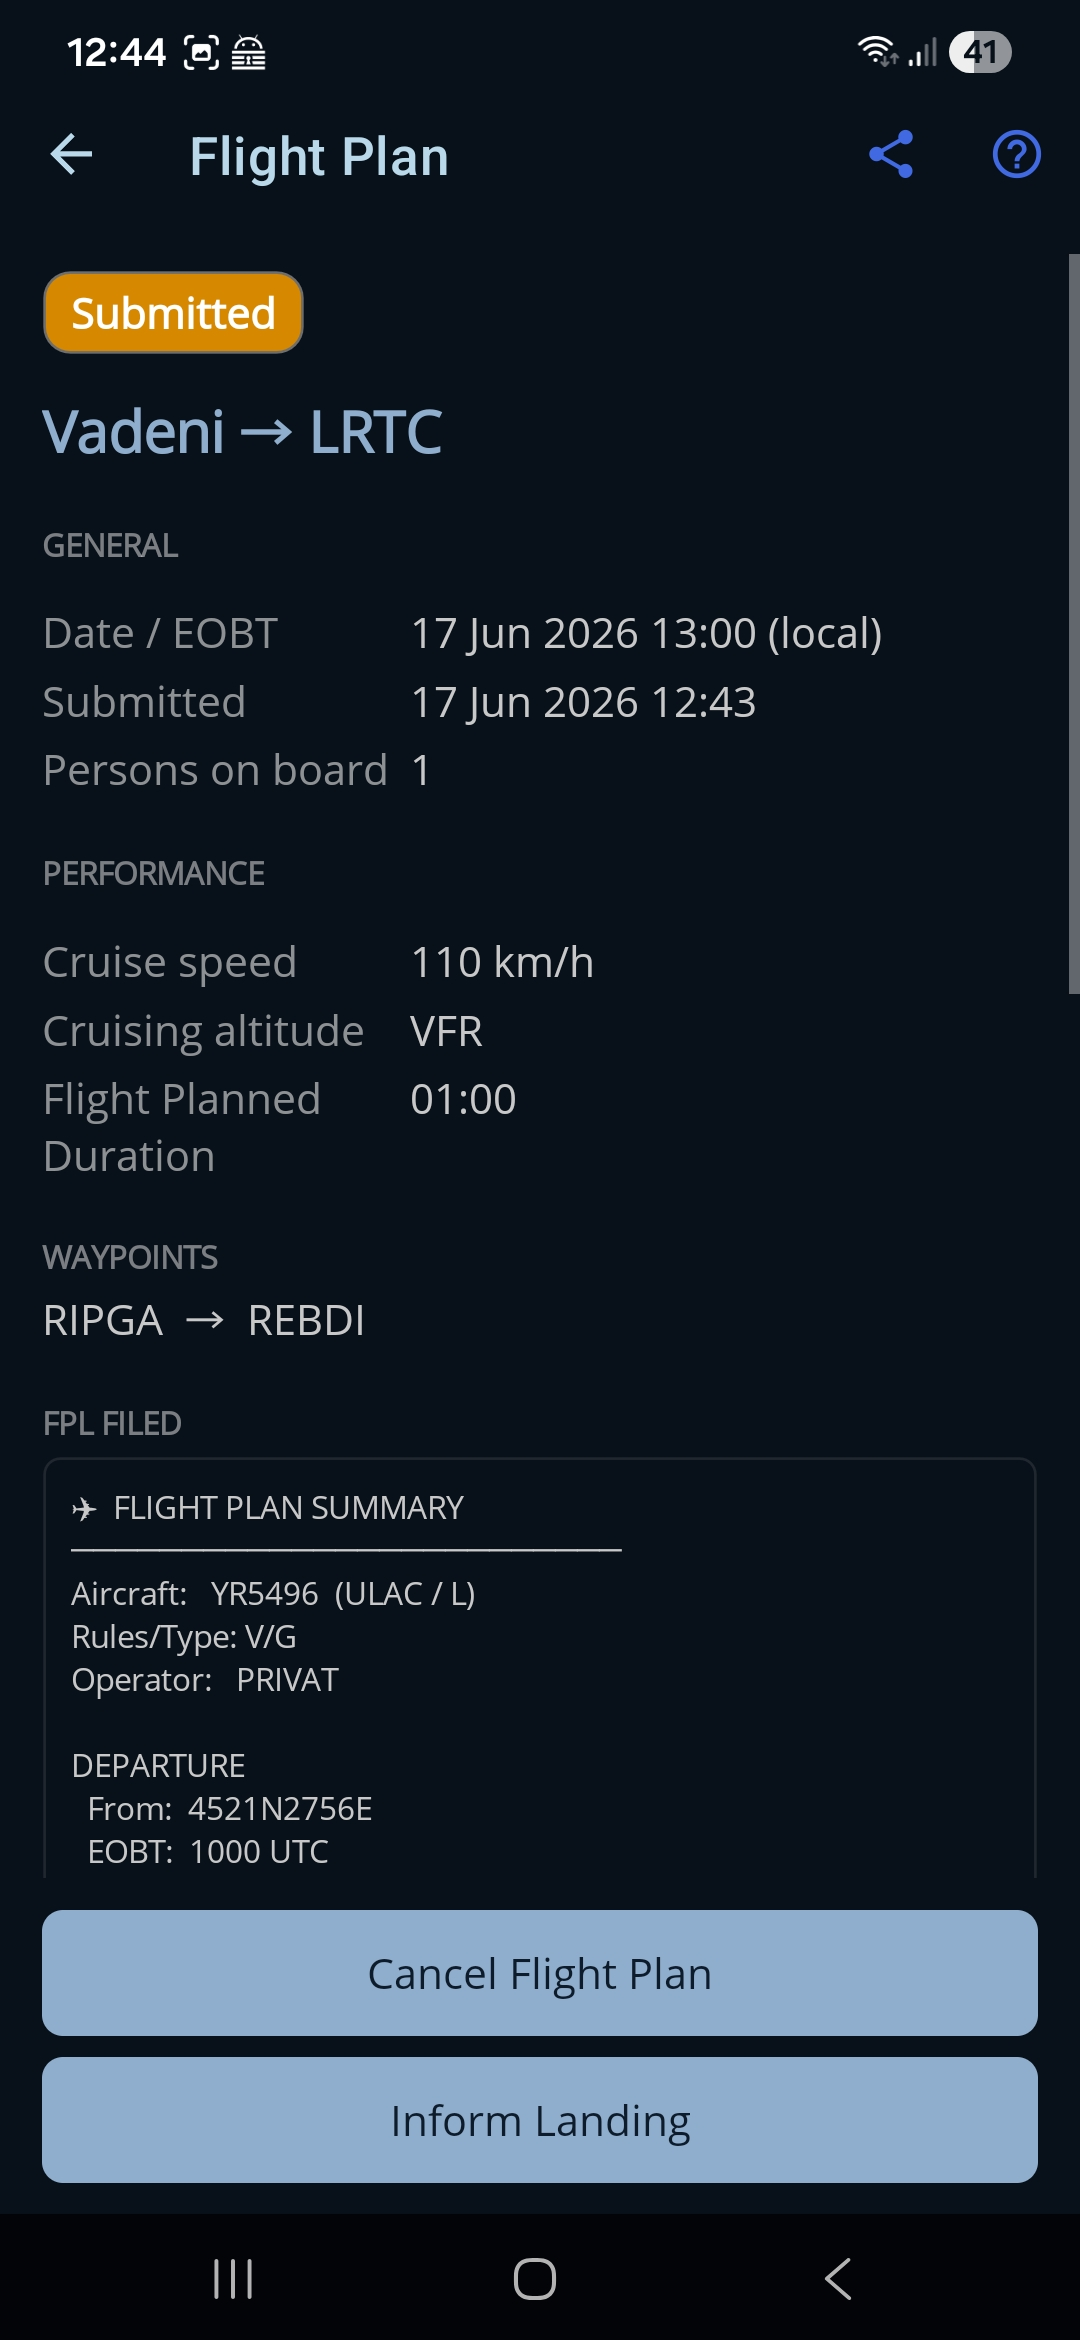
B5 — Alegi cum pleacă ruta din aplicație
Fereastra Export route îți dă două variante:
- Send To — dă fișierul GPX altei aplicații de pe dispozitiv (de exemplu SkyDemon), care încarcă ruta direct.
- Save GPX file… — scoate fișierul GPX prin meniul obișnuit de partajare (e-mail, Drive sau orice altă aplicație), ca să îl muți unde vrei.
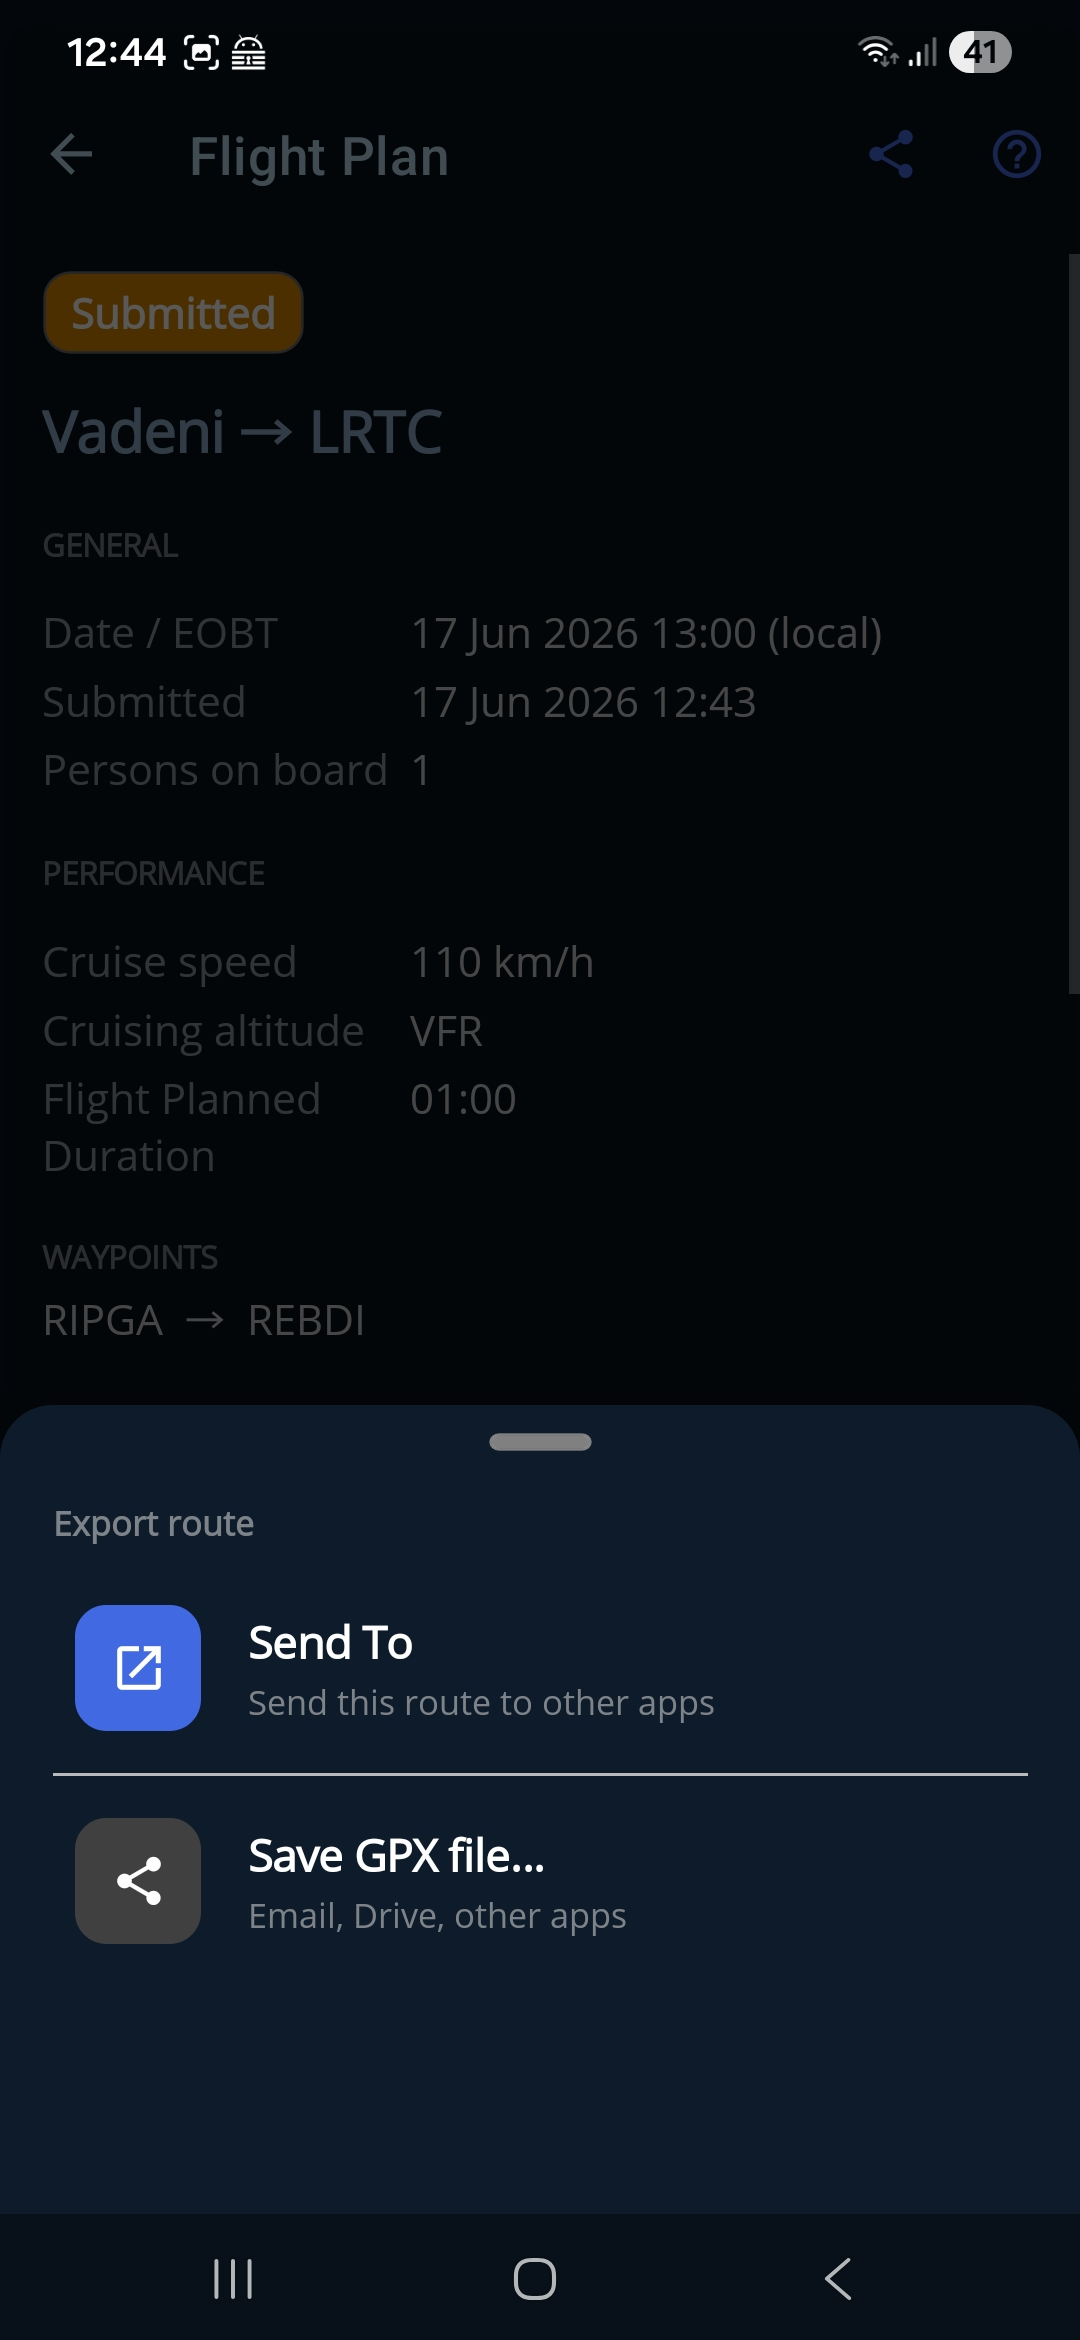
B6 — Alegi aplicația în care se deschide
Dacă ai ales Send To, dispozitivul îți arată un selector Open route in…, cu toate aplicațiile care acceptă o rută GPX. Alege SkyDemon (sau orice alt program care lucrează cu GPX), ca să îi dai ruta.
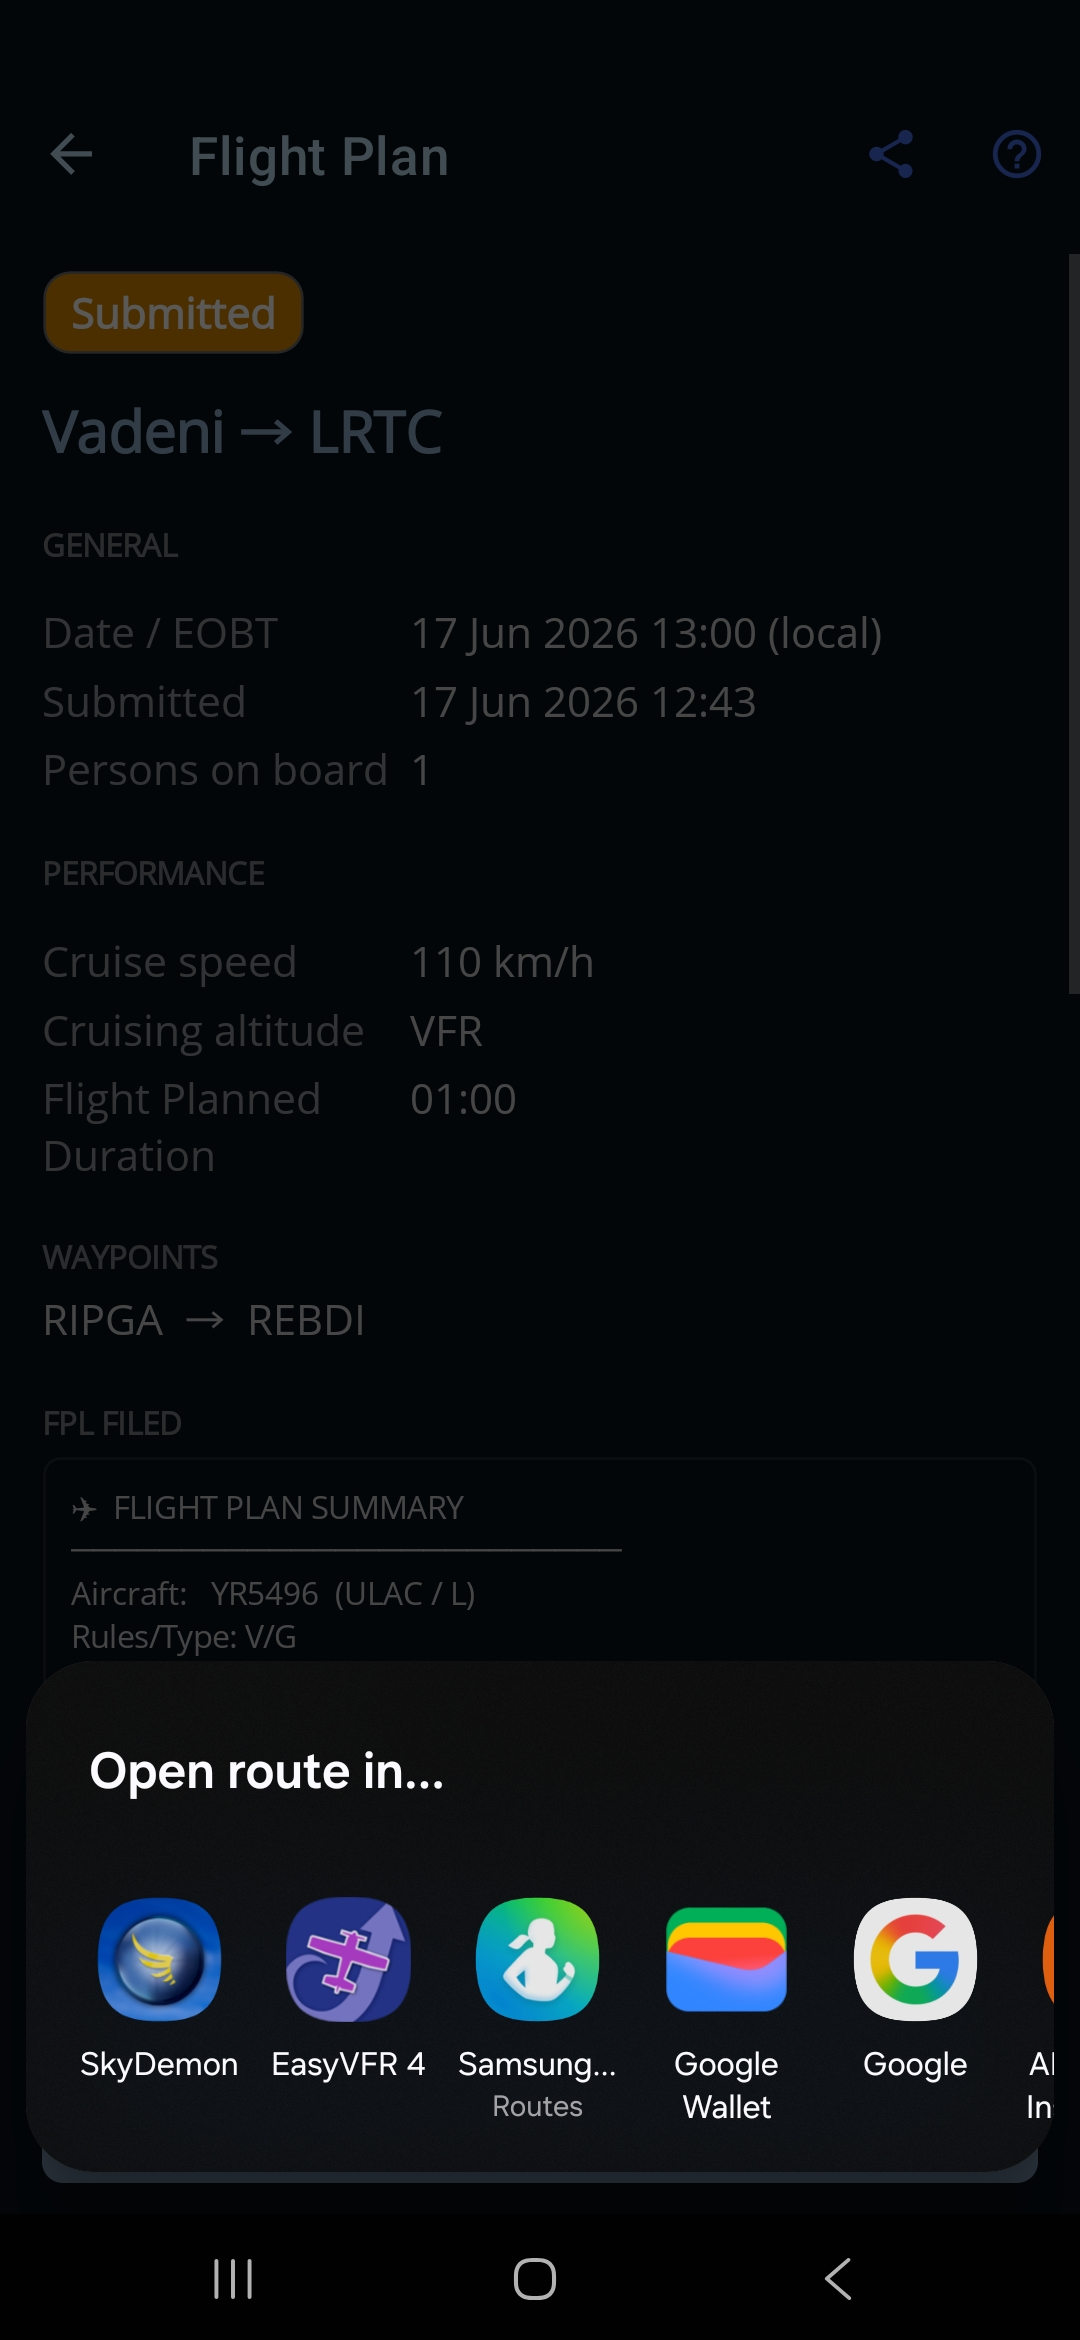
B7 — Deschizi ruta în programul tău
SkyDemon se deschide cu ruta încărcată (sau, dacă ai salvat fișierul, deschide-l din Route ▸ Open). Punctele și nivelurile planificate pe fiecare segment trec mai departe, gata de zbor. Orice program care lucrează cu GPX aduce același fișier în același fel.