Import & Export a Flight Plan
Ro Flight exchanges routes with other flight-planning software using the open GPX route format. The screenshots on this page use SkyDemon as the worked example, but the same procedure applies to any planner that reads or writes GPX routes — the file is standard, not vendor-specific.
This page covers both directions: Section A imports a route built elsewhere into Ro Flight and files it; Section B builds the plan in Ro Flight and exports the route back out to an external planner.
Section A — Import a route and file it
Build the route in your external planner, then send it to Ro Flight. Ro Flight pre-fills a new flight plan from the route; you complete the operational fields (times, performance) and file it exactly as you would for a plan you built by hand.
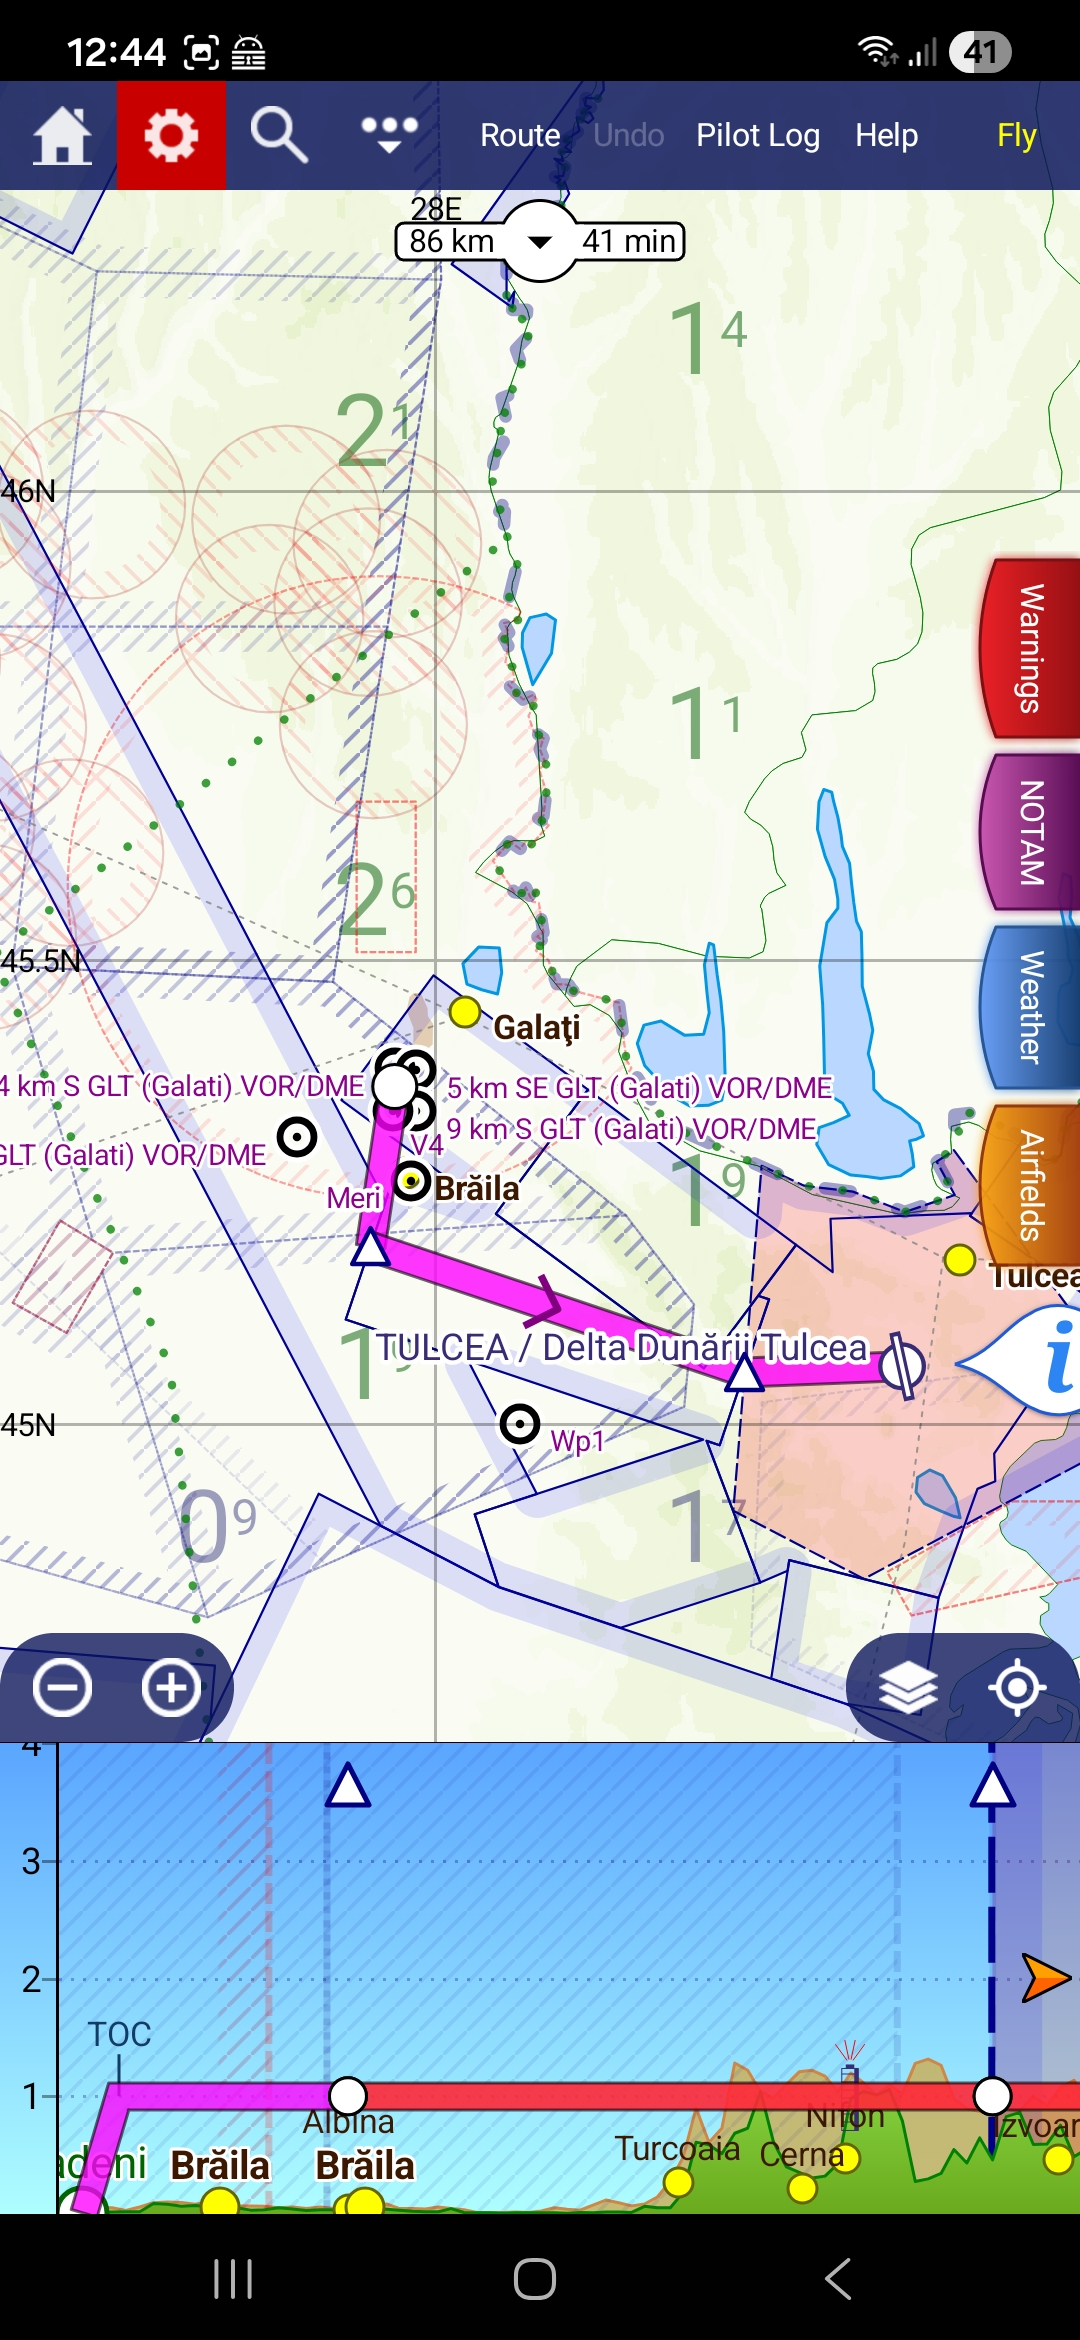
A1 — Plan the route in your external planner
Lay out your route as you normally would — departure, any intermediate reporting points or custom turning points, and destination. In SkyDemon this is the route shown on the map.
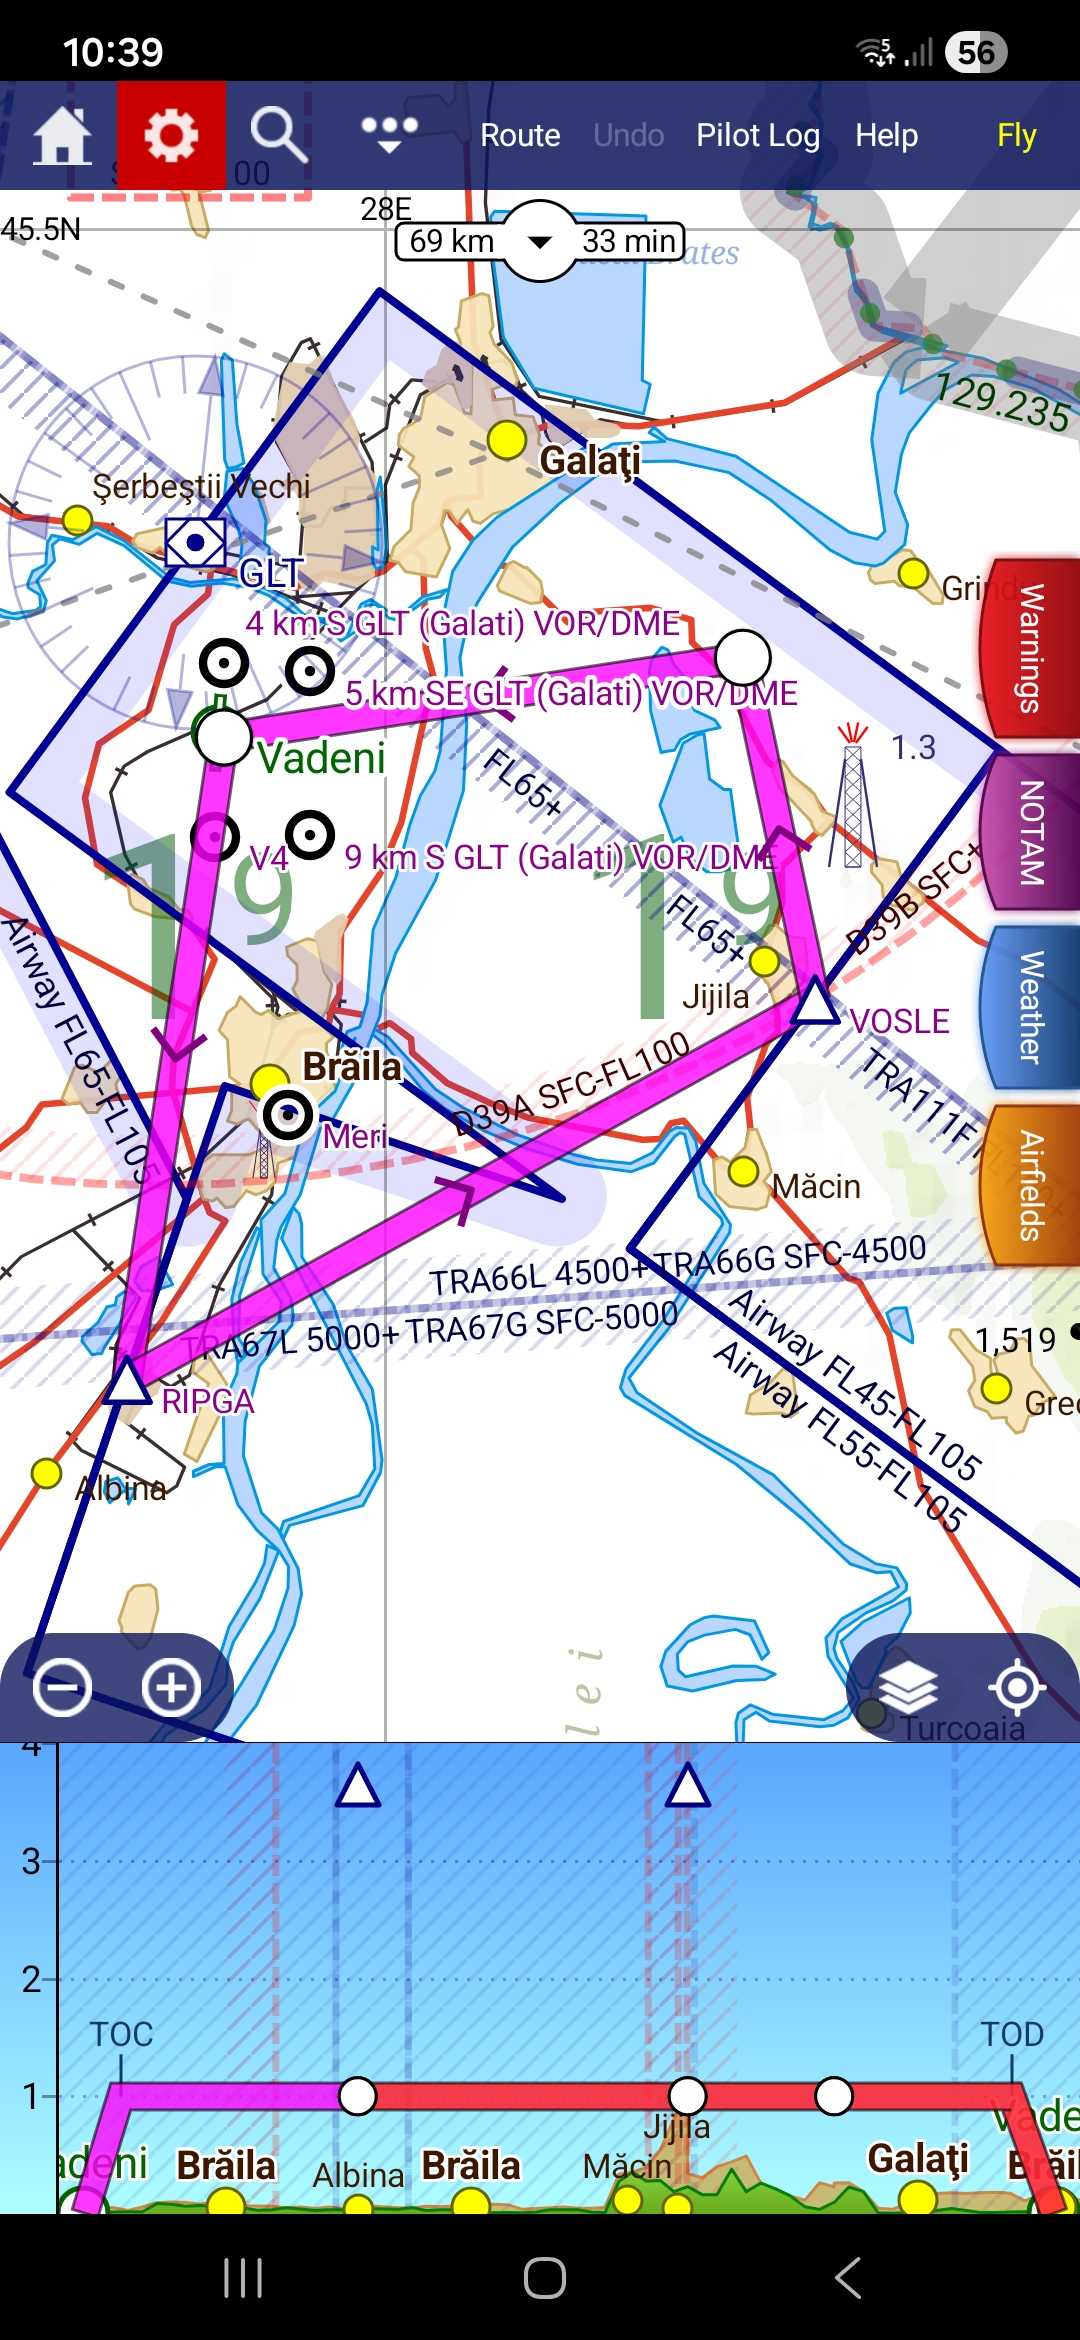
A2 — Share the route
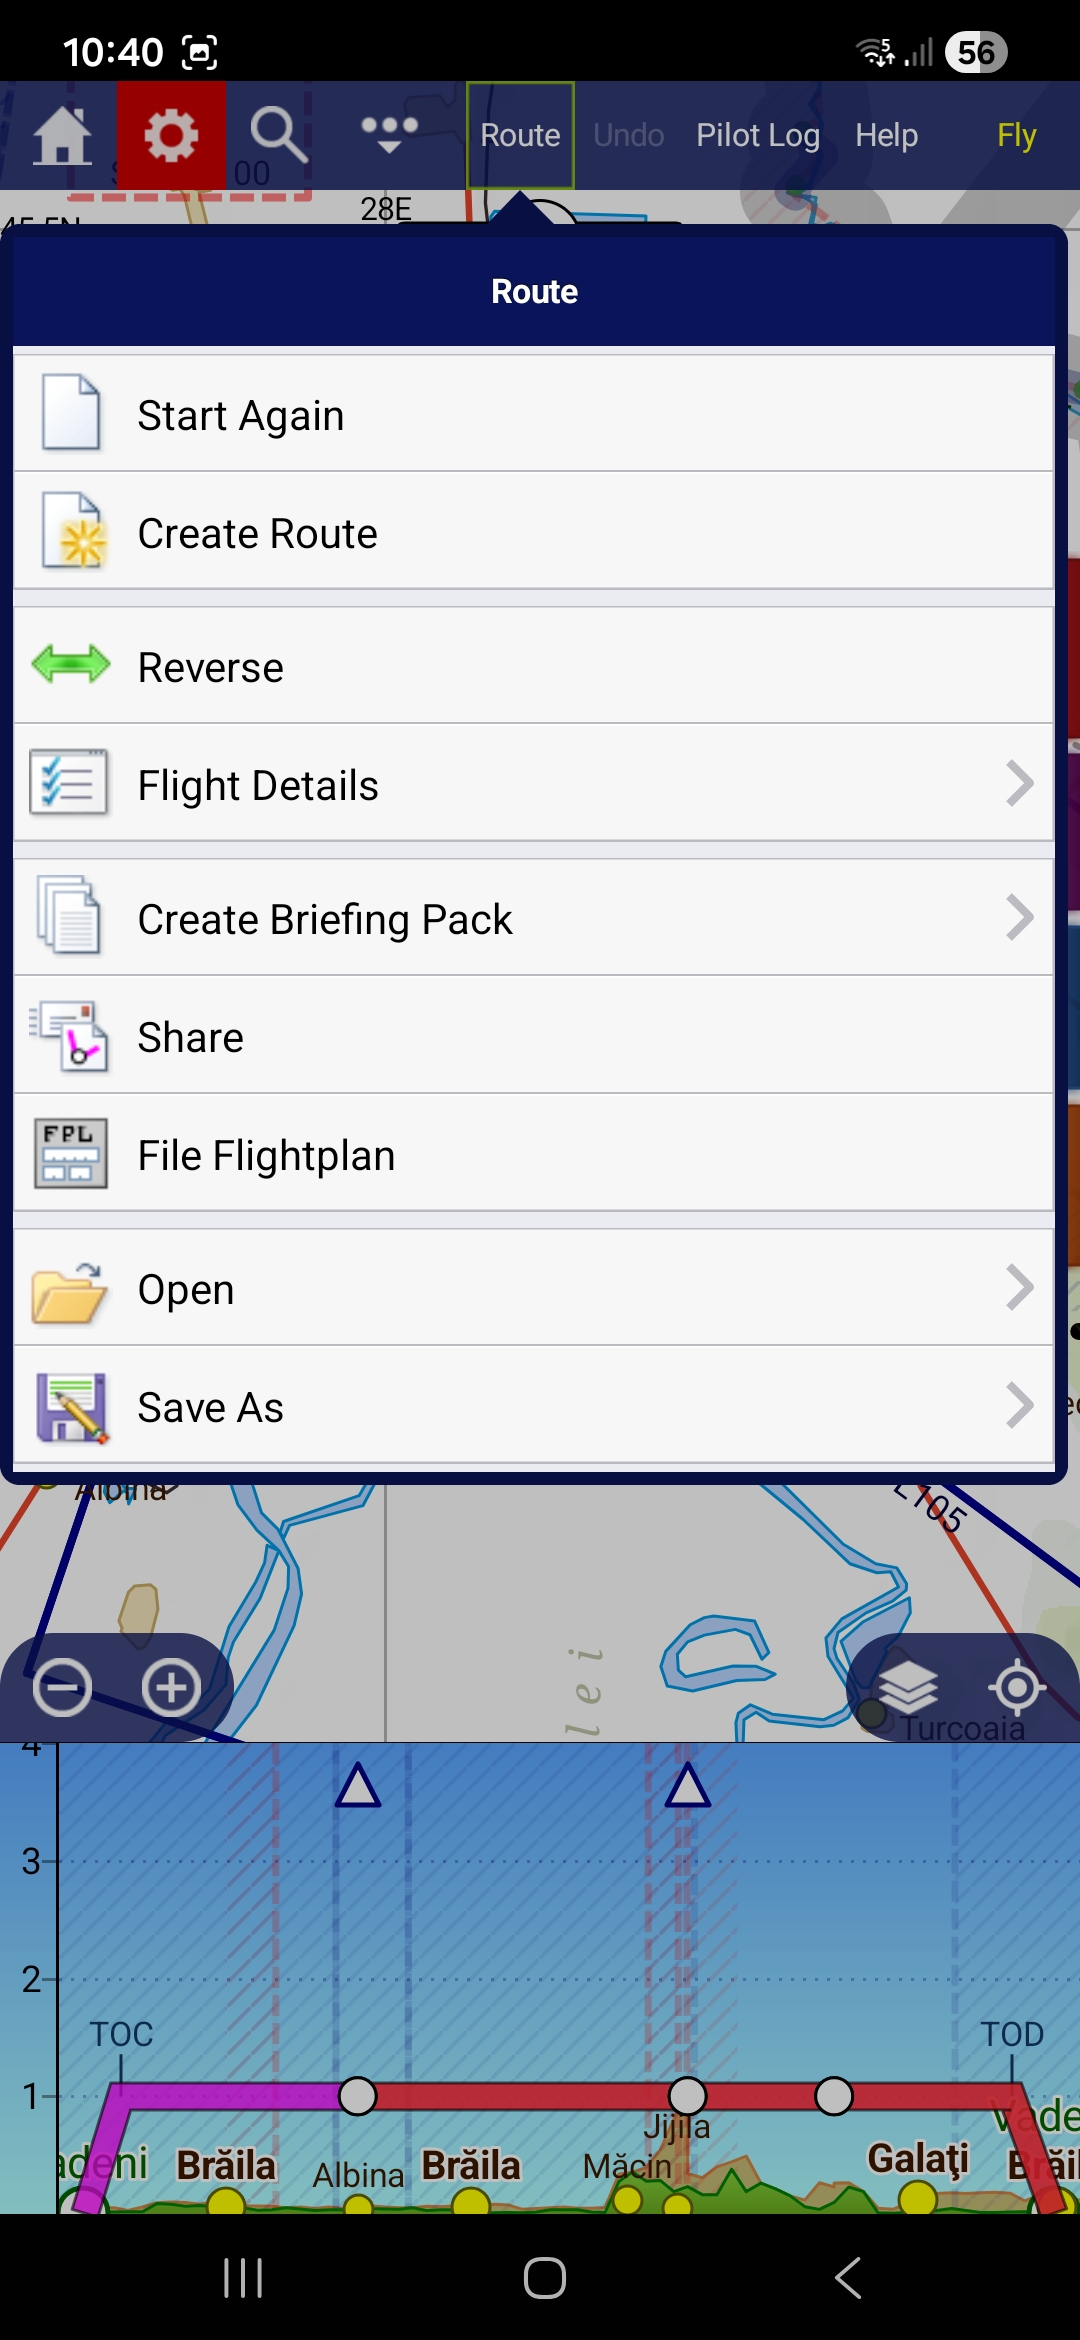
In SkyDemon, open the Route menu and tap Share. SkyDemon bundles the route in several formats (along with its briefing pack) and hands the whole set to the device's share sheet. You do not need to pick a format — Ro Flight identifies and keeps the GPX route automatically and ignores everything else.
A3 — Send it to Ro Flight
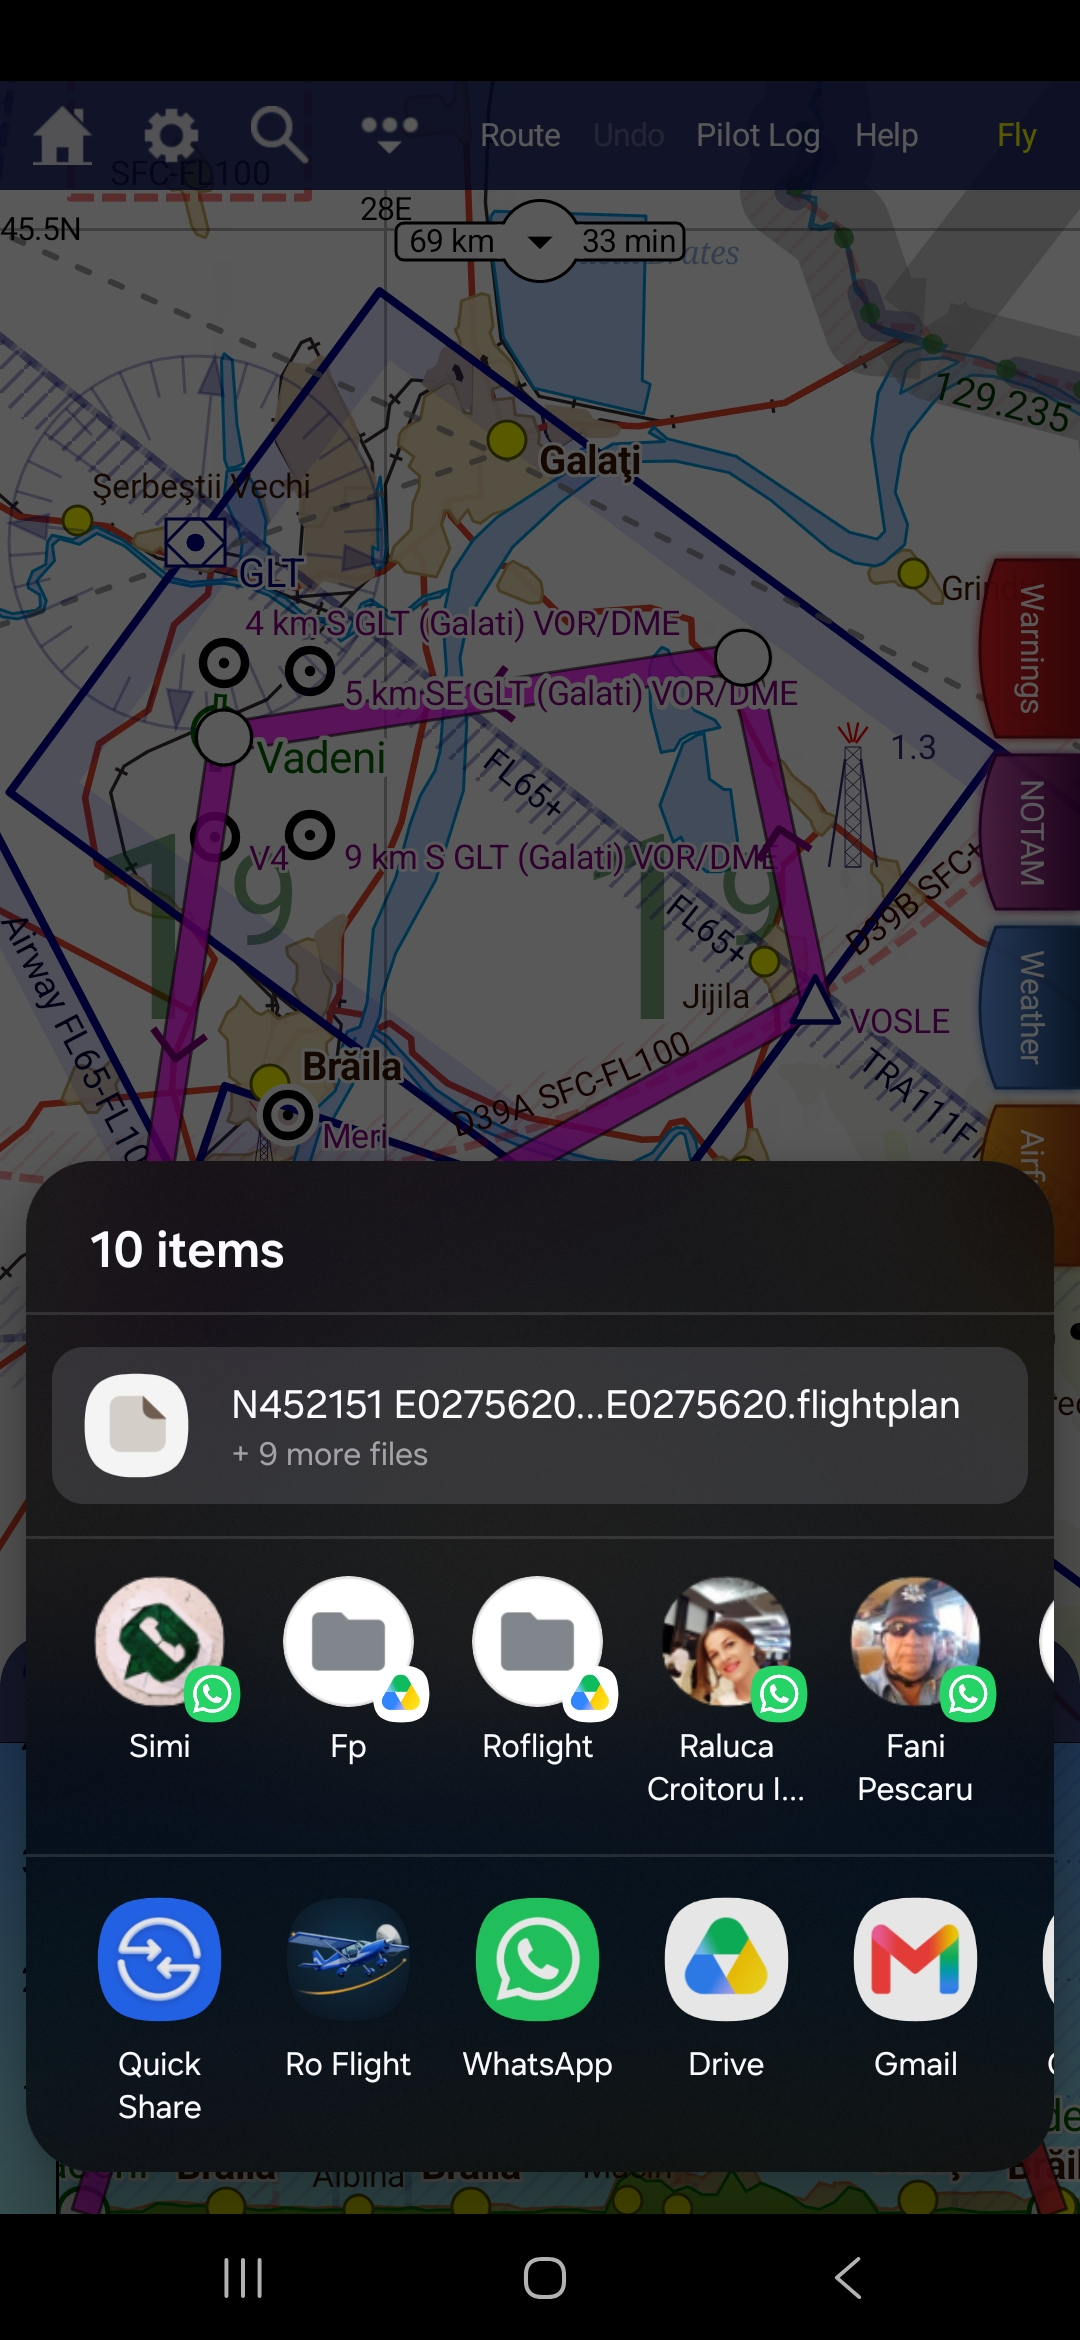
On the share sheet, choose Ro Flight. The app opens with the route loaded.
If you exported the route to a file instead (for example to Drive or Files), you can import it from inside Ro Flight using the file picker — the result is the same.
A4 — Review the imported route
Ro Flight opens the New Flight Plan form in Waypoint mode with the route filled in: departure, destination, and the intermediate waypoints in flown order. Coded points (ICAO aerodromes, published reporting points and navaids) are resolved to their names where Ro Flight recognises the code; points it cannot match — custom turning points and aerodromes outside its database — are kept by their coordinates and remain perfectly fileable.
Check the departure and destination read as you intend, and that the waypoint list is complete. You can Edit or Remove any waypoint, or tap + Map to add more, before filing.
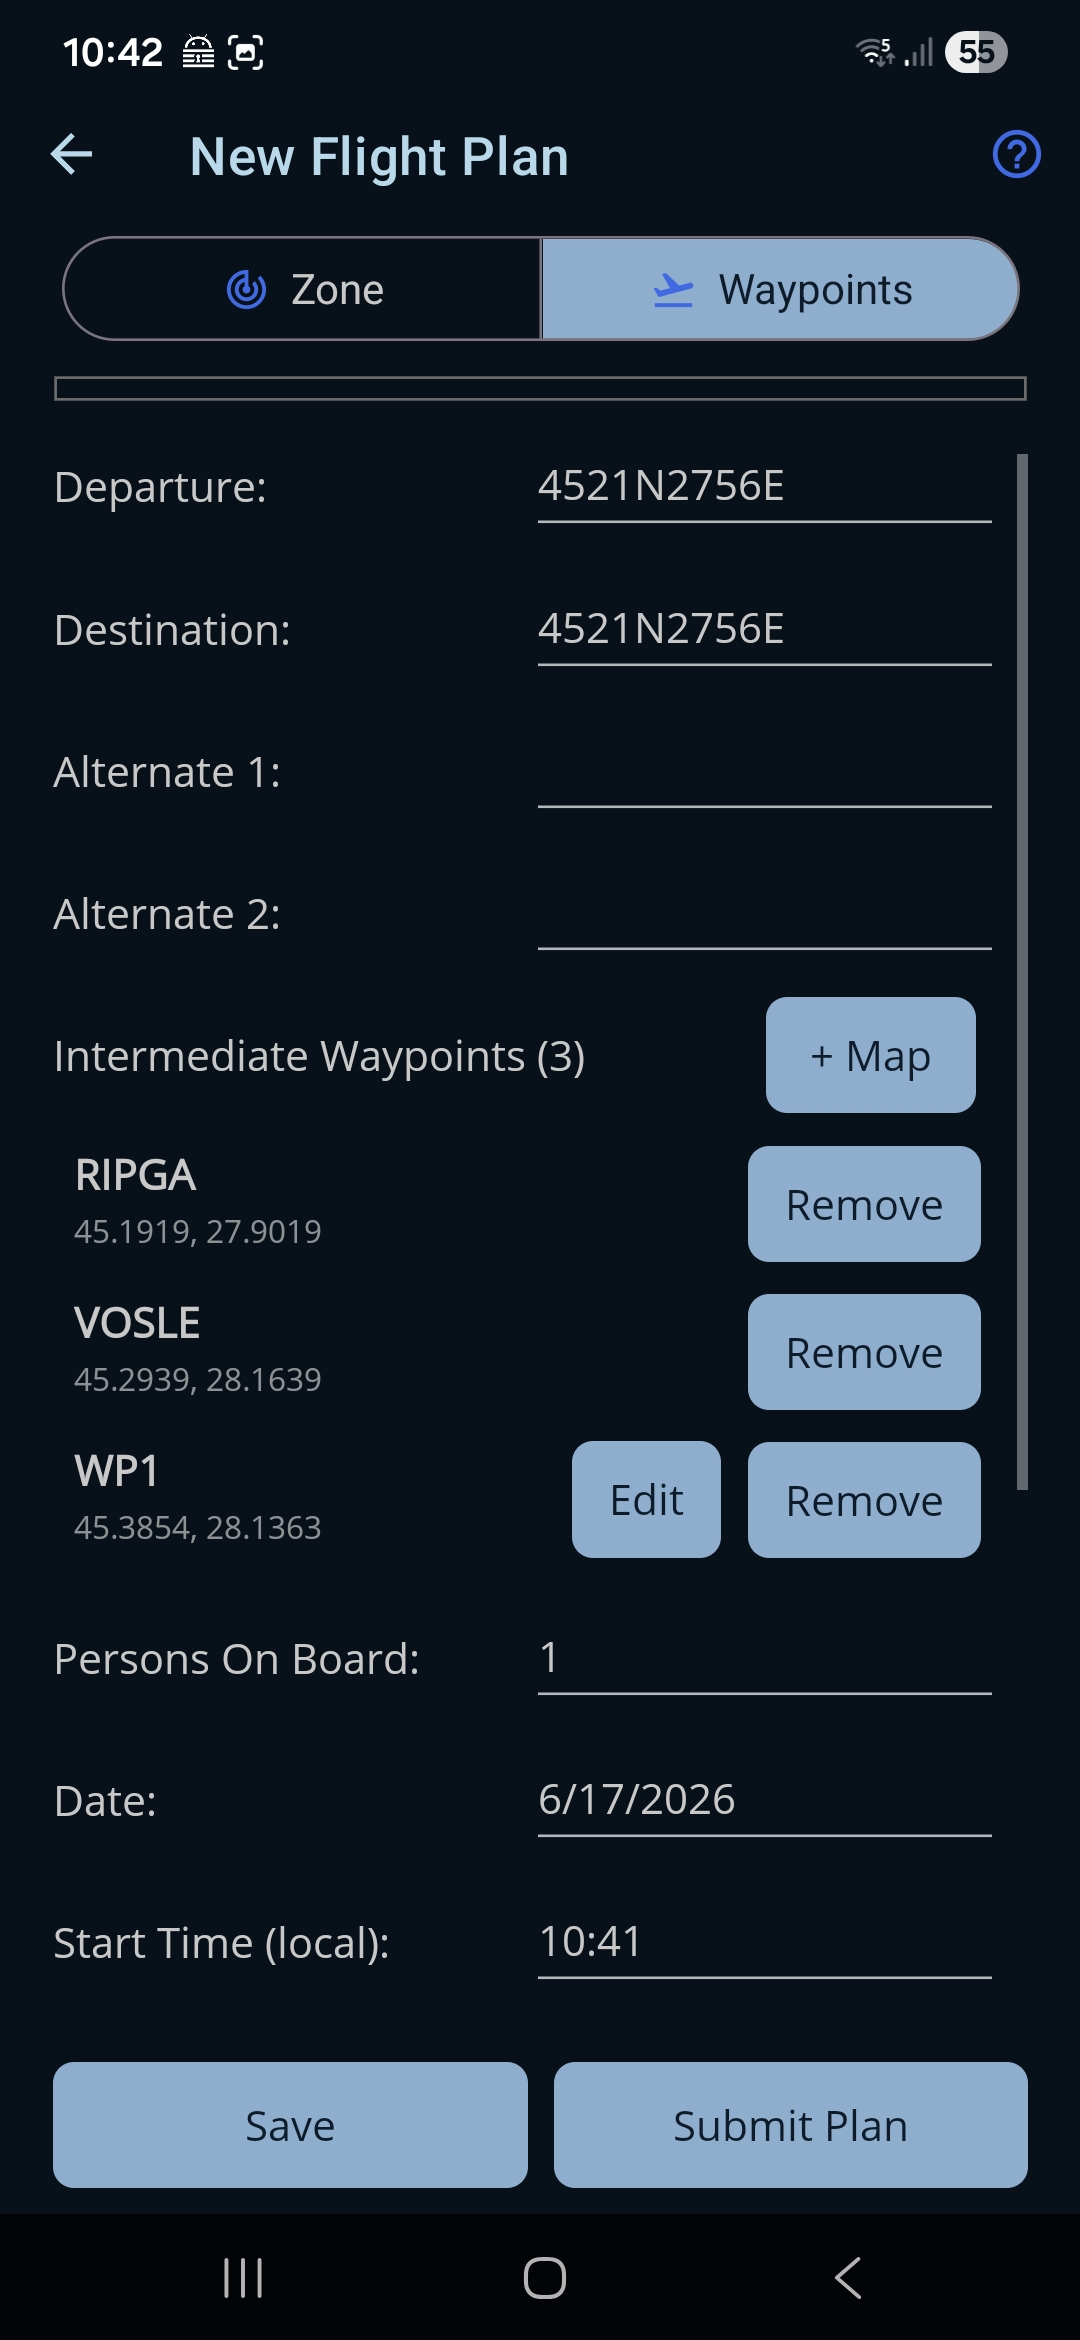
A5 — Review the route on the map
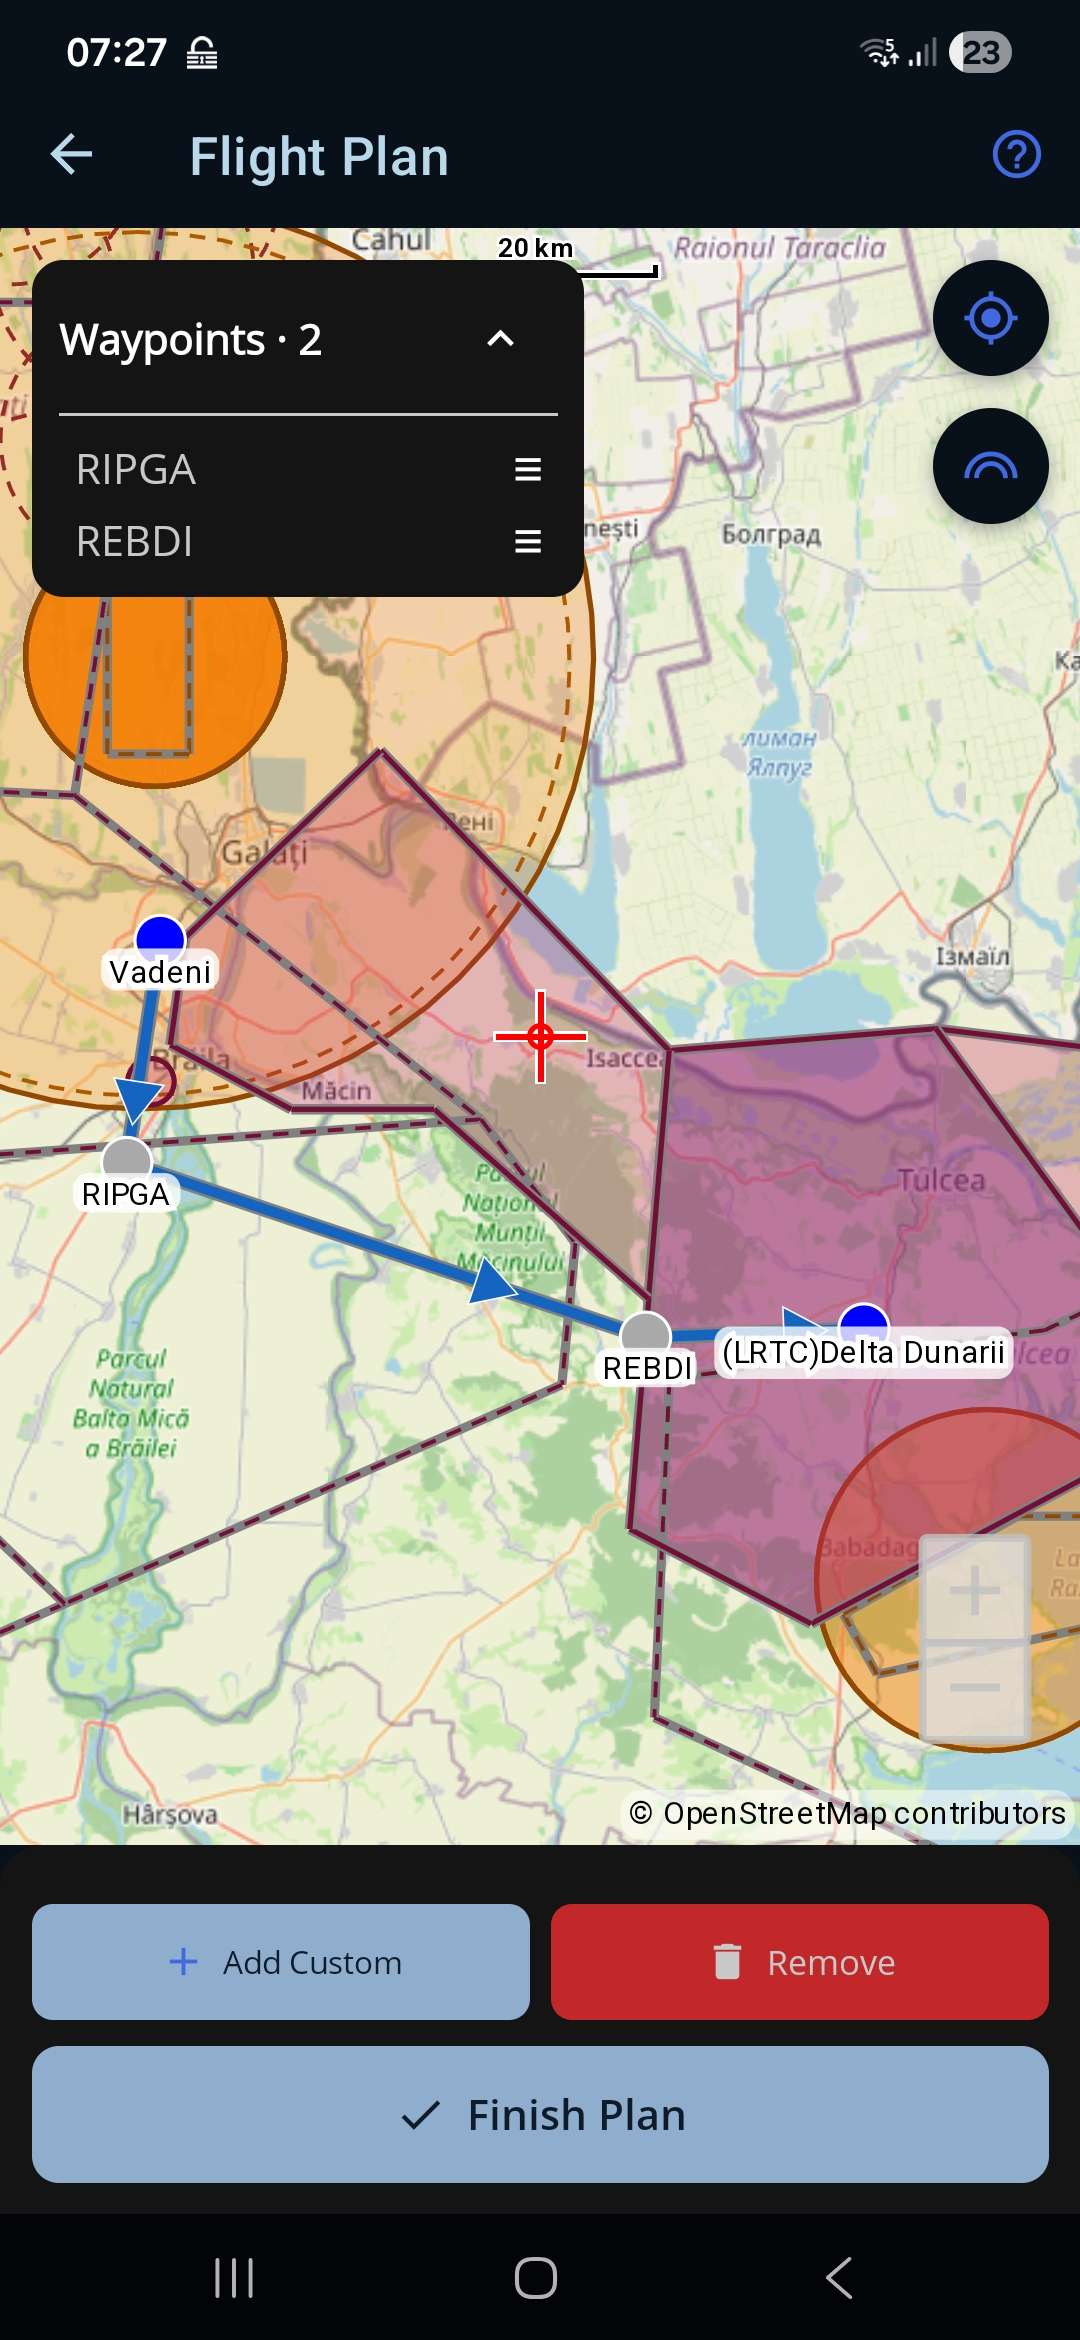
Open the map (+ Map) to confirm the route geometry — the leg sequence and the position of each waypoint. Adjust any point here if needed, then tap Finish Plan to return to the form.
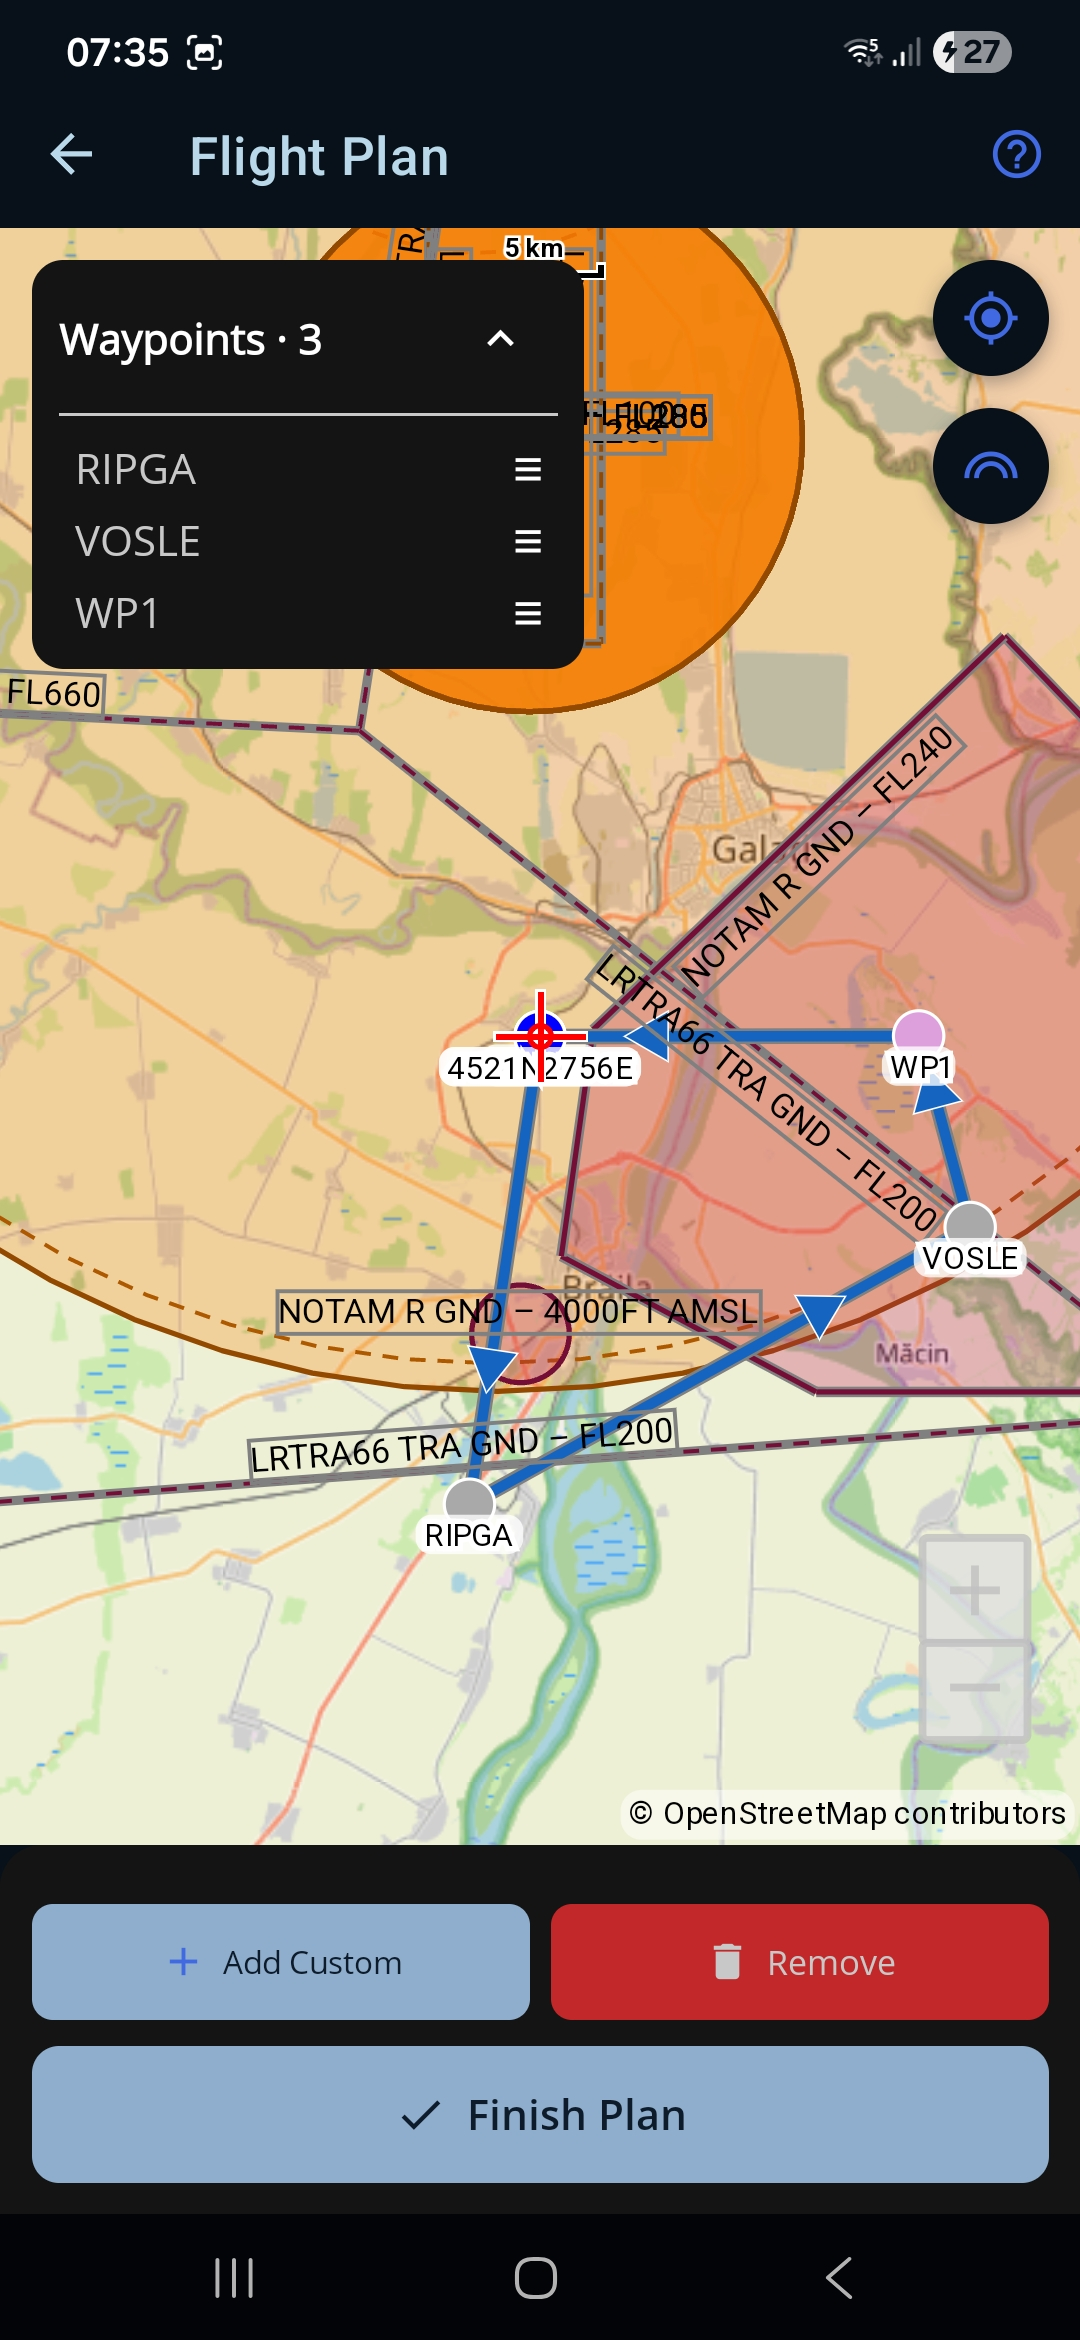
A6 — Set the departure time
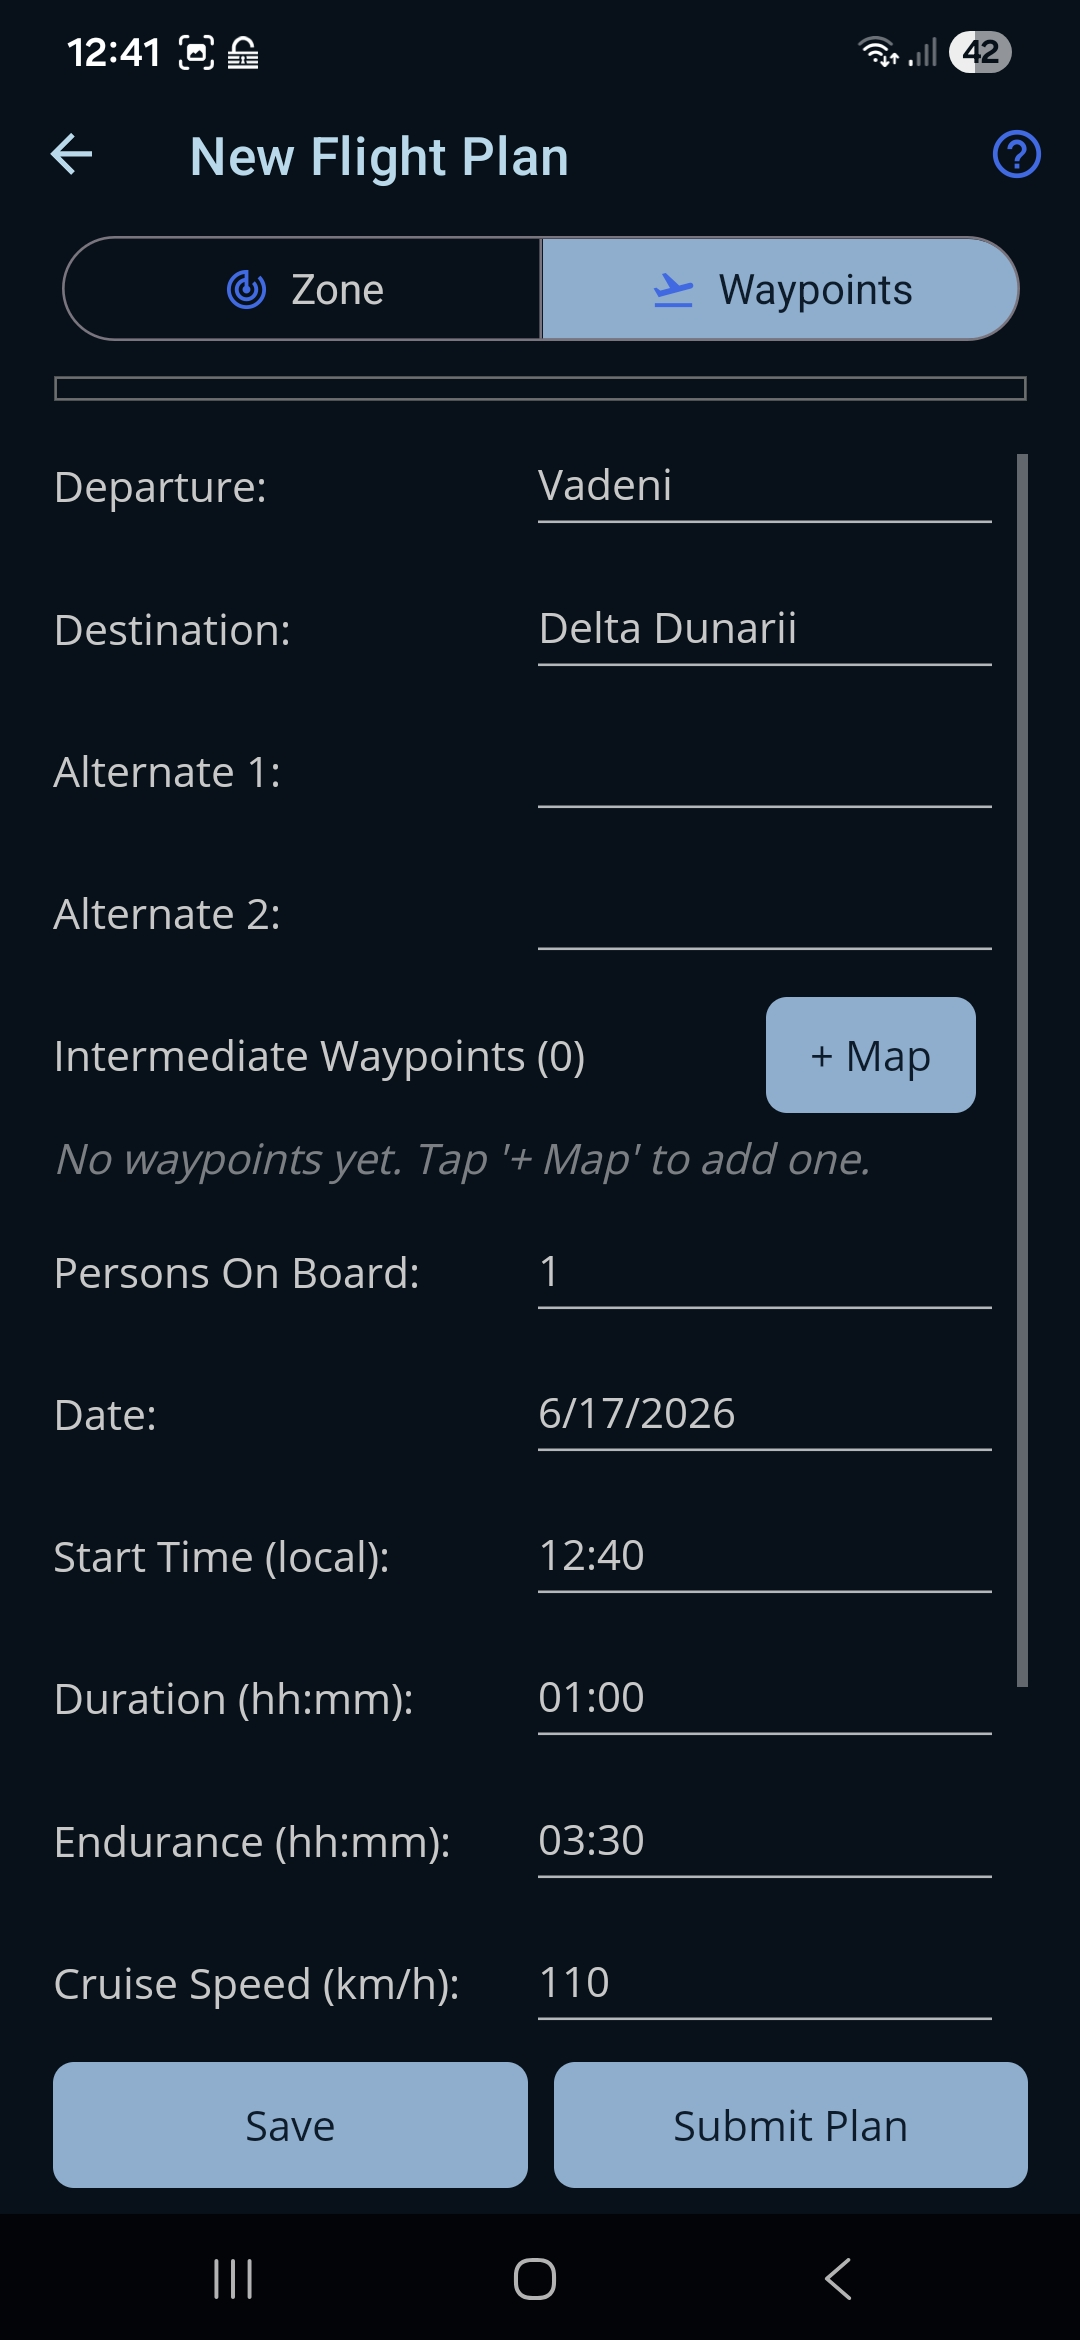
A route carries no schedule, so set the operational times yourself. Enter the Date and the Start Time (local) — your estimated off-block time. Ro Flight converts this to the EOBT (UTC) used in the filed plan.
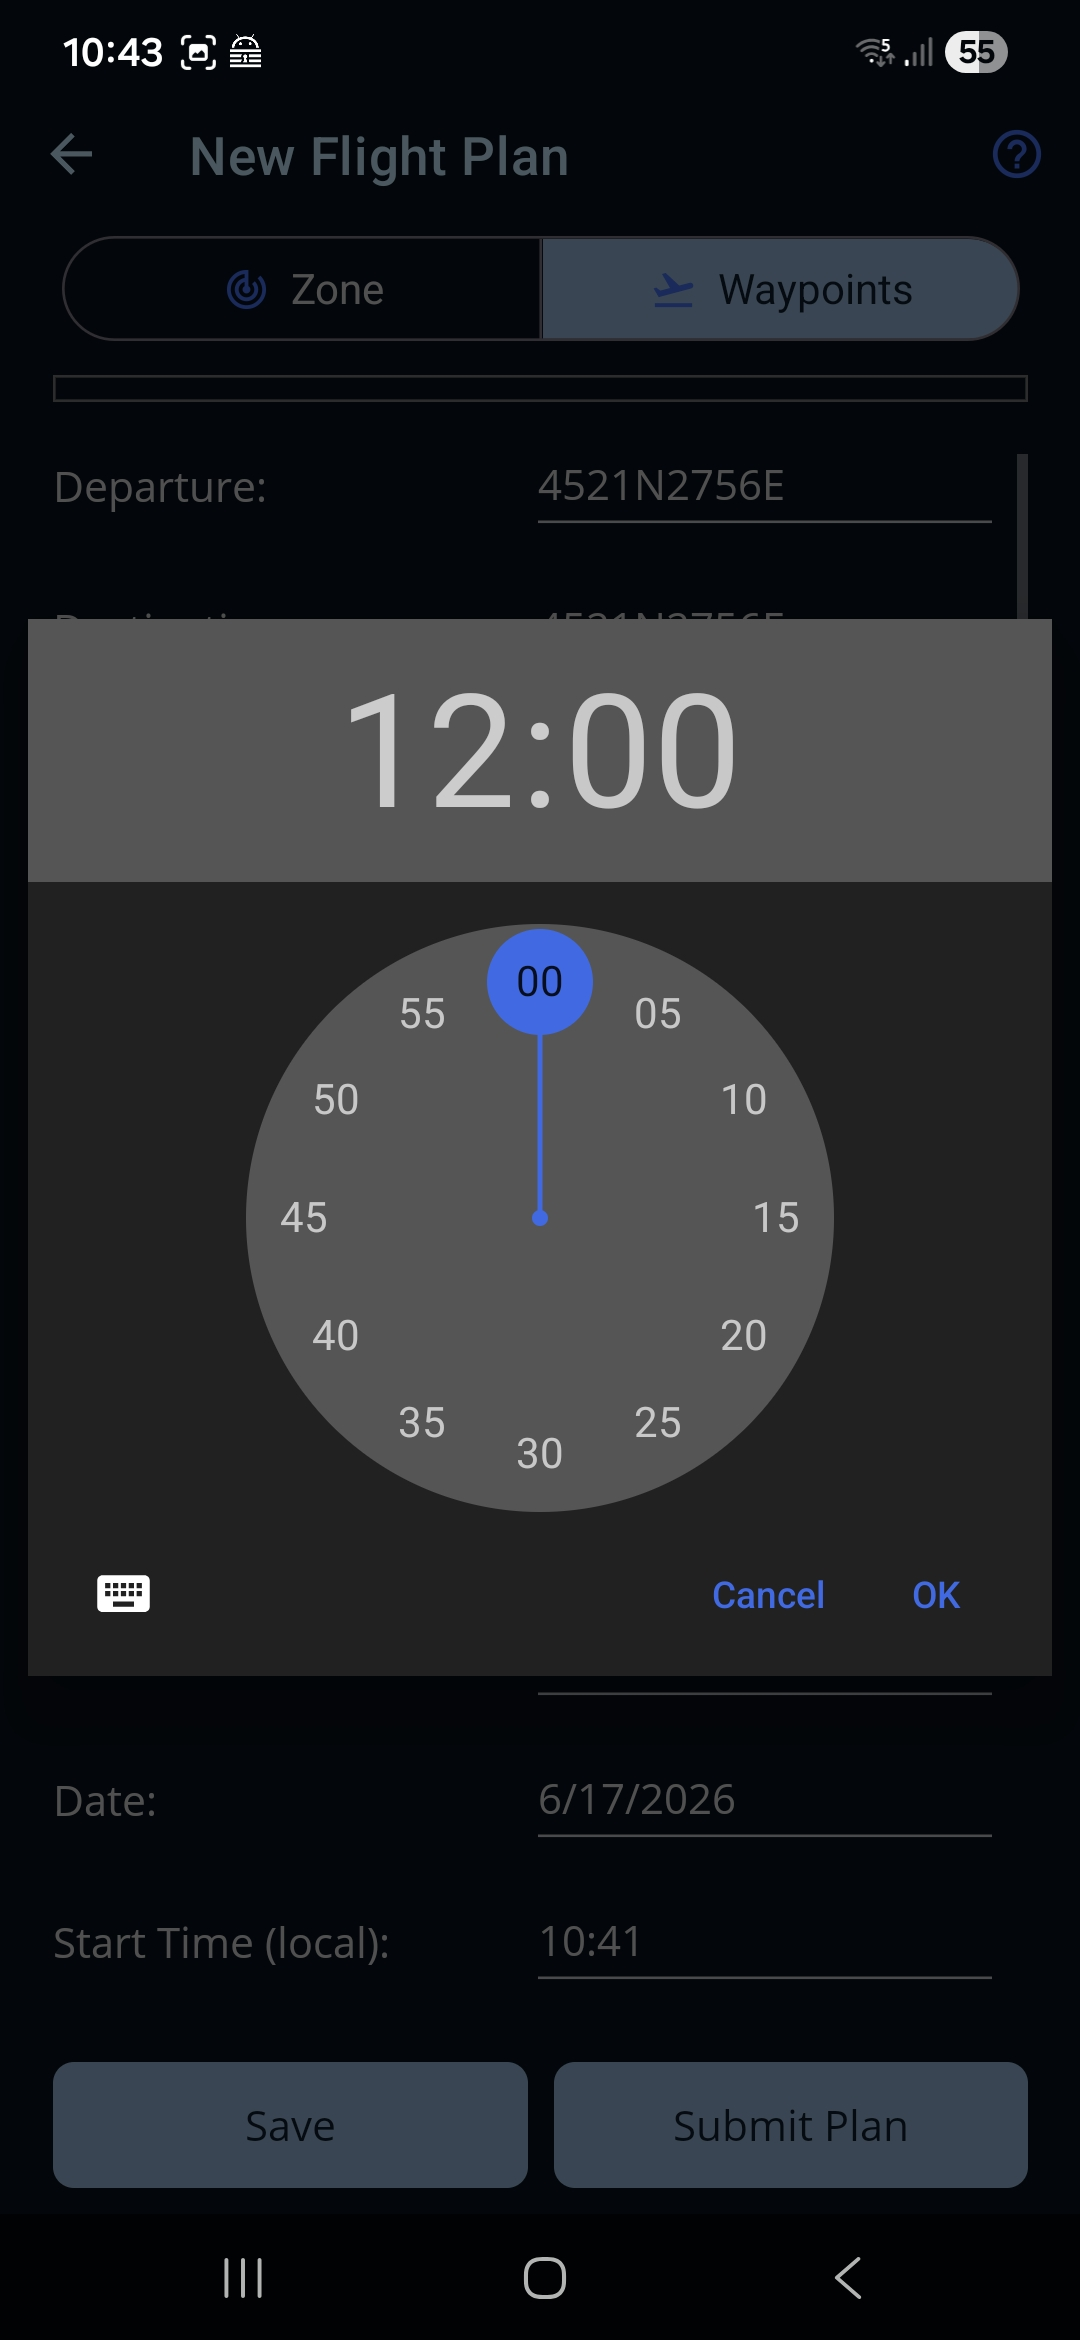
A7 — Complete the performance fields
Fill in the remaining operational data: Persons On Board, planned Duration, fuel Endurance, and Cruise Speed. Leave VFR on for a standard VFR flight, and also enter the cruising altitude you plan to fly — the two are independent settings, and a vfr.caa.ro notification needs an altitude whether or not the flight is VFR. Turning VFR off files a specific level on the ICAO flight plan instead.
A GPX route carries a planned level per waypoint but no cruising altitude for the flight as a whole, so an imported plan usually arrives with the altitude box empty — fill it in here if you might file with AACR.
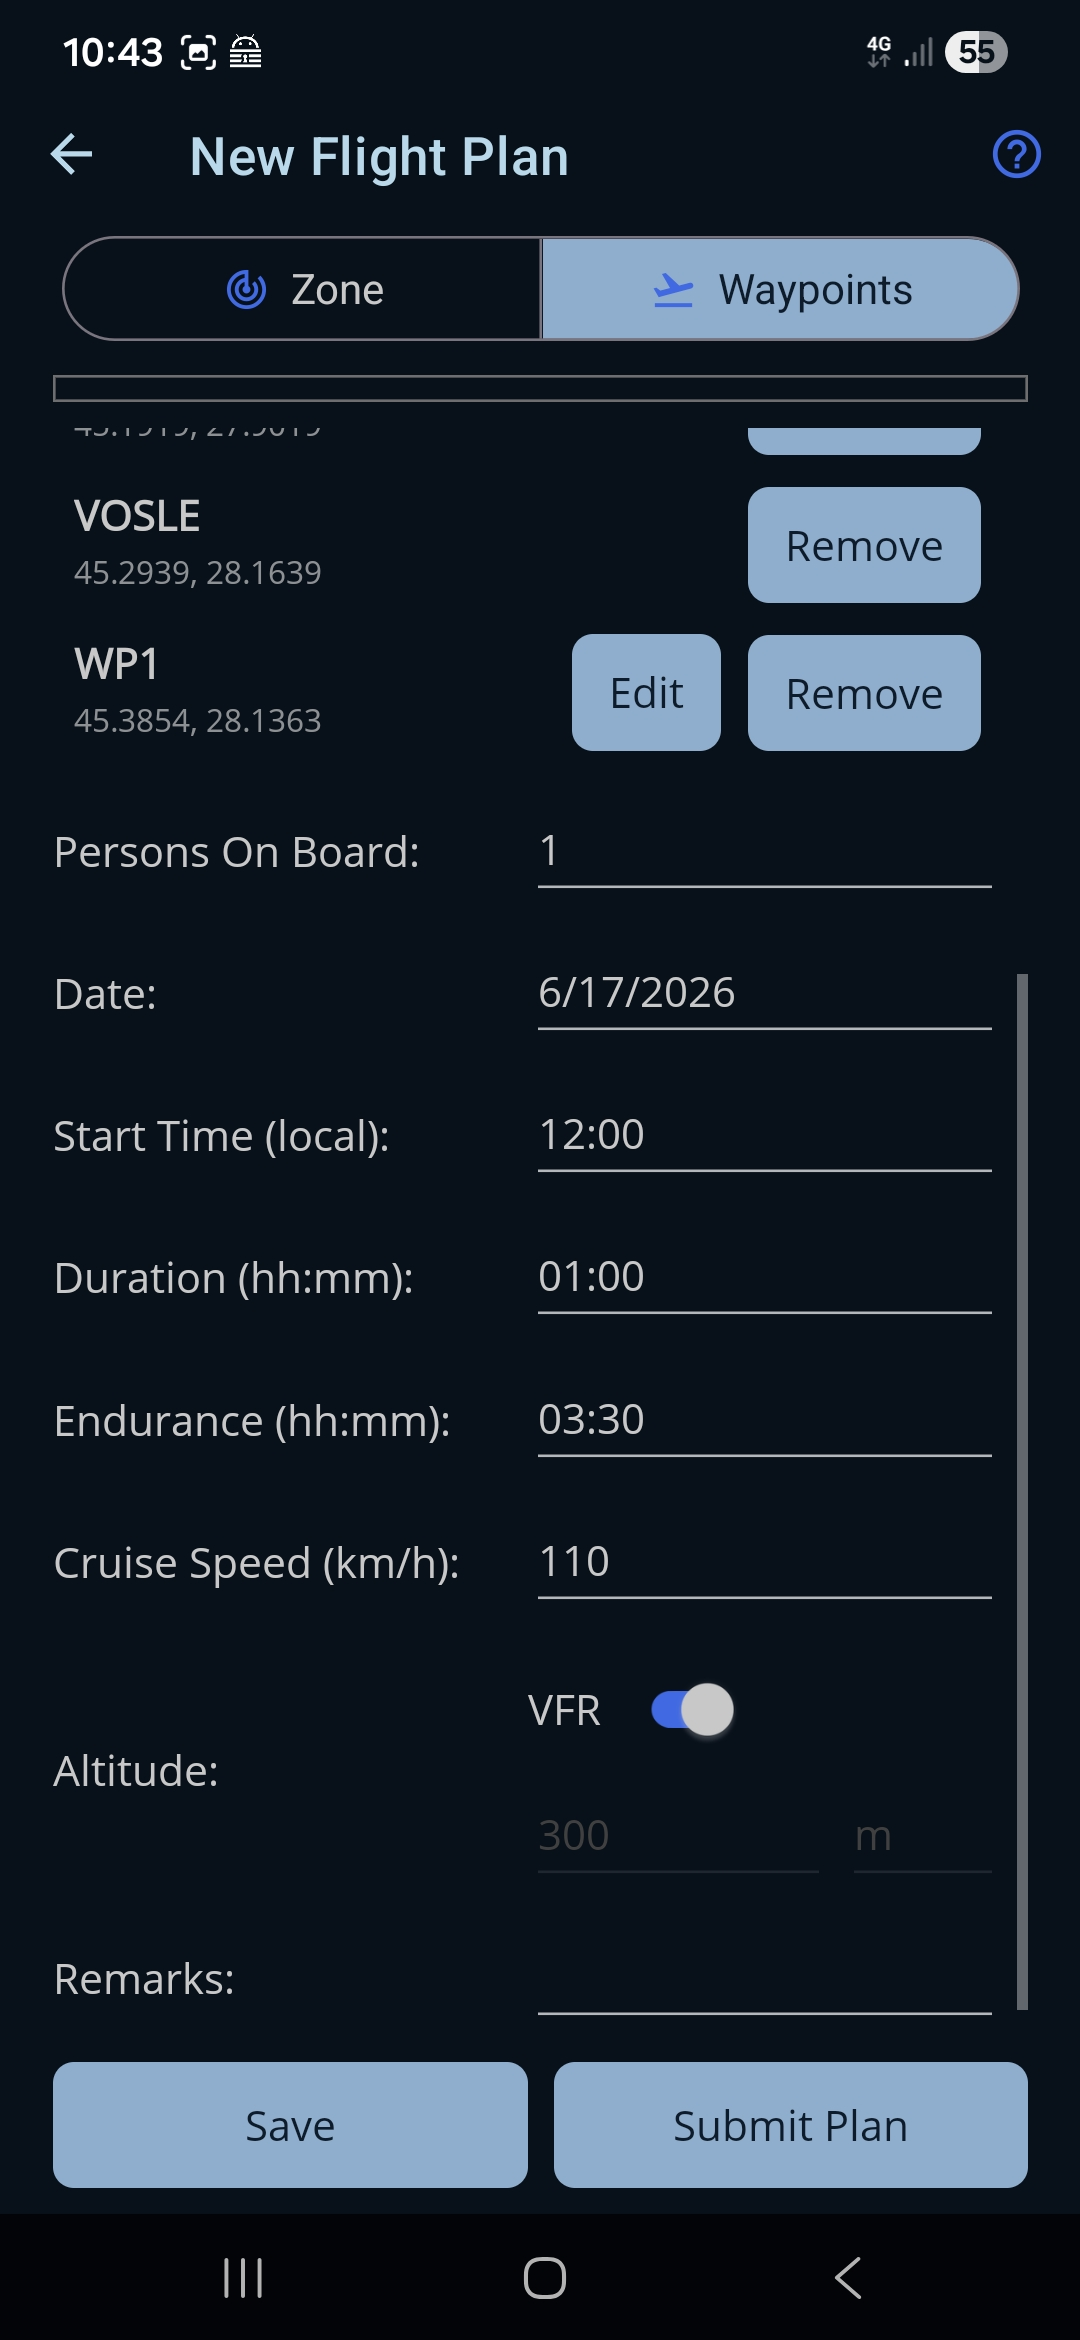
A8 — Submit the plan
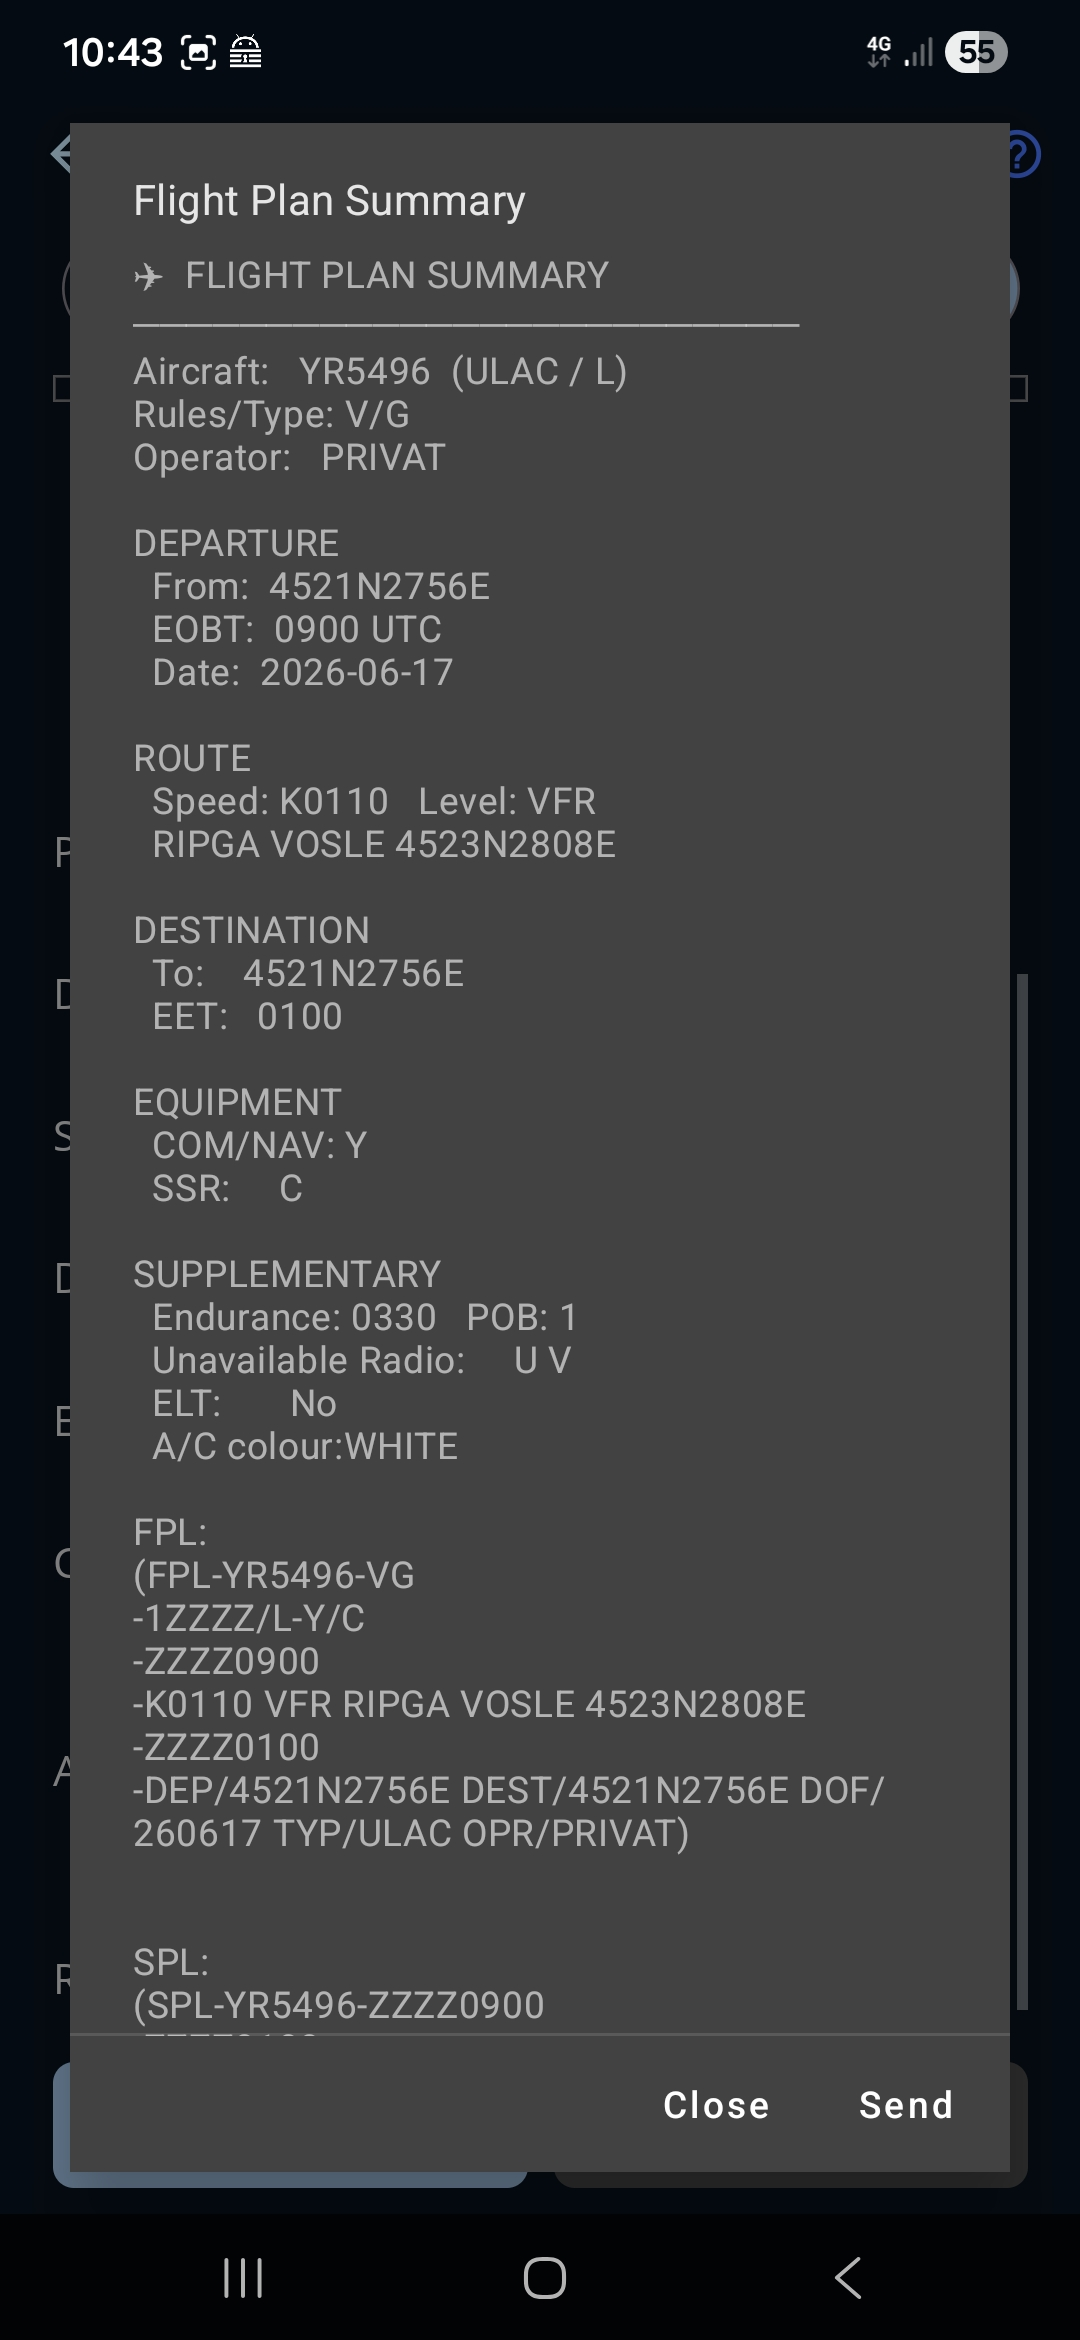
Tap Submit Plan and choose the authority — ROMATSA for an ICAO flight plan, or AACR — vfr.caa.ro if the whole flight stays in Class G airspace. Ro Flight assembles that authority's message and shows it in a confirmation dialog. Review the summary — aircraft, route, EOBT, endurance — and tap Send to file it. On success the plan's status changes to Submitted.
After you land, remember to open the plan and Inform Landing to close it with the same authority — see the Flight Plan Detail reference page.
Section B — Build a plan in Ro Flight and export it
You can also work the other way: build the route in Ro Flight, file it, and export the route as GPX for use in SkyDemon or any other GPX-capable planner — for example to fly it on another device.
You don't have to leave the app to fly the route: Ro Flight has its own moving map, and the Go Fly button on the plan's detail page opens it. See the Go Fly reference page. Export is for when you want the route in a different tool.
B1 — Build the plan
Create a new plan from the Flight Plans list and fill in the Flight Plan Form in Waypoint mode — departure, destination and the operational fields. See the Flight Plan Form reference page.
B2 — Place the waypoints on the map
Tap + Map to add and arrange the intermediate waypoints, then Finish Plan. See the Route Map reference page.
B3 — Submit the plan
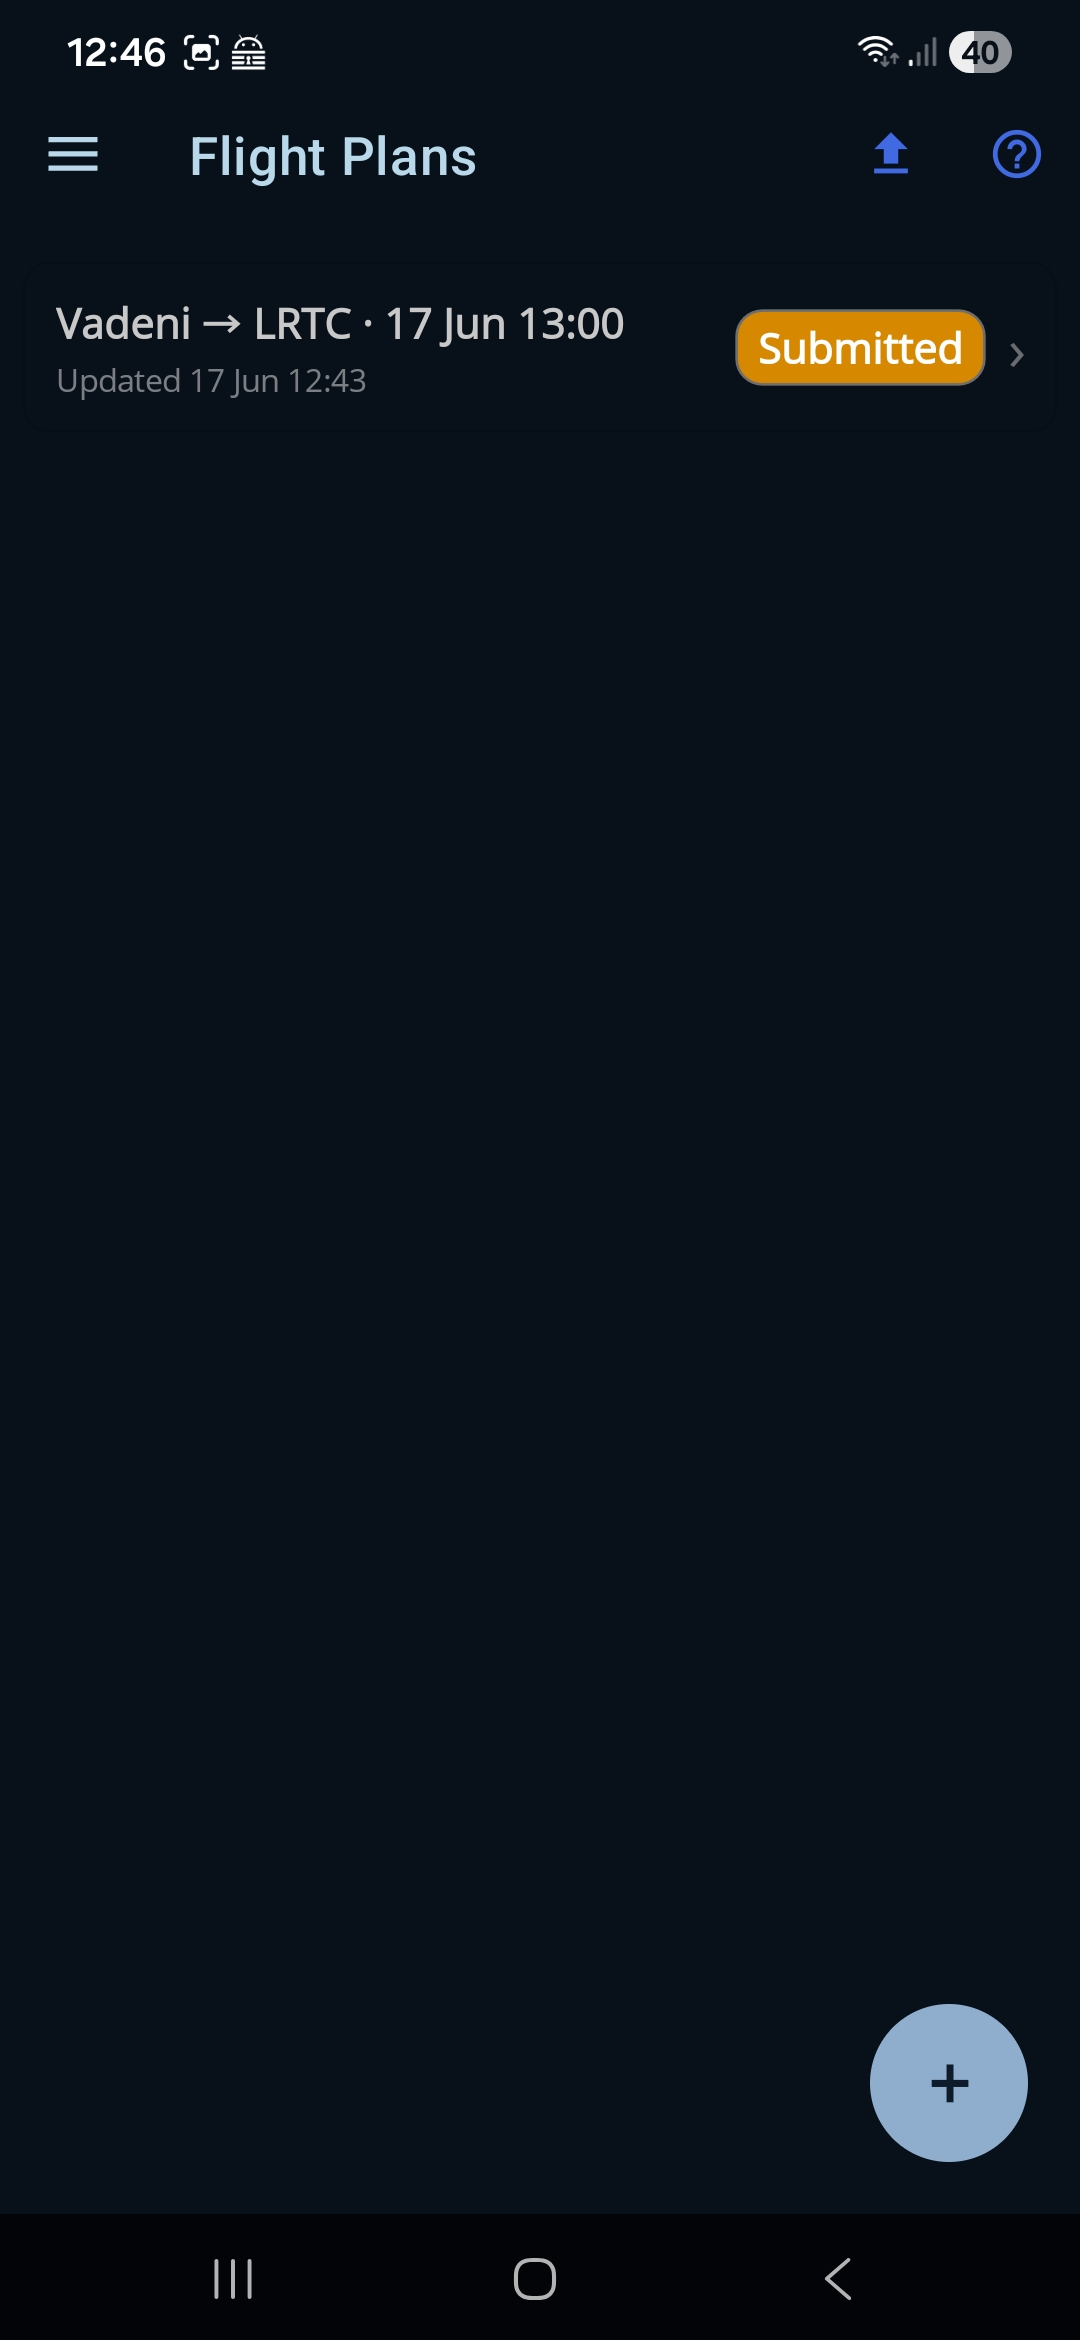
File the plan via Submit Plan and pick the authority. (You can export any plan that has a departure, including a saved draft, so filing first is optional — but normally you'll file, then export the same route to fly it.)
B4 — Open the export menu
Open the plan from the Flight Plans list to reach its detail page, then tap the share / export icon in the toolbar.
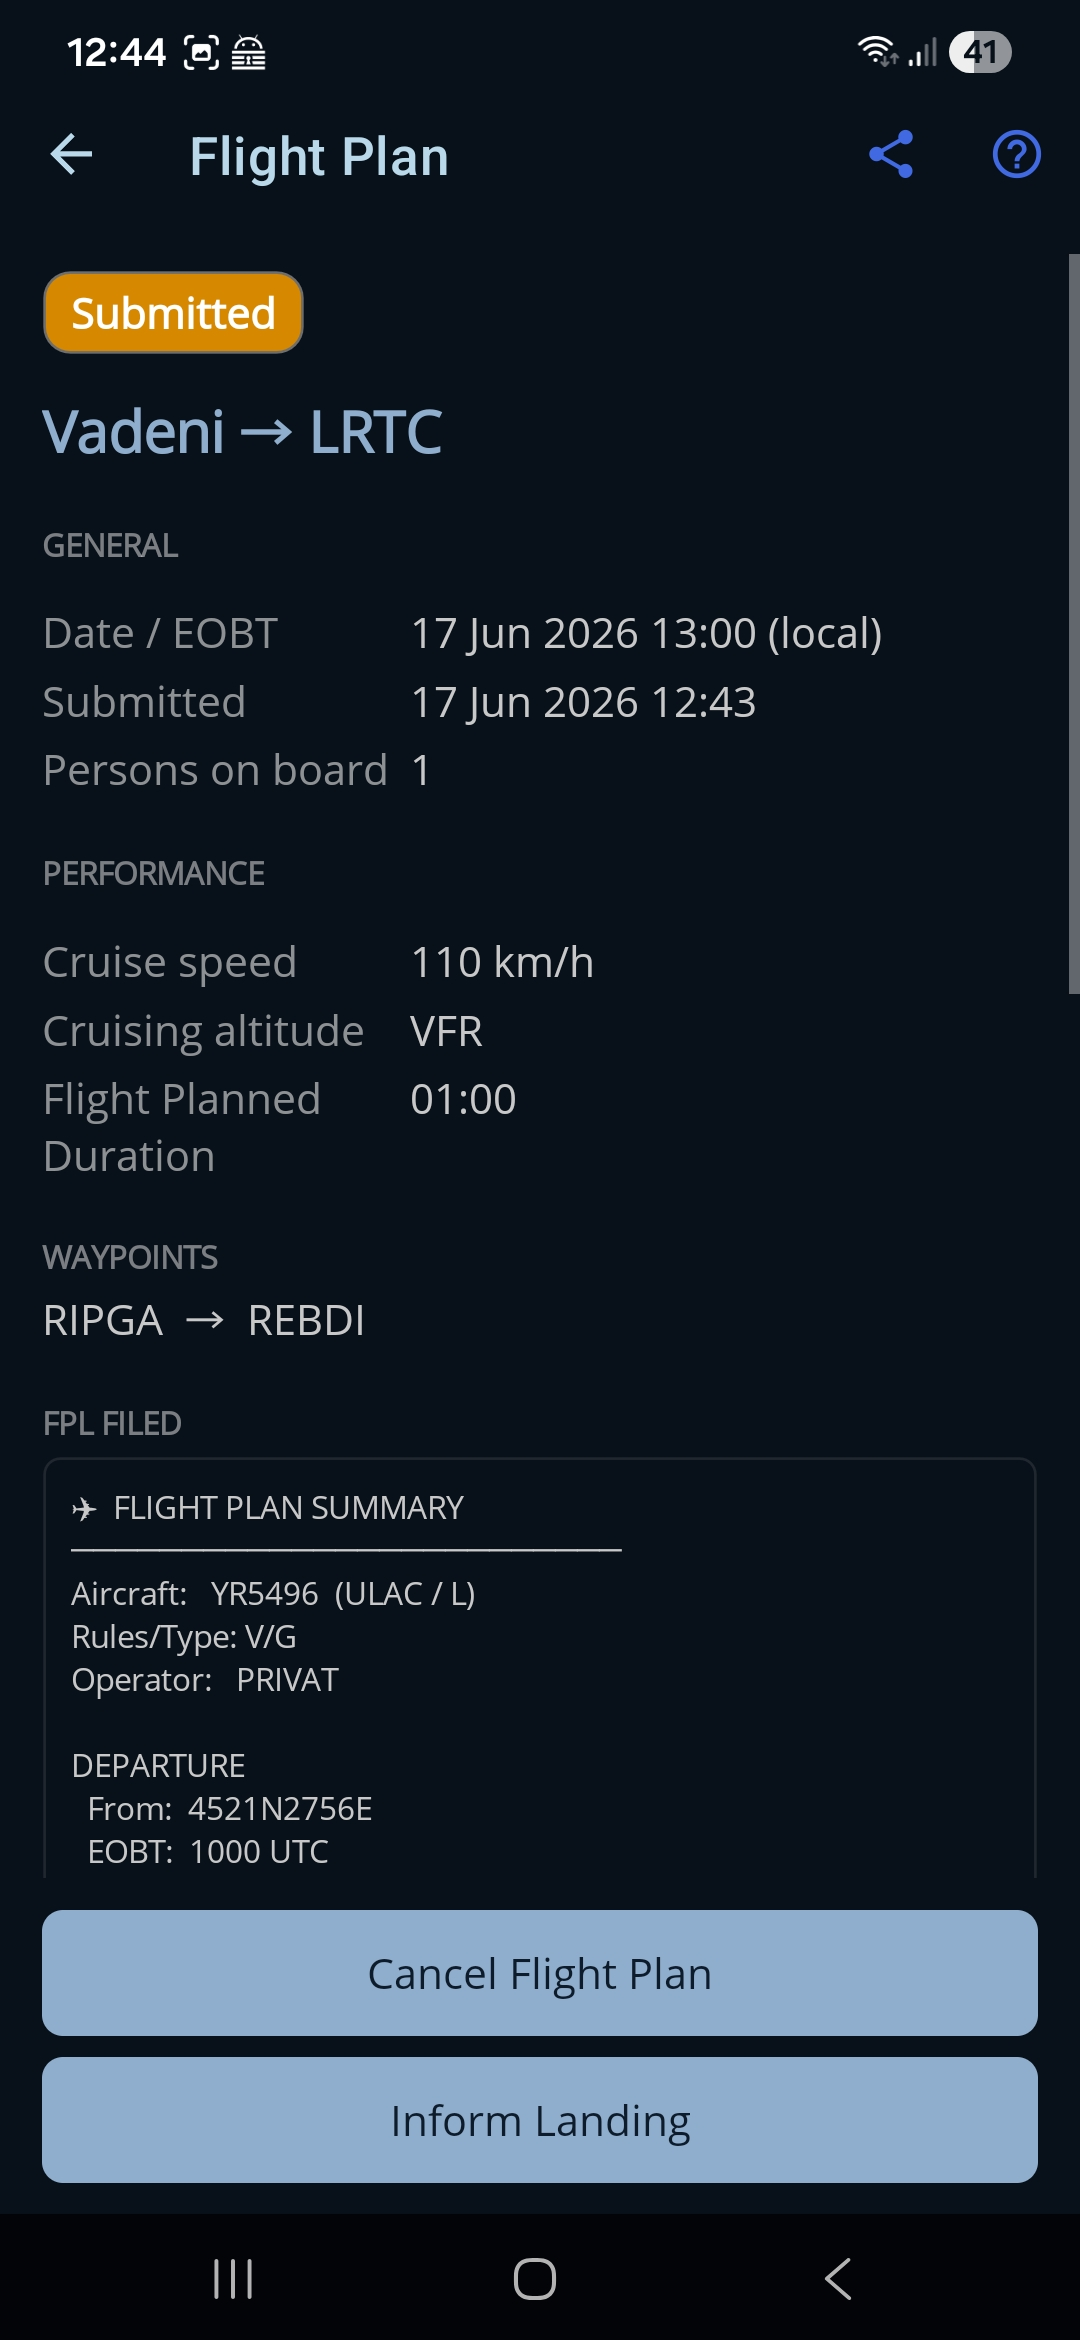
B5 — Choose how the route leaves the app
The Export route sheet offers two options:
- Send To — hands the GPX to another app on the device (for example SkyDemon), which loads the route directly.
- Save GPX file… — writes the GPX out through the normal share sheet (email, Drive, or any other app) so you can move it wherever you like.
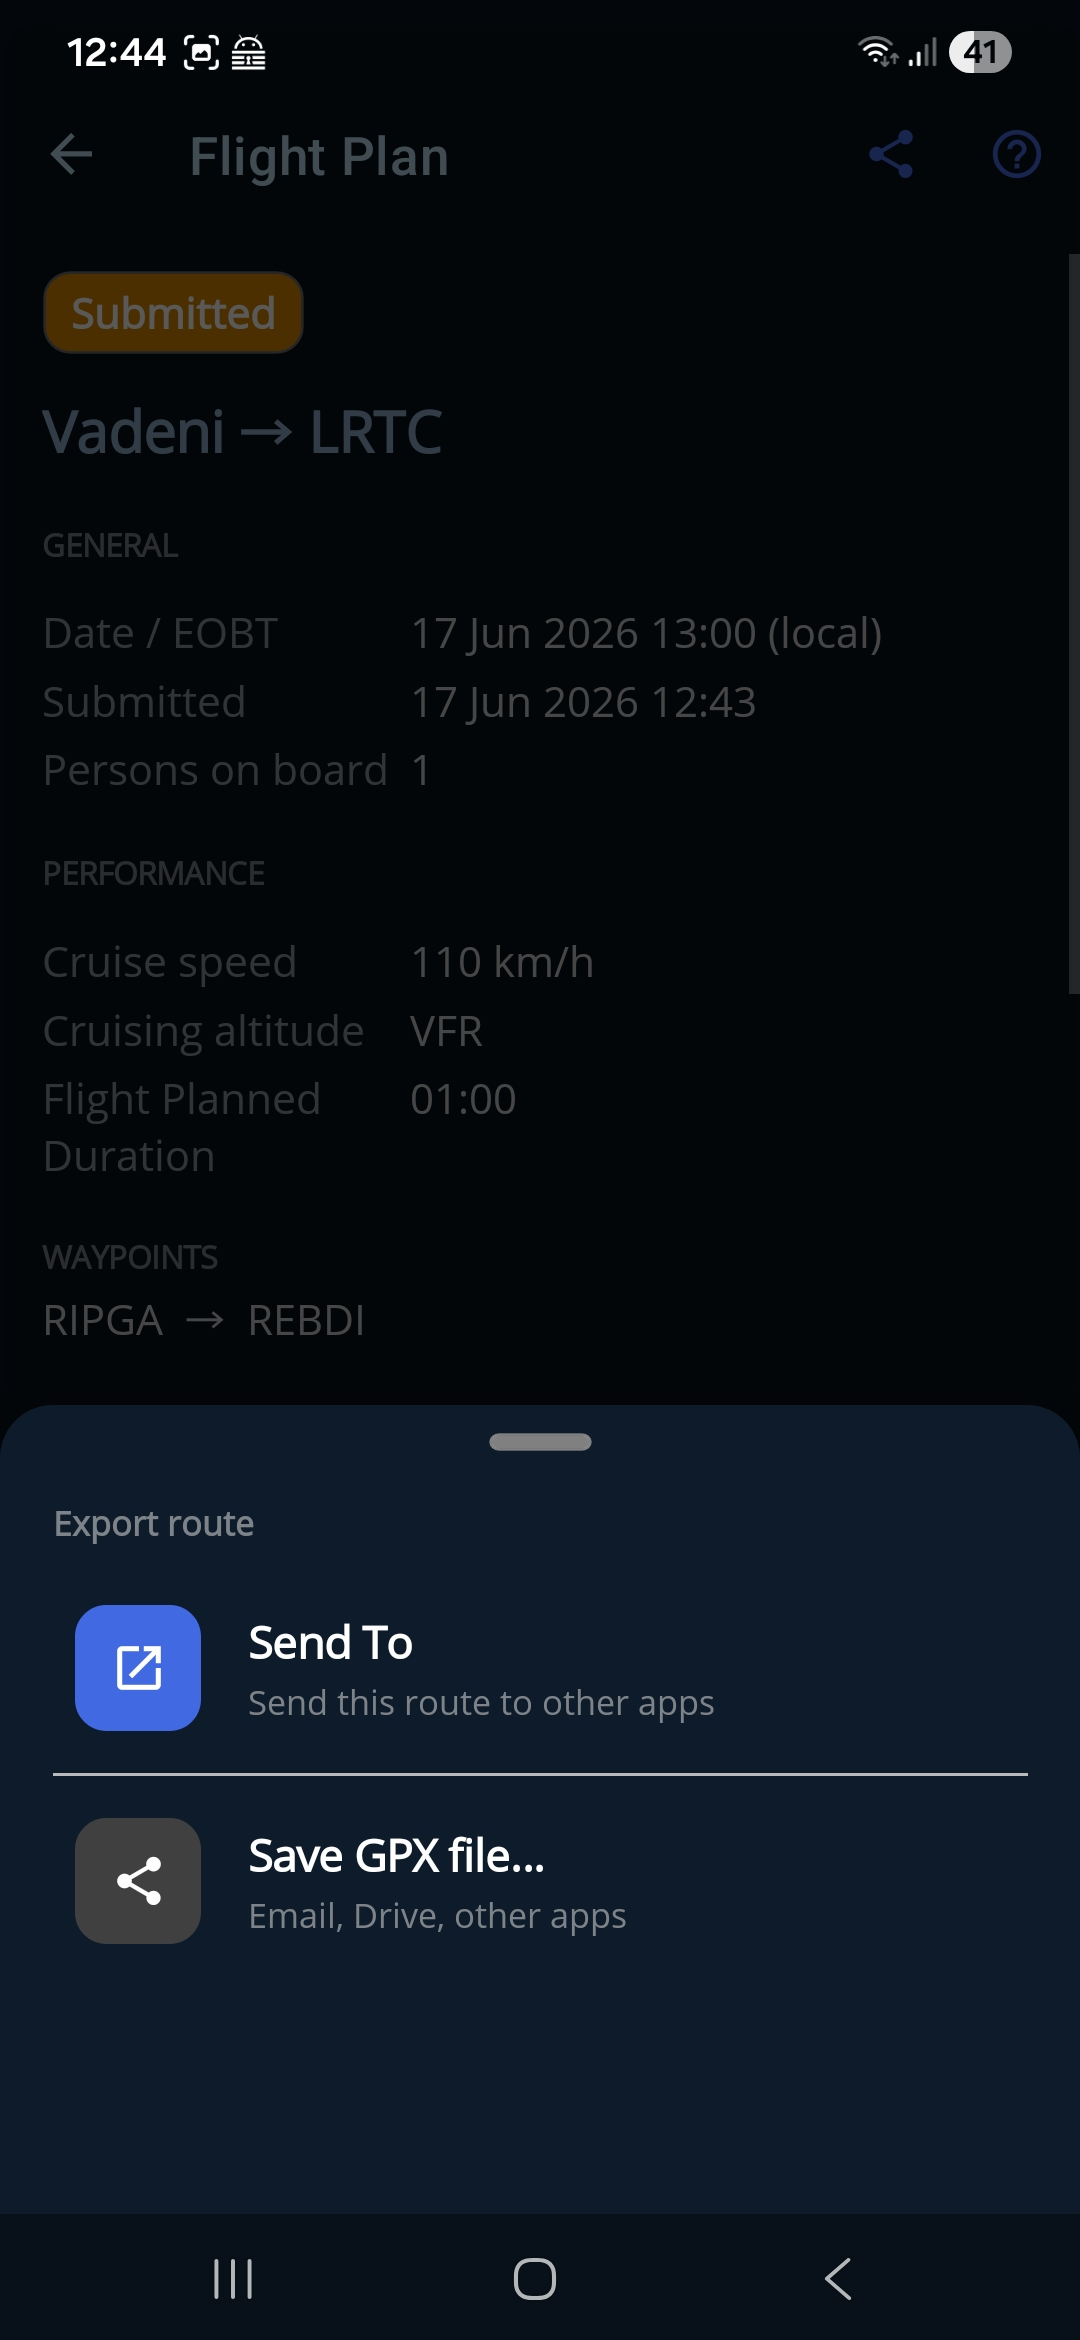
B6 — Choose the app to open it in
If you chose Send To, the device shows an Open route in… chooser listing every app that accepts a GPX route. Pick SkyDemon (or any other GPX-capable planner) to hand it the route.
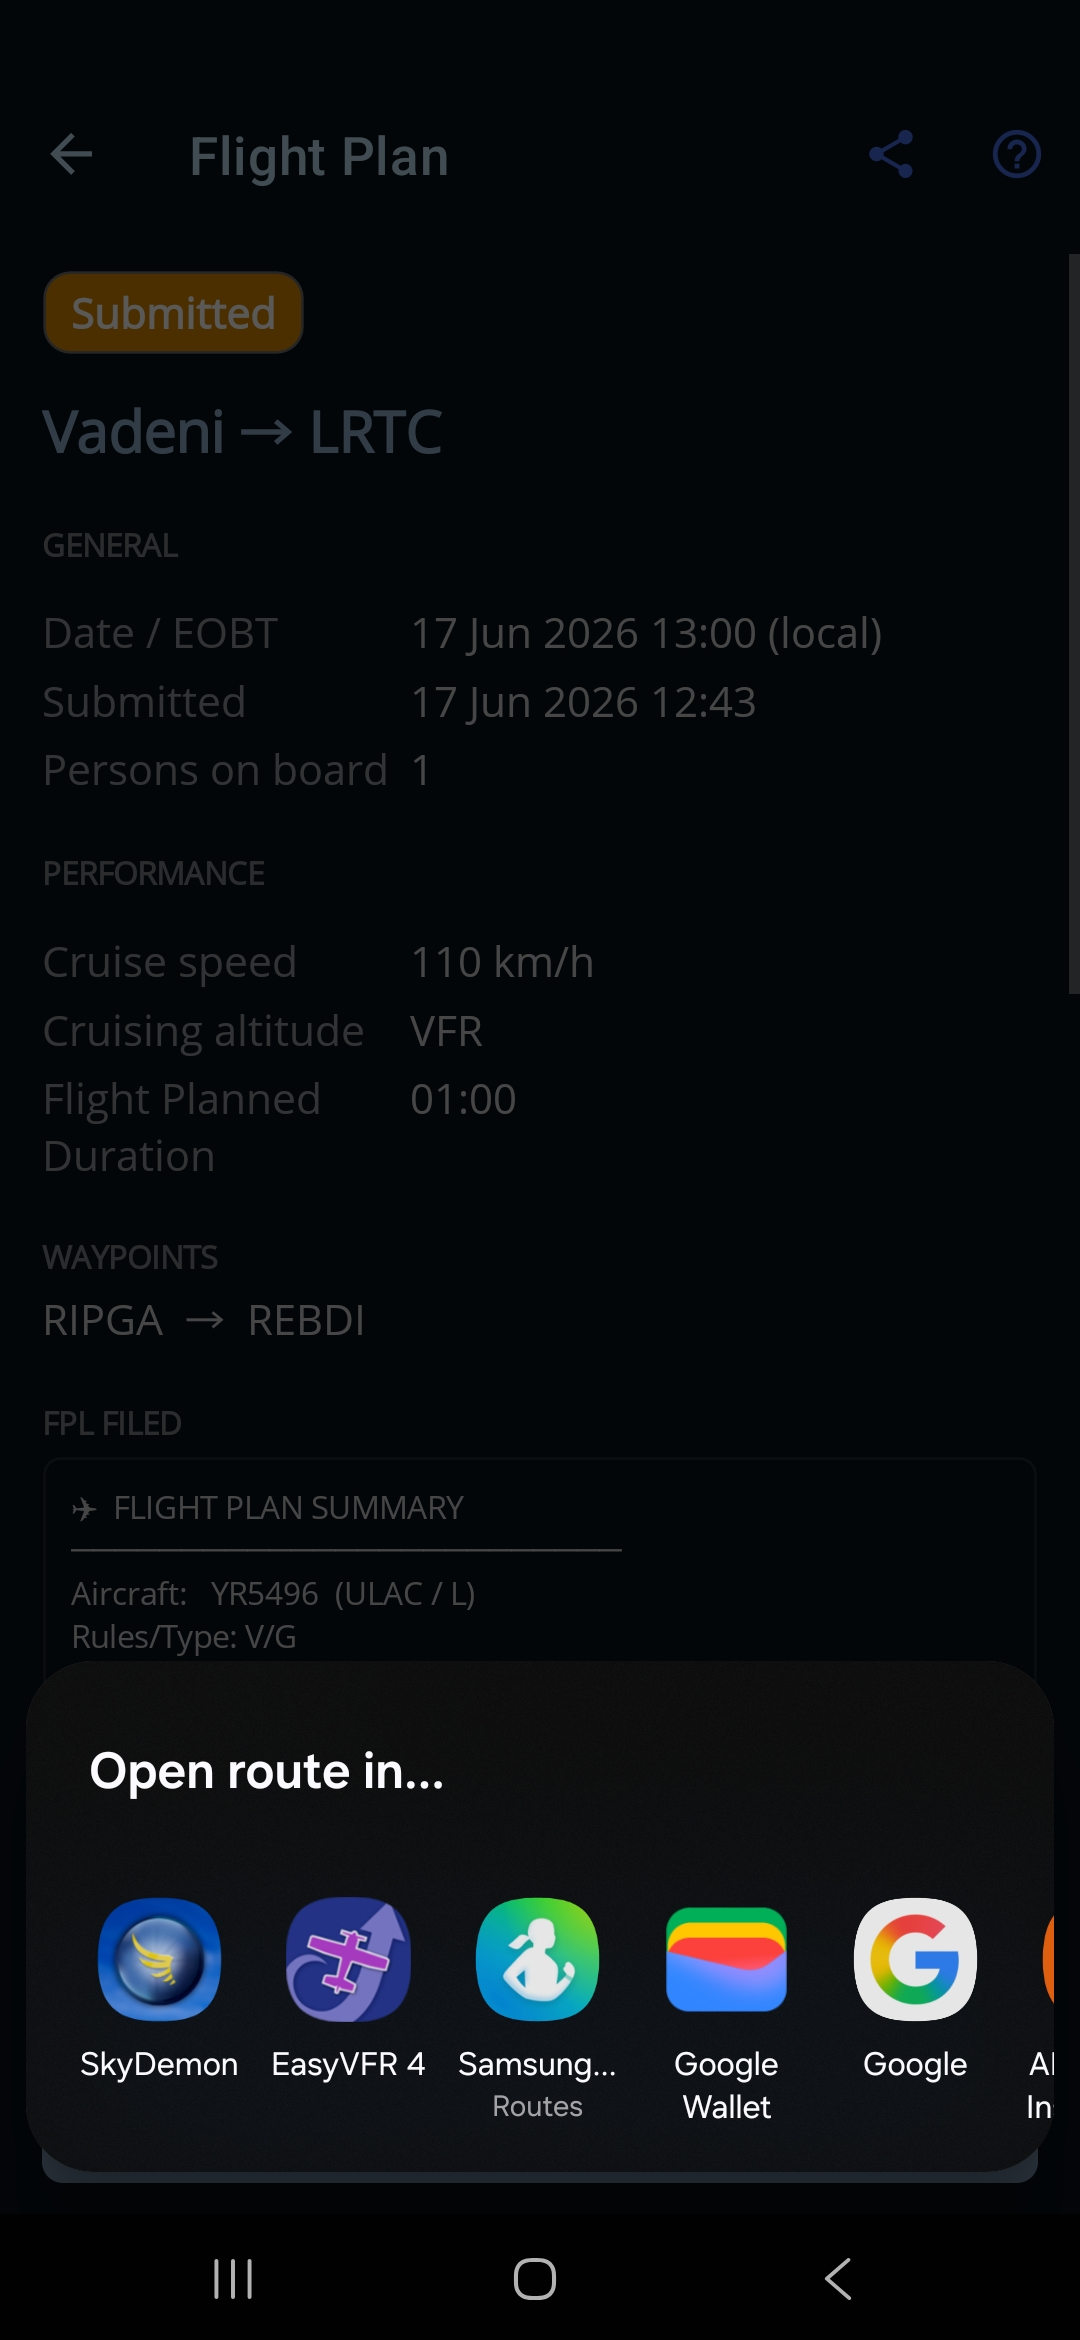
B7 — Open the route in your planner
SkyDemon opens with the route loaded (or, if you saved the file instead, open it via Route ▸ Open). The waypoints and per-leg planned levels carry across, ready to fly. Any GPX-capable planner imports the same file the same way.